Course settings tour
The course options drawer is the single home for every per-course rule. This tour points at every section.
Before you start
You need the Admin or Instructor role on the course.
Step 1 — Open the drawer
Open the course editor and click the settings icon top-right to open the drawer. It slides in from the right and covers Visibility, Pricing, Progression, Certificates, Prerequisites, Skills and Advanced.
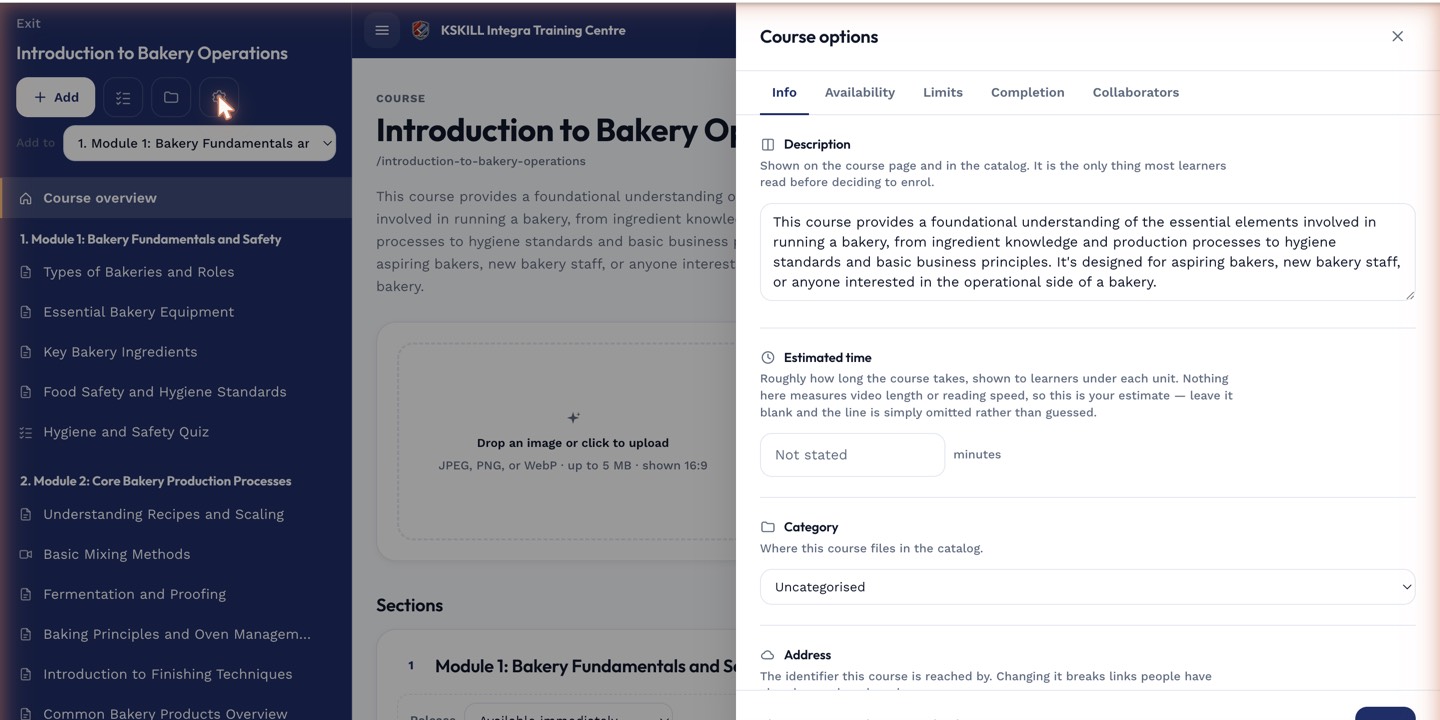
The options drawer is where every per-course rule lives — visibility, price, completion criteria, expiration.
Step 2 — Walk each section
Visibility decides who sees the course. Pricing decides whether it's free, paid or unlisted. Progression decides the completion mode (open, strict linear, consume-to-complete). Prerequisites gate the start. Skills wire what completing this course grants.
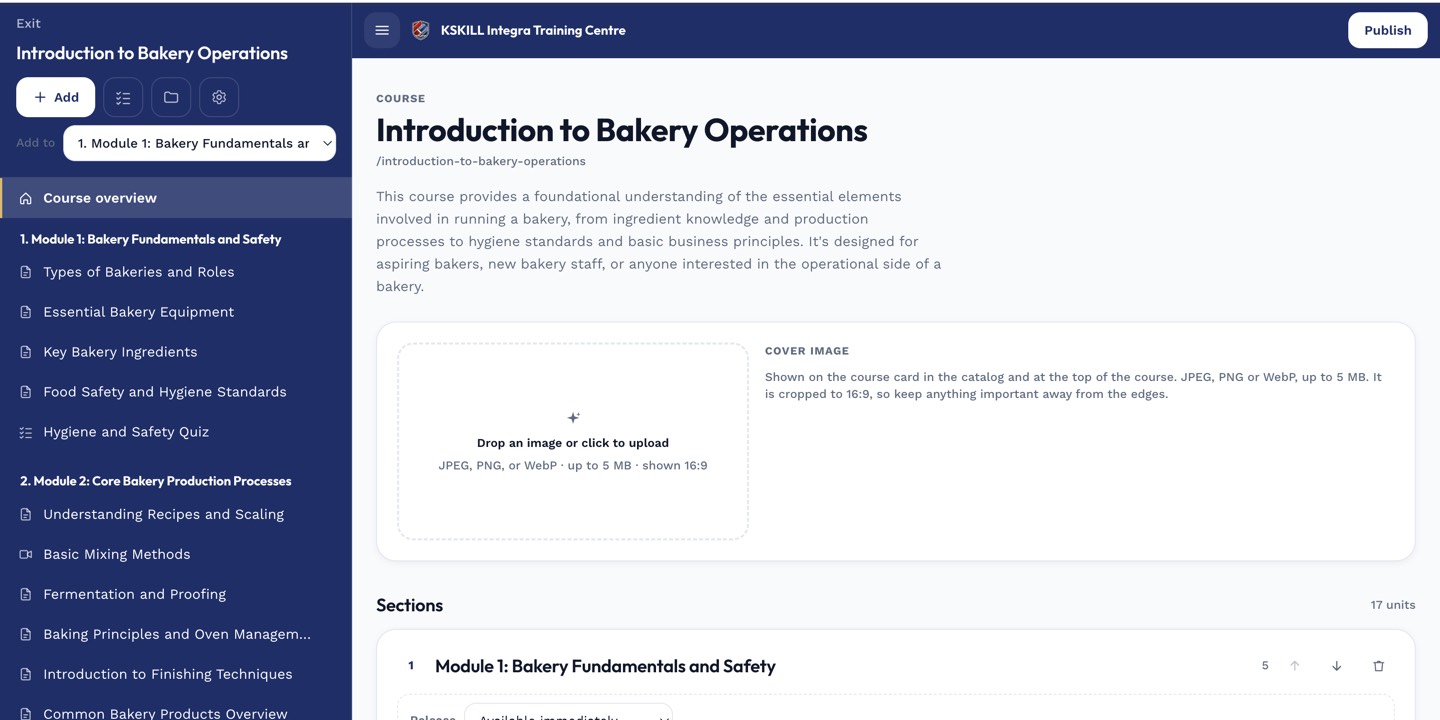
The editor shows sections and units together so you can drag either one to reorder.
Step 3 — Save and verify
Any change saves individually as you make it — no separate Save button. Close the drawer and eyeball the course from a test learner's perspective. If something behaves unexpectedly, come back to the drawer — the answer lives here.
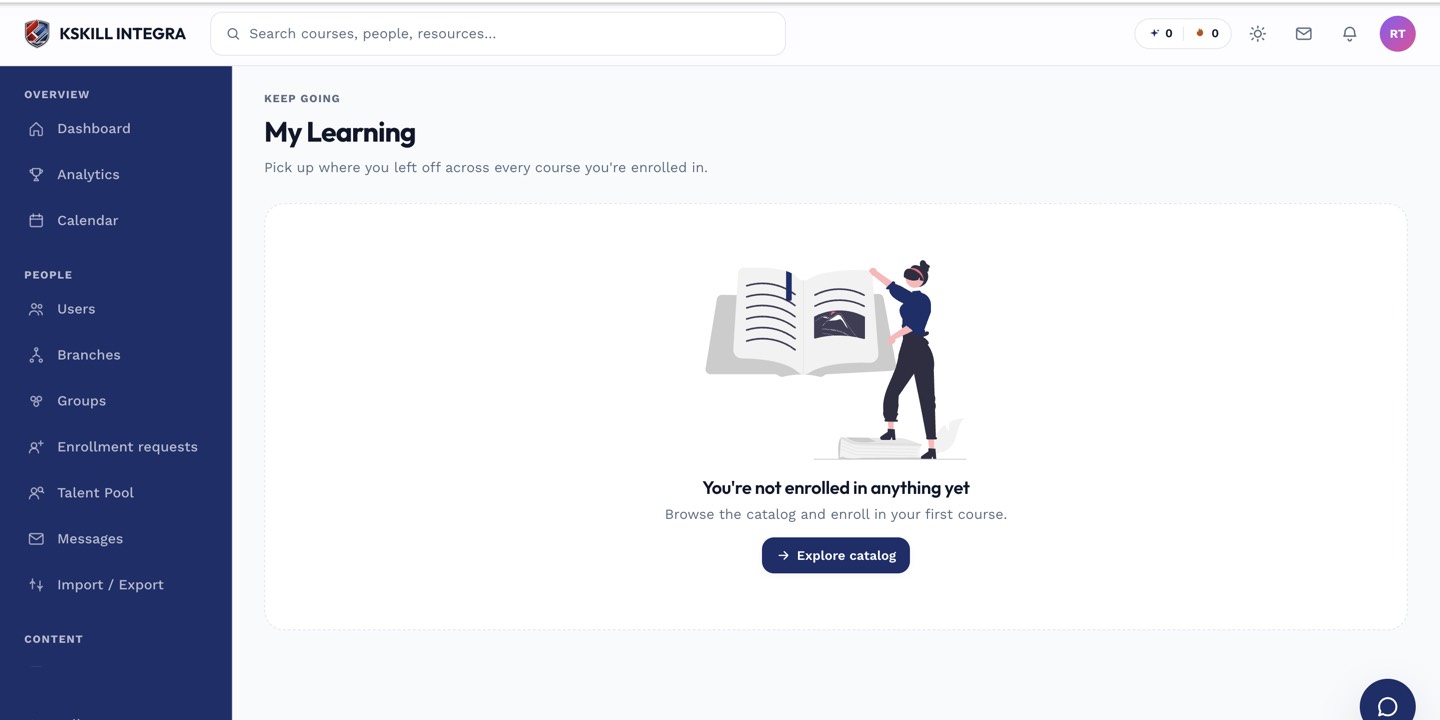
My Learning is the learner's default landing page — every enrolled course is one click away.
Notes
- The Advanced section holds rarely-touched settings like SCORM version pinning and completion-time overrides.
- Progression modes are OPEN, STRICT_LINEAR and CONSUME_TO_COMPLETE — see the completion-criteria article.