Course tags and discovery
Tags improve course discoverability in the catalog and admin list. This article covers using them well.
Before you start
You need the Admin or Instructor role. Tags must exist first — see the manage-tags article.
Step 1 — Add tags to a course
Open the course options drawer. Find the Tags field — it's a picker that autocompletes from your tenant's tag list. Add as many as fit; more tags means broader discoverability, but too many looks noisy.
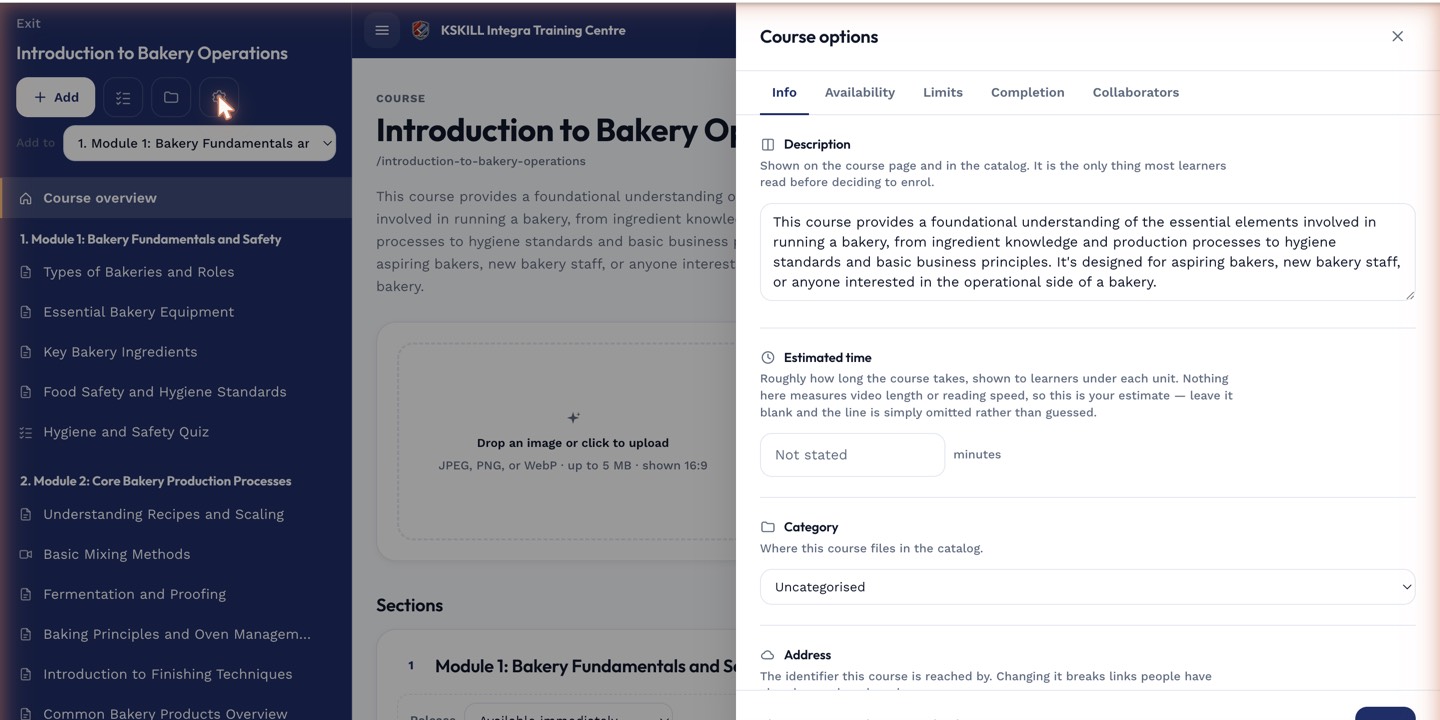
The options drawer is where every per-course rule lives — visibility, price, completion criteria, expiration.
Step 2 — How tags show up
Tags appear as chips on the catalog card and are searchable. Clicking a tag chip on any course filters the catalog to that tag. Tags also affect the recommendation engine — related courses match by shared tags.
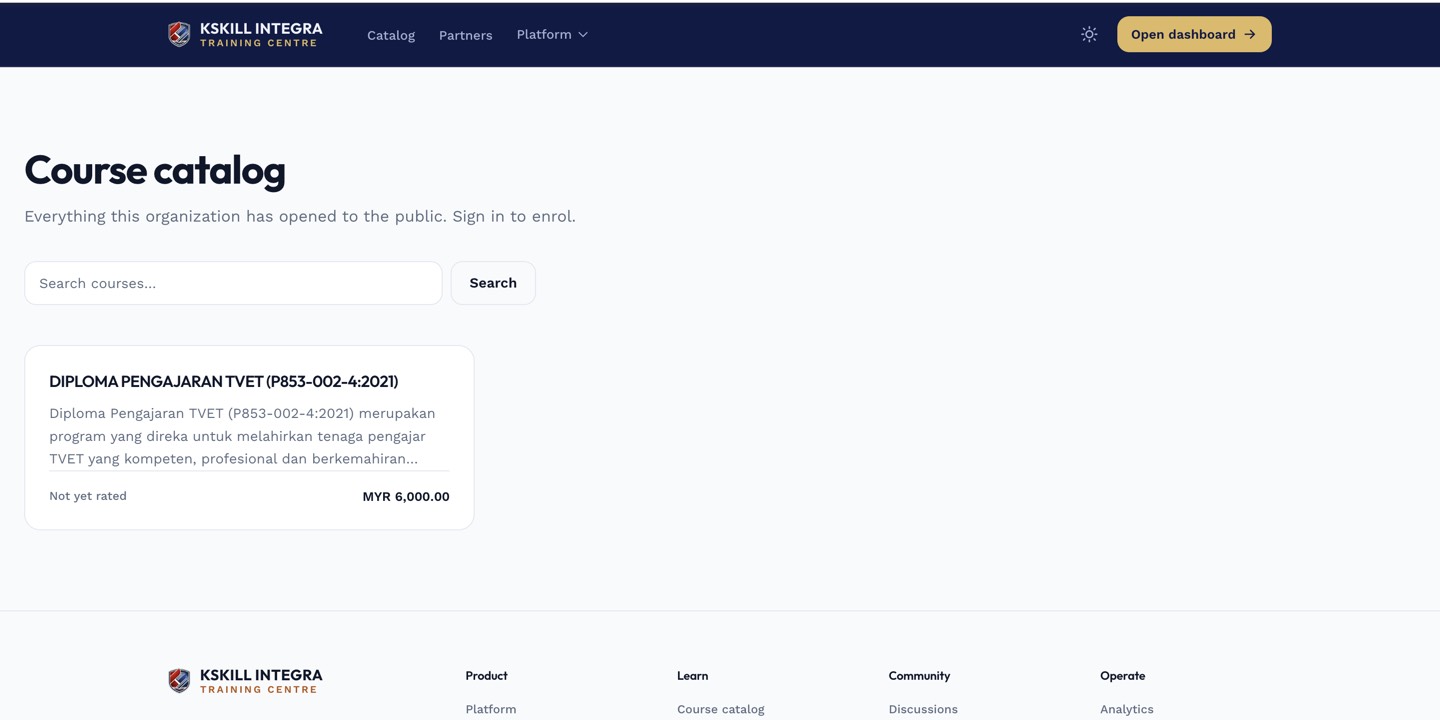
The catalog is the learner-facing shelf of everything a learner is allowed to self-enrol into.
Step 3 — Curate over time
Review your tag list monthly. Merge duplicates (drop 'sales' if 'Sales' exists). Delete unused tags. Consistent tagging pays off compounding-ly — sloppy tagging never pays off at all.
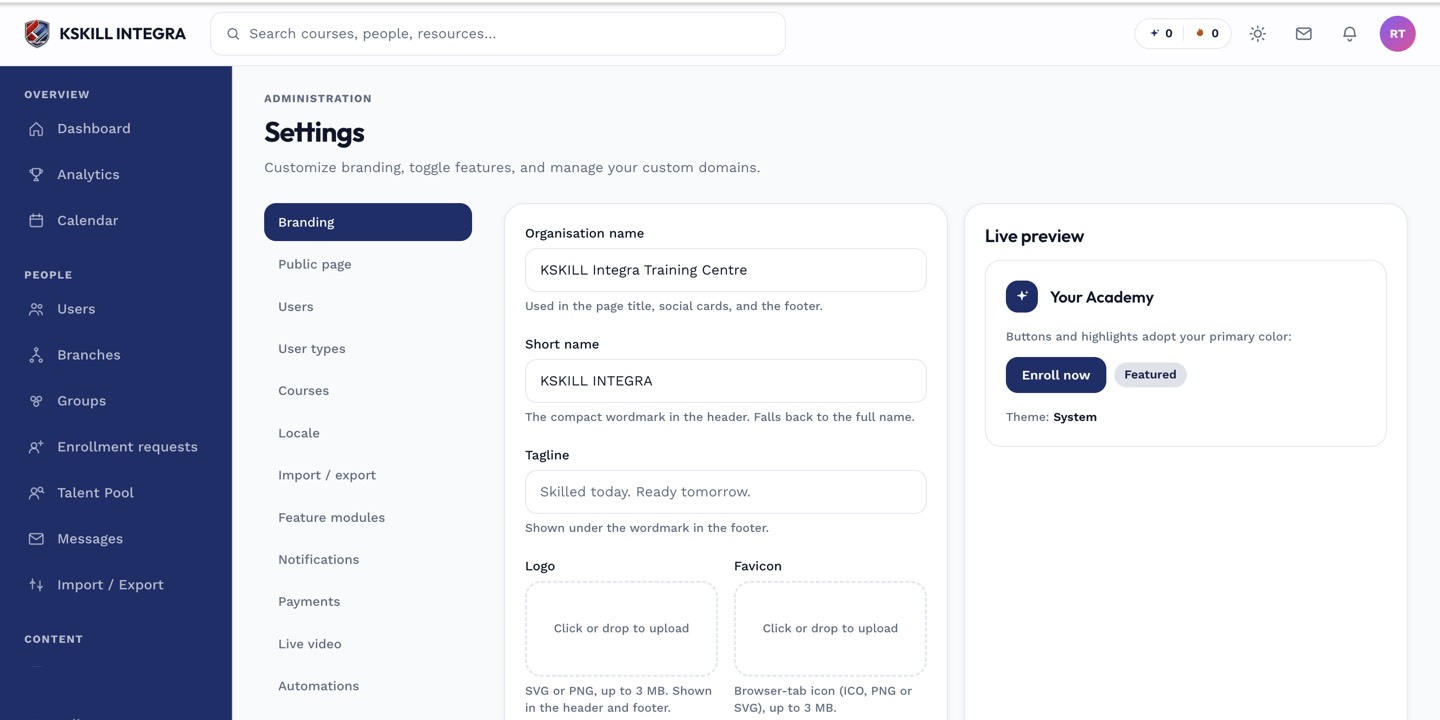
The Settings page is the single home for every tenant-level toggle.
Notes
- Categories are one-per-course; tags are many-per-course. Use tags for the flexible dimension.
- AI-generated tag suggestions land in the drawer if the AI feature is on.