Publish a course
A course is invisible to learners until you publish it. This article covers the three visibility states and how to switch between them.
Before you start
You need the Admin or Instructor role on the course. The course must have at least one unit — you cannot publish an empty course.
Step 1 — Open the course options drawer
Open Content → Courses, click the course, and open the options drawer from the top-right. The Visibility section has three states — Draft (nobody sees it), Published (assignable but not in the catalog) and Public in catalog (self-enrollable).
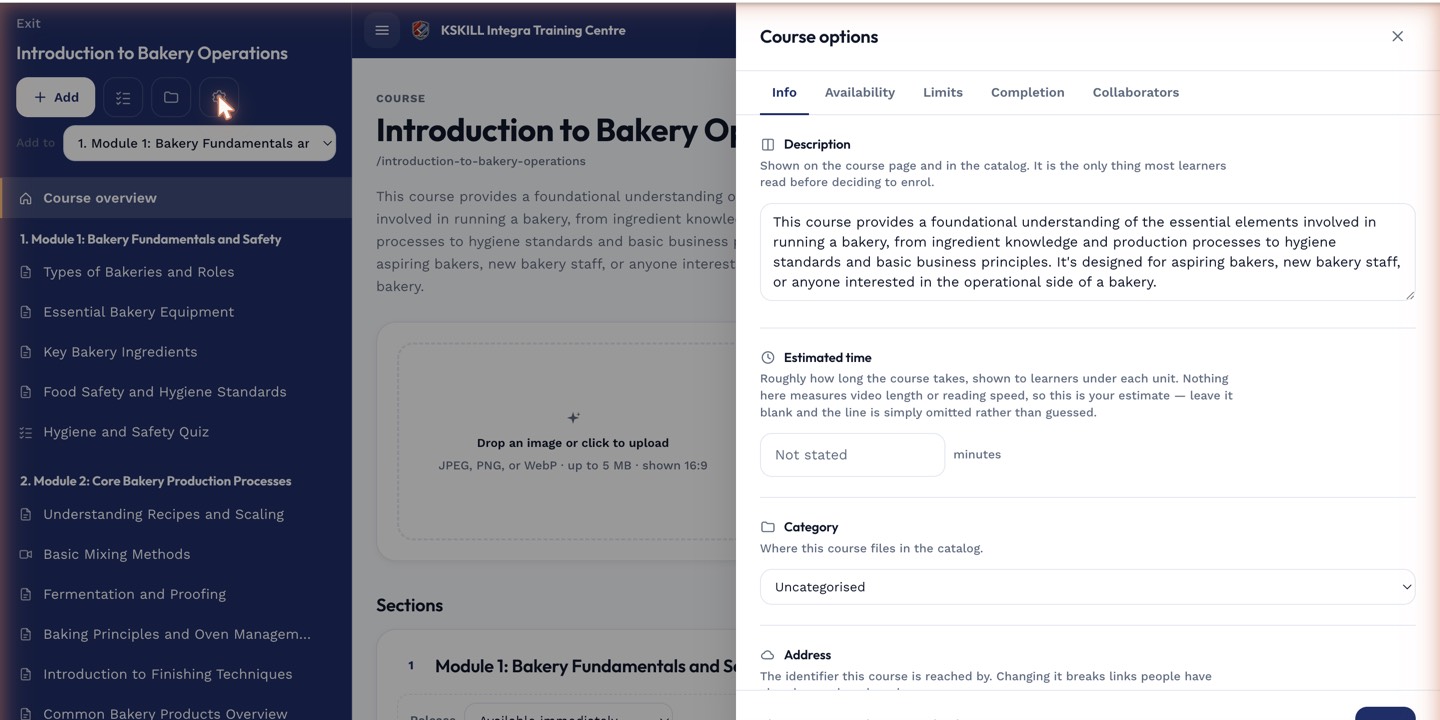
The options drawer is where every per-course rule lives — visibility, price, completion criteria, expiration.
Step 2 — Verify the outline is ready
Before flipping the switch, open the editor and eyeball the outline. Every section has at least one unit, every test has a pass mark, and the certificate template (if you use one) is attached. Nothing forces you to check — but a published half-course is embarrassing.
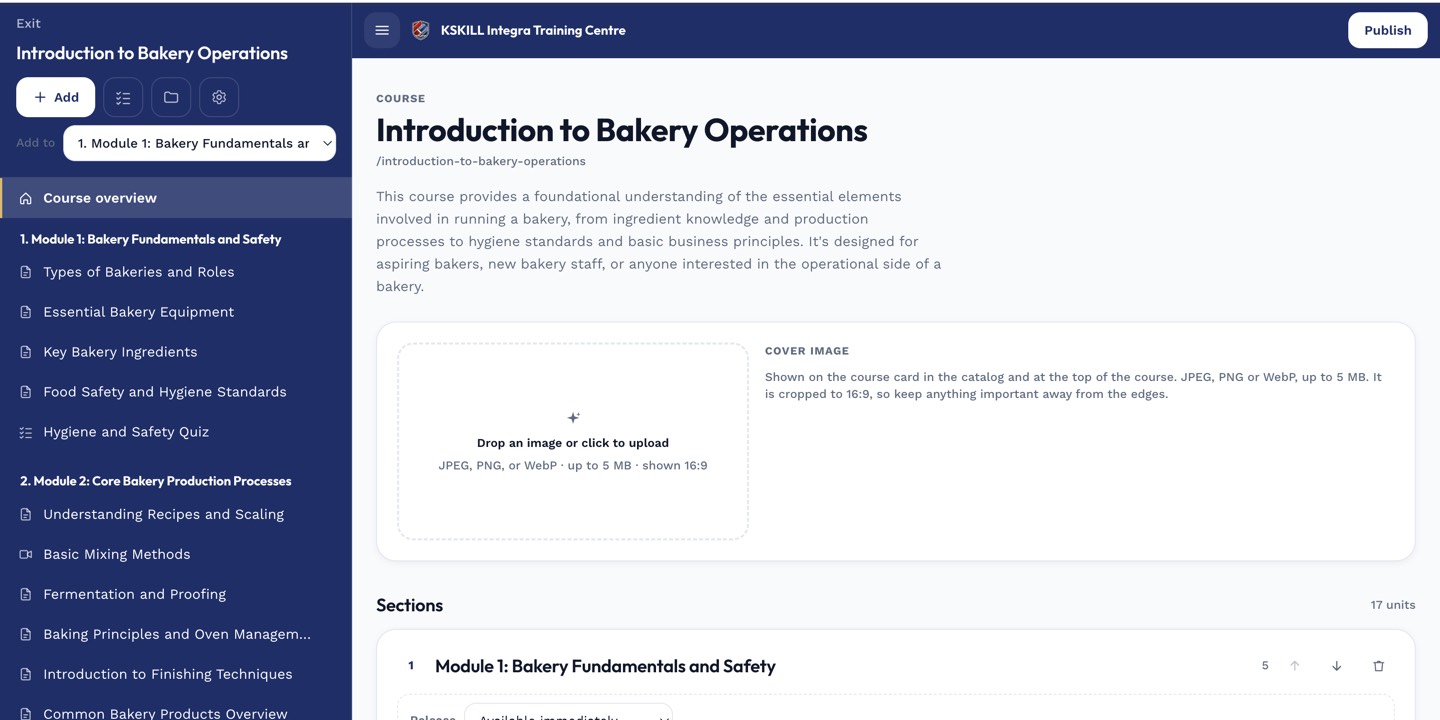
The editor shows sections and units together so you can drag either one to reorder.
Step 3 — Flip the switch and watch enrolments arrive
Change the visibility to Published or Public in catalog and save. If Auto-enrol groups are attached, learners appear on the course roster within seconds. If it is a catalog course, learners can find it via the catalog immediately.
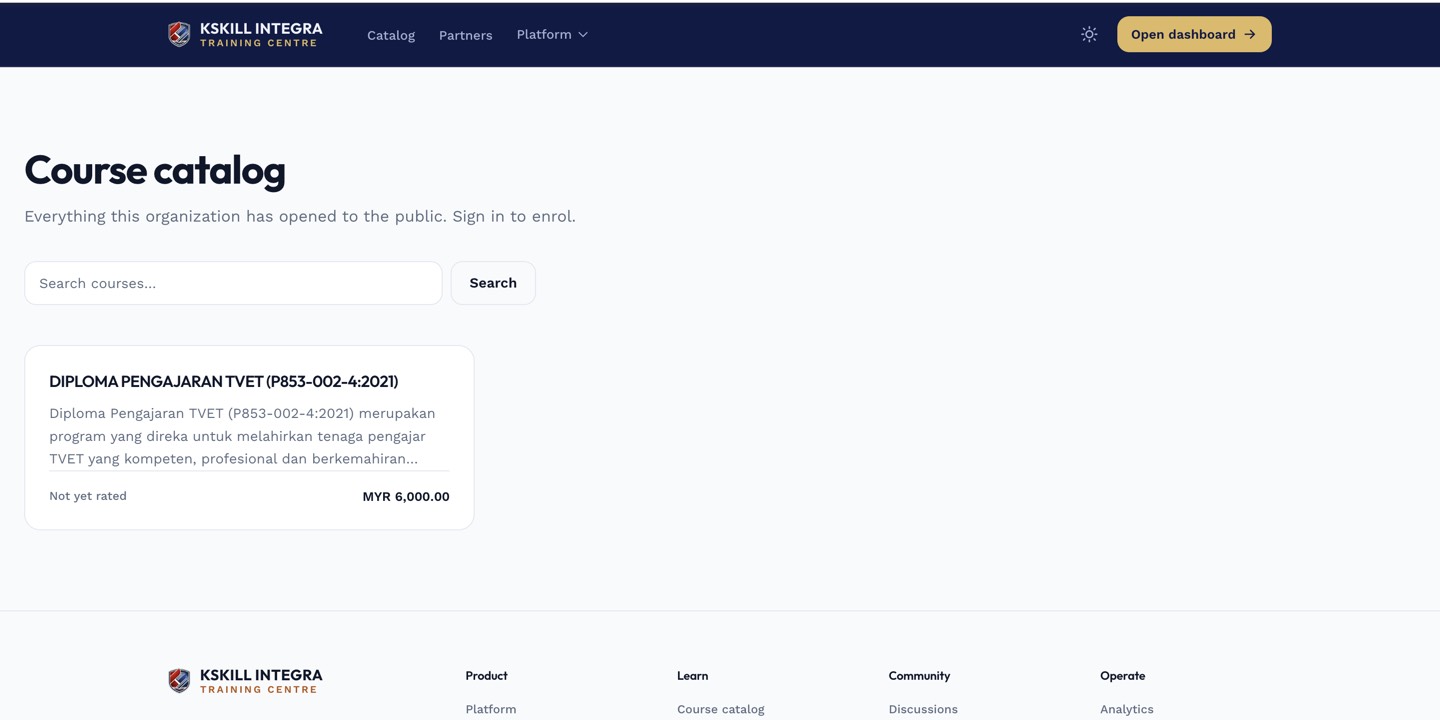
The catalog is the learner-facing shelf of everything a learner is allowed to self-enrol into.
Notes
- Flipping back to Draft hides the course from new enrolments but preserves existing ones.
- A public-in-catalog course still respects branch scoping — it is only public within its branch.