Assigning Users to a Branch
BranchesUpdated September 24, 2026
A user can belong to one branch at a time (or sit outside any branch at the top level). You can set this when you invite someone, or move them into a branch afterward.
At invite time
- Open Manage → Users and click Invite user.
- Fill in the usual details — name, email, role.
- Choose a branch from the Branch field in the invite drawer, including any nested sub-branch.
- Send the invite. The user lands in that branch as soon as they accept.
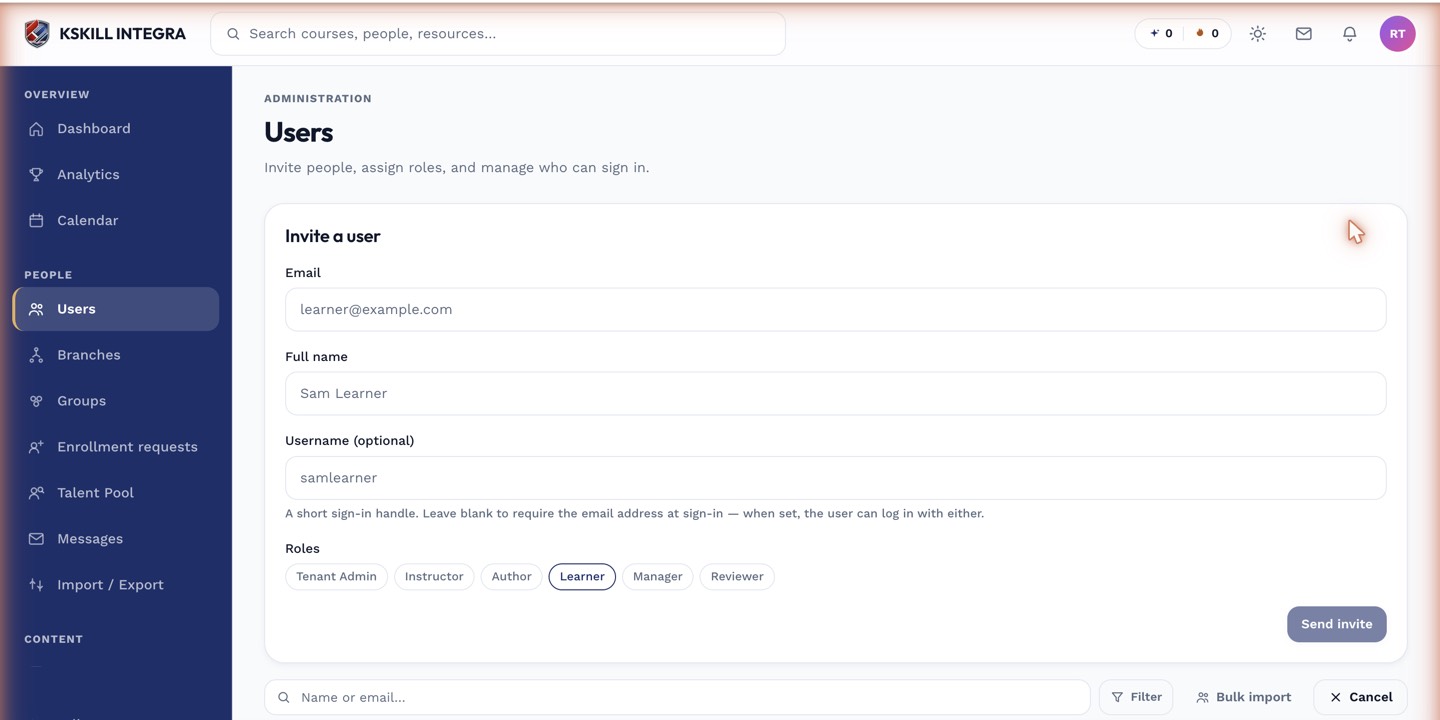 The branch field in the invite drawer accepts any branch, including nested sub-branches.
Moving an existing user
Open the user's record from the Users list and change the branch field, then save. This immediately regroups them — their branch membership updates, but their course access and progress are untouched, since the catalog isn't branch-specific.
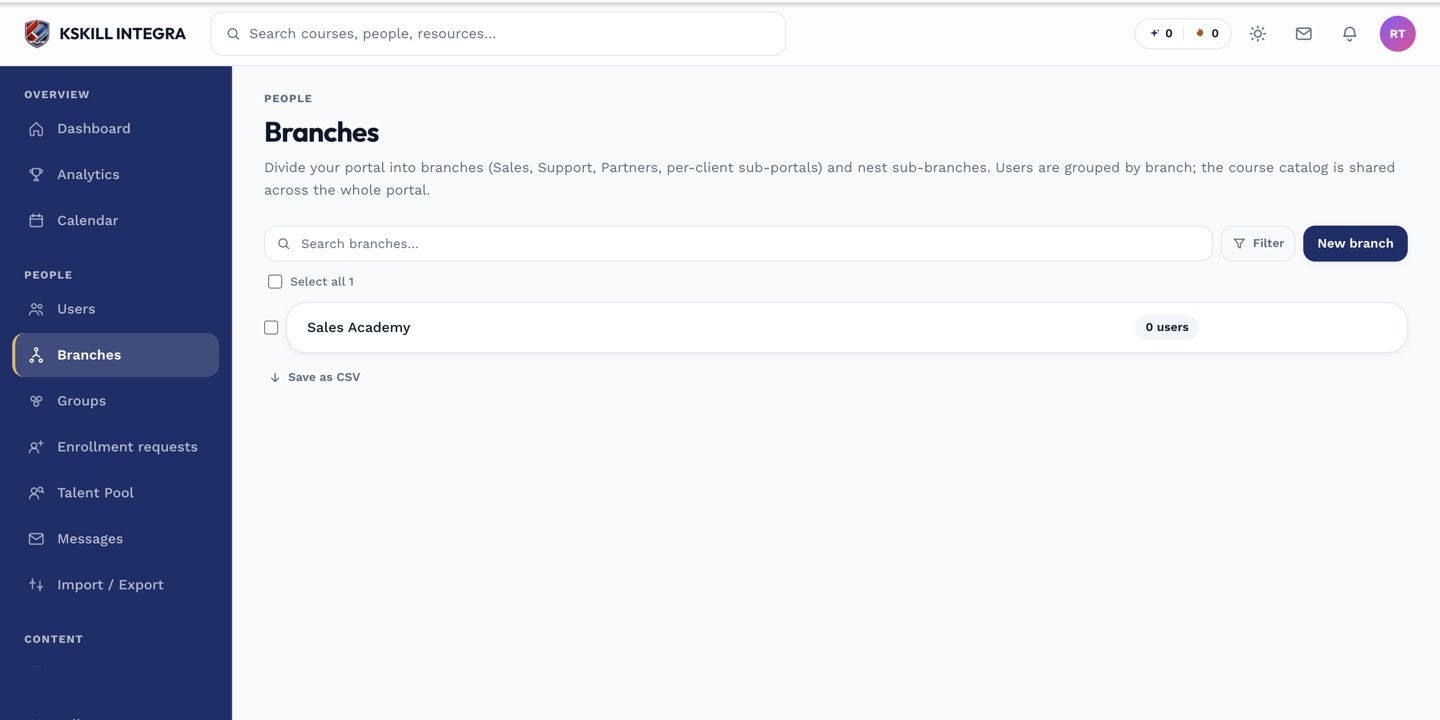 Each branch's roster count updates as soon as a user is assigned or moved.
Notes
Moving a user between branches only changes who groups them and, if configured, which payment settings apply to them — it never changes which courses they can see.
What next?
#branches#users#roster#admin#assignment