Create your first slide deck
This article covers building your first slide deck end-to-end.
Before you start
You need the Admin or Instructor role and an existing course draft to hold the deck.
Step 1 — Add a Slide unit
Open the course editor, click Add unit in a section, and pick Slide deck. The Slide Builder opens with a blank first slide ready for content.
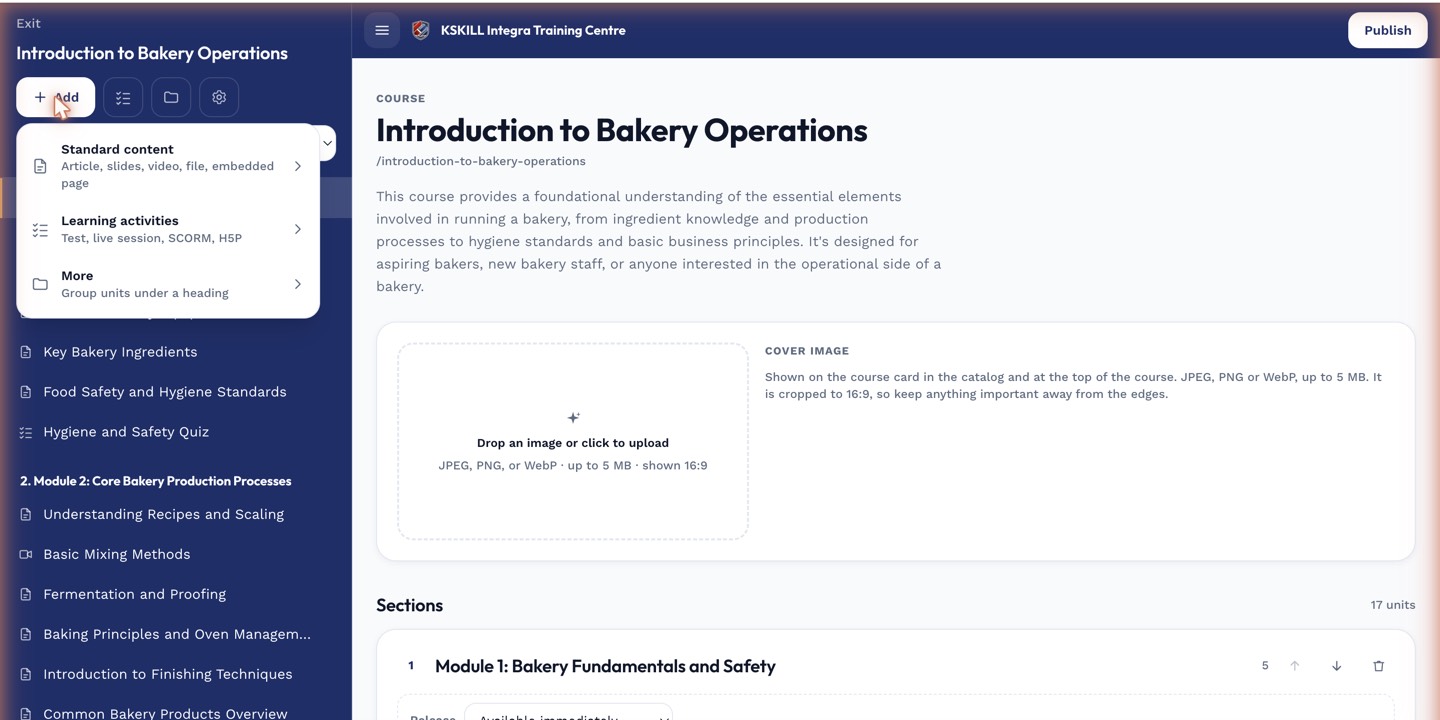
The lesson-type picker is the same one whichever section you add into.
Step 2 — Author the slides
Add slides using the plus icon at the bottom of the thumbnail rail. Drop blocks — text, image, quiz — onto each slide. Reorder slides by dragging in the thumbnail rail. Style blocks with the right-hand properties panel.
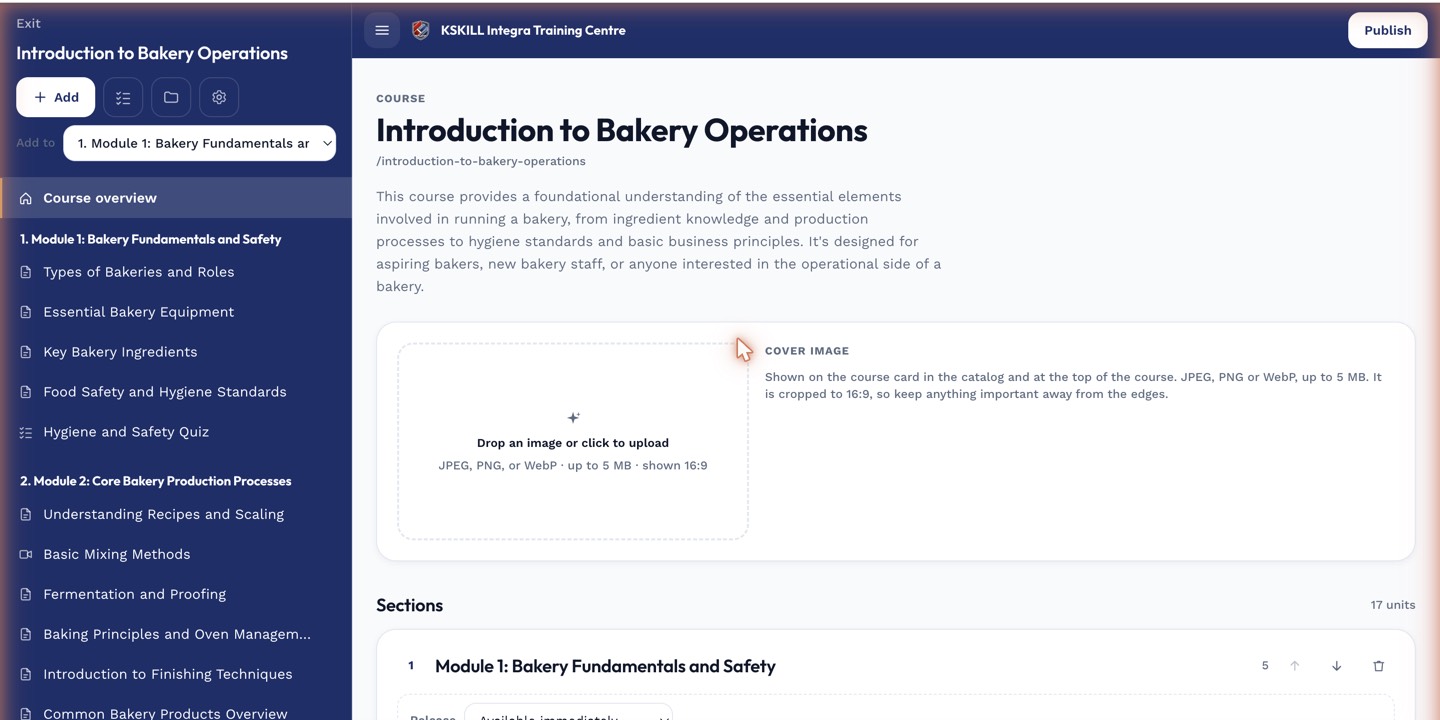
The editor is where sections and units live — everything you configure per-course starts here.
Step 3 — Preview and save
Click Preview to run through the deck as a learner would. Fix any awkward pacing or overflowing text. Save. The deck is live as soon as the enclosing course is published.

My Courses is the learner's grid of everything they are currently enrolled in.
Notes
- Save early and often — the builder autosaves but a hard-crashed tab can lose recent unsaved changes.
- For legacy PPTX content, use the import article rather than rebuilding by hand.