Configure webhooks
Webhooks push events to your systems as they happen. This article covers registering an endpoint and verifying signatures.
Before you start
You need the Admin role and a public URL your endpoint listens on.
Step 1 — Open Webhooks
Open Configuration → Settings and pick Webhooks. The list shows every registered endpoint with the event types it subscribes to and the health of the last few deliveries.
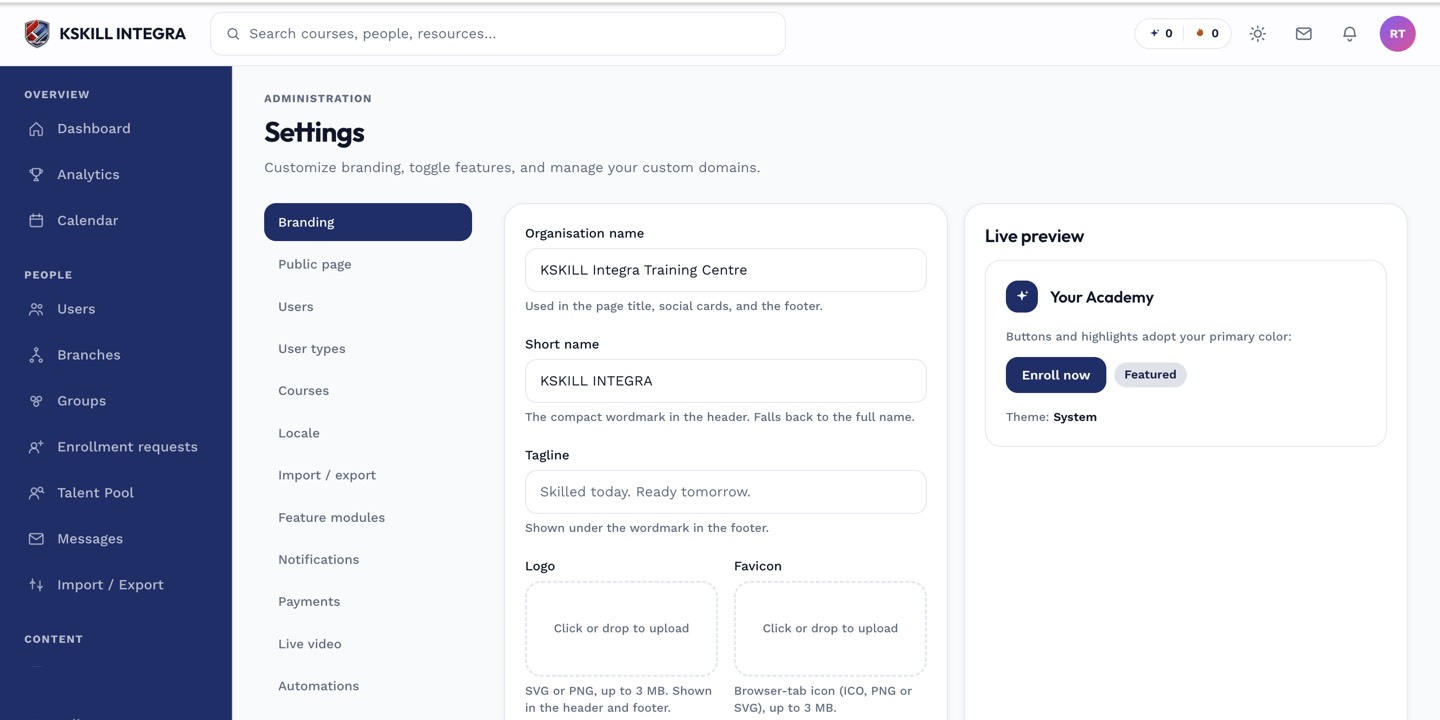
The Settings page is the single home for every tenant-level toggle.
Step 2 — Register an endpoint
Click New webhook. Paste your endpoint URL, pick the events you care about (enrolment.created, completion.happened, etc.), and copy the signing secret. Save. Every fired event now POSTs to your endpoint with a signature header.
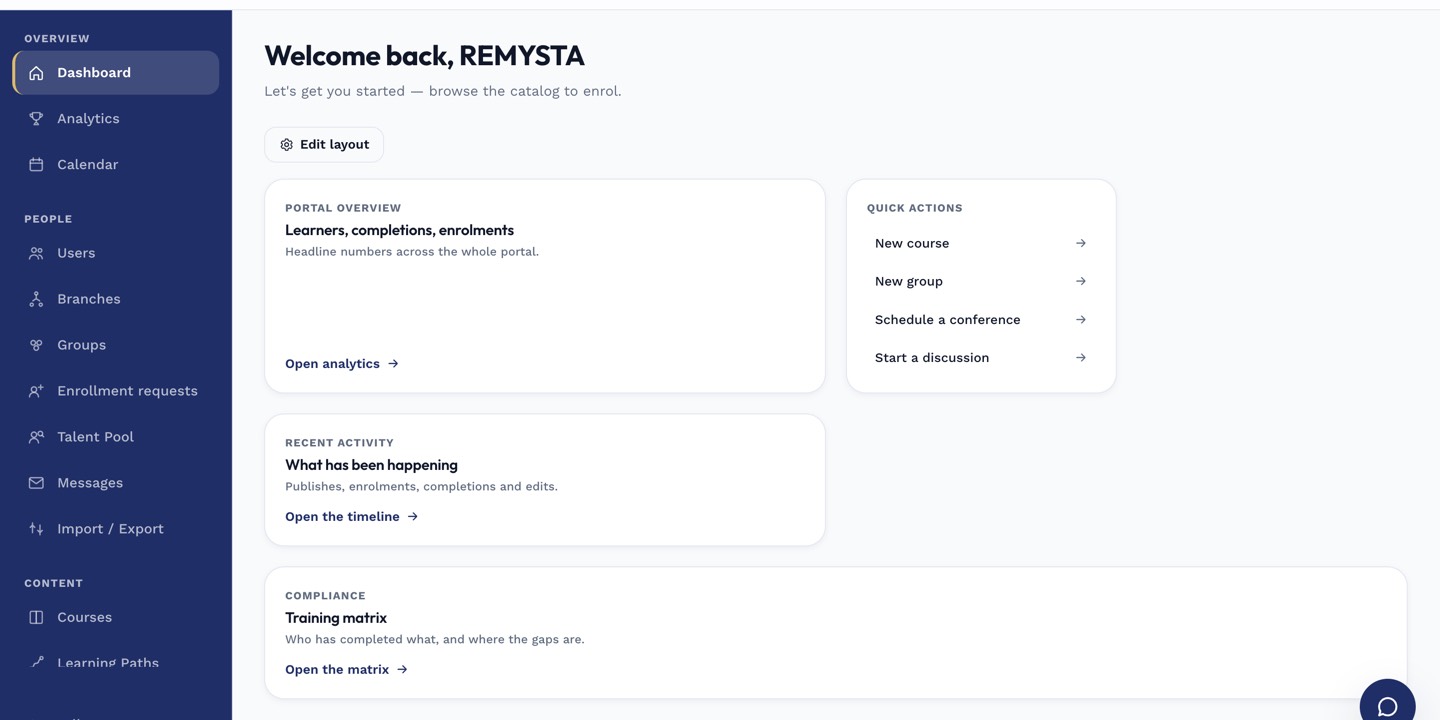
The left rail is the anchor for every admin task; every screen you visit starts with a click here.
Step 3 — Verify the signature
Every delivery includes an X-Signature header computed with HMAC-SHA256 of the body using your signing secret. Verify the signature before trusting the payload — otherwise anyone can spoof events. Failed deliveries retry with exponential backoff.
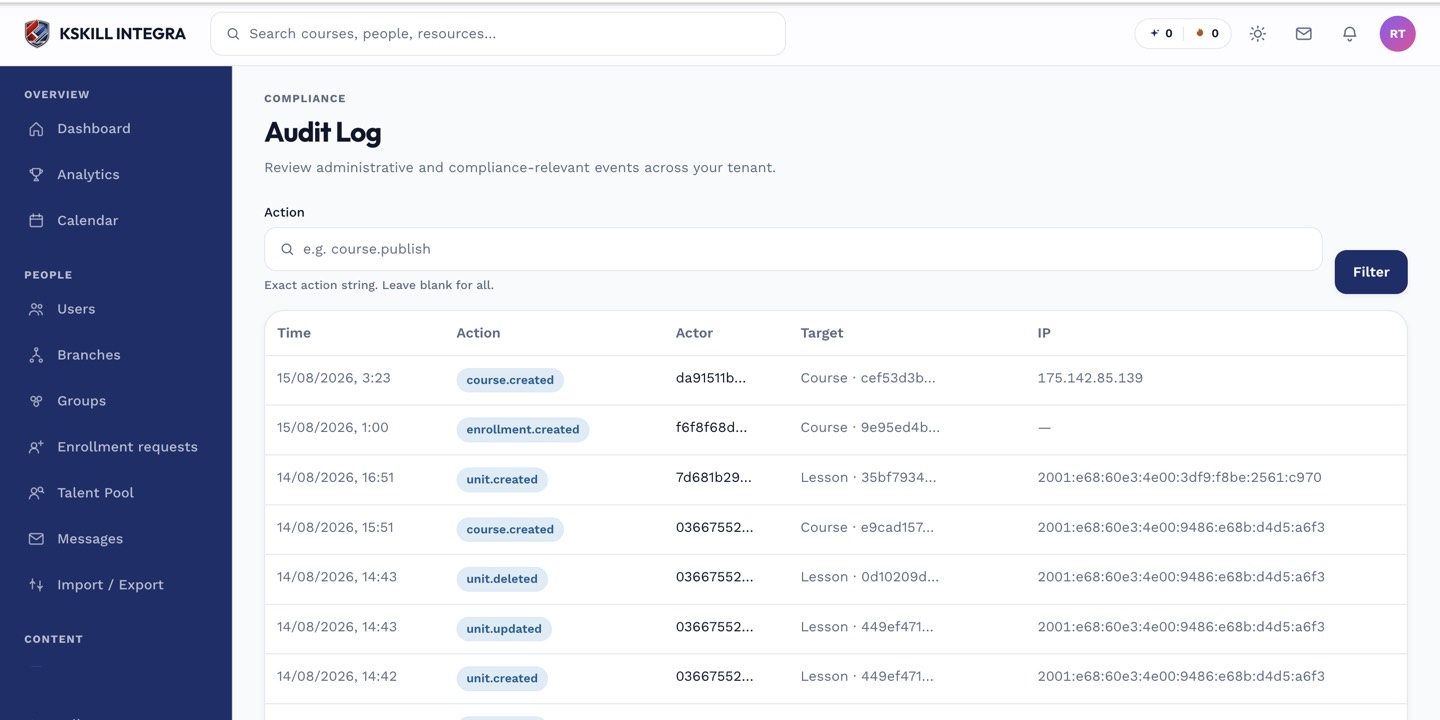
The audit log is your immutable record of who did what.
Notes
- The signature is over the raw body; do not JSON.stringify inside your verify step.
- For a testing endpoint, tools like RequestBin work well.