Create a Branch (sub-portal)
A branch is a sub-portal with its own users, courses and branding. Use it when you sell training to multiple client organisations from one install.
Before you start
You need the Admin role and the branches feature enabled on your tenant.
Step 1 — Open Branches
Open People → Branches. The list shows every existing branch with its user count, courses and admin. Click New branch to open the drawer.
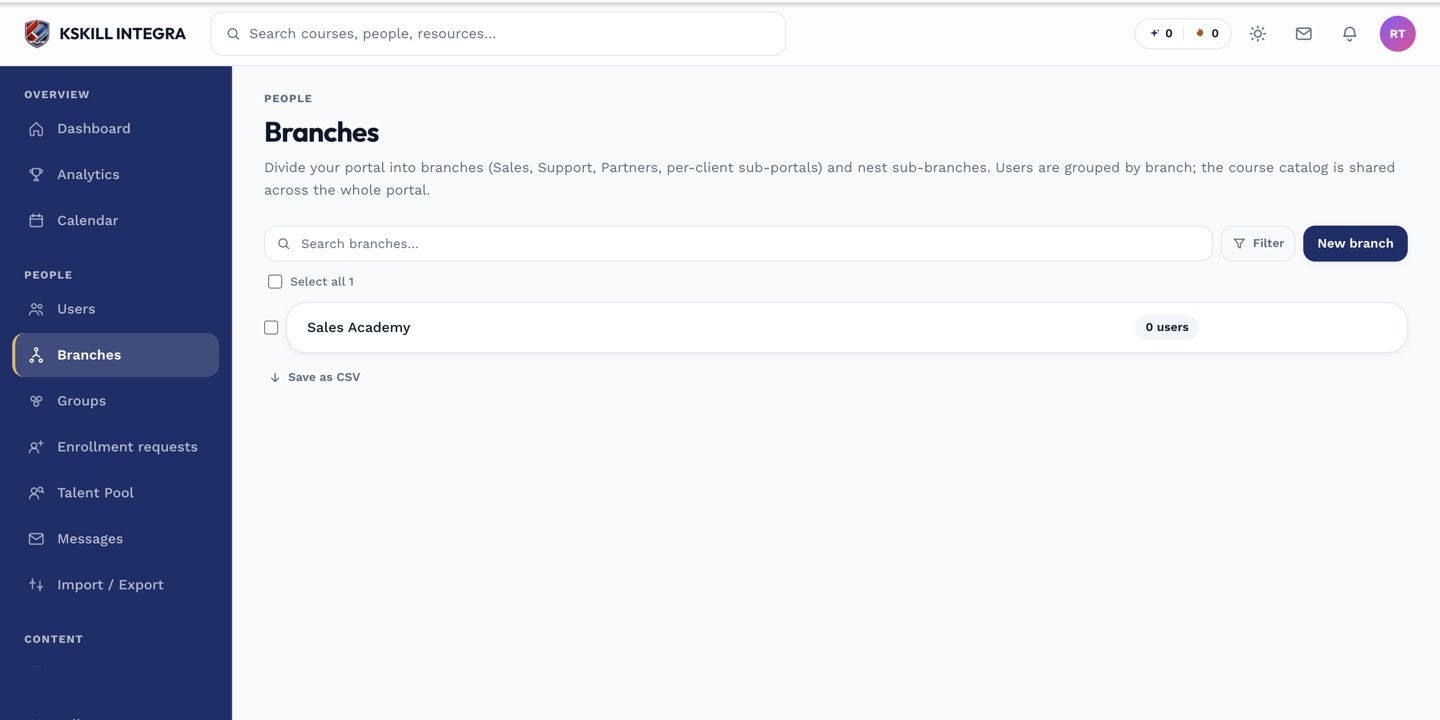
The Branches list is the roll-up view of every sub-portal on the tenant.
Step 2 — Fill the branch drawer
Enter a name (e.g. Malaysia), a slug (used in the URL), and optionally a signup key that lets users self-register into this branch. Pick a branch admin who will manage it day-to-day. Save.
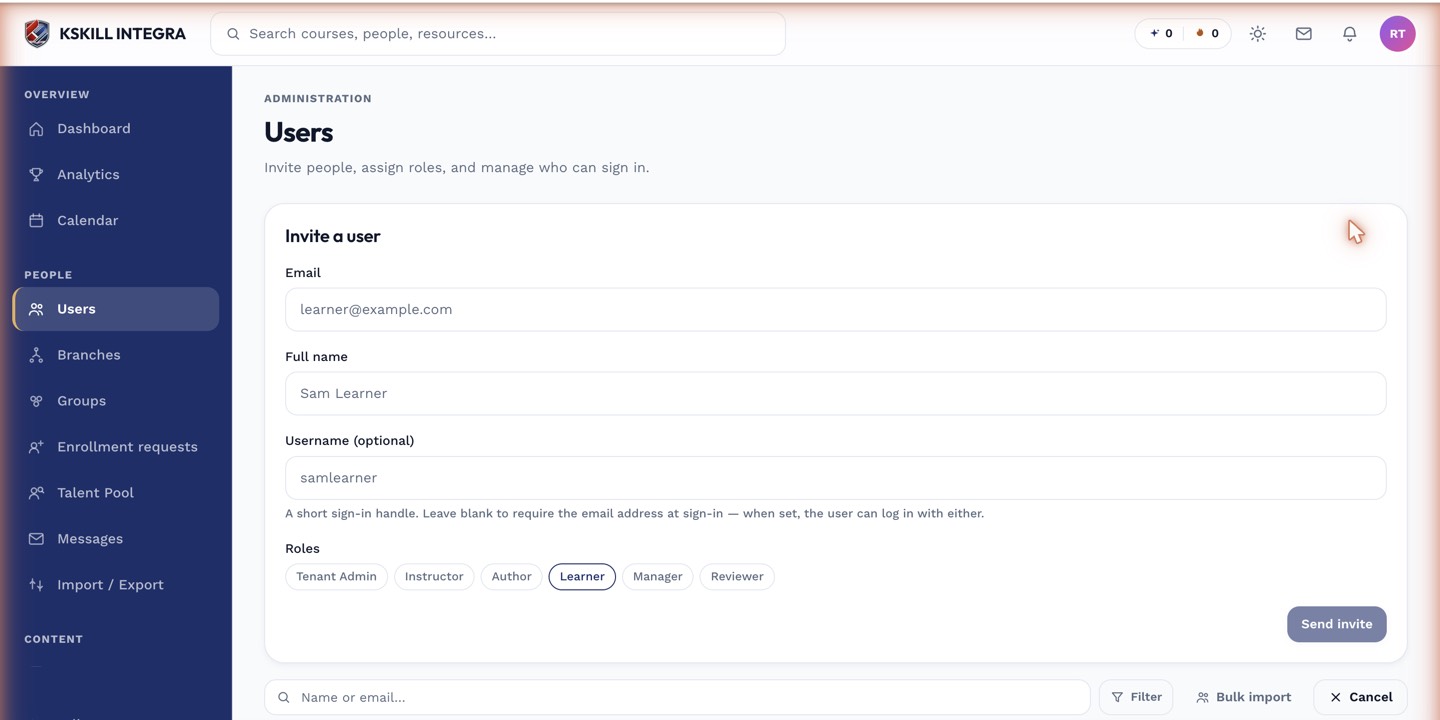
The invite drawer is the same shape whichever role you assign.
Step 3 — Attach courses and users
Open the new branch and use the tabs to attach courses and invite users. Users in this branch cannot see users or courses from any other branch — that isolation is what makes branches useful.
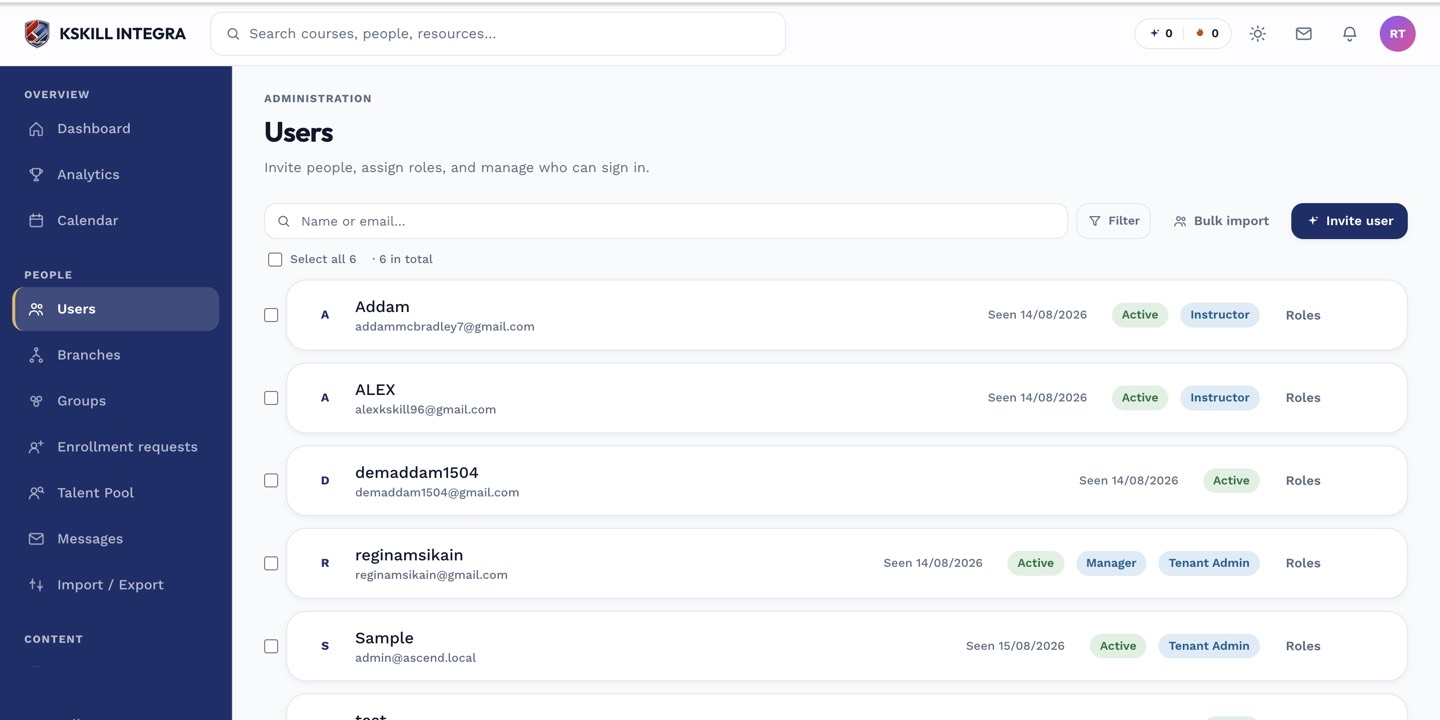
The Users list is the entry point for every person-related admin task.
Notes
- Branches can override tenant branding, payment provider and email templates.
- For simple department separation without full isolation, use Groups instead.