LTI 1.3 platform config (deep dive)
This deep-dive covers registering the LMS as an LTI platform for a peer tool consumer.
Before you start
You need the Admin role and admin access on the peer tool.
Step 1 — Open LTI Platform config
Open Configuration → Settings → LTI. The Platform tab lists your issuer URL, JWKS endpoint, deployment id and login initiation URL — every value the peer tool needs.
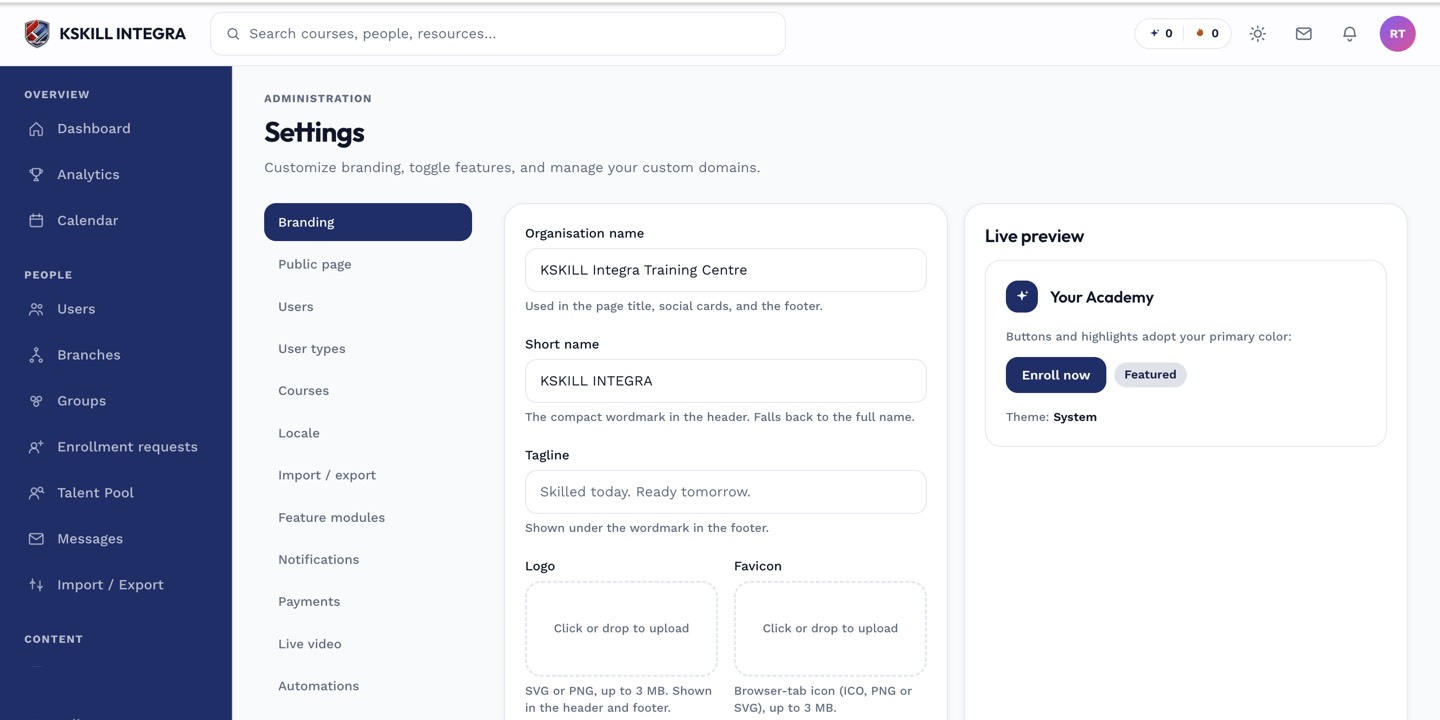
The Settings page is the single home for every tenant-level toggle.
Step 2 — Share with the peer tool
Copy each value into the peer tool's LTI registration form. Registration usually asks for issuer, client_id, deployment_id, auth_login_url, auth_token_url and JWKS URL. Save on their side; the peer generates its own client credentials.
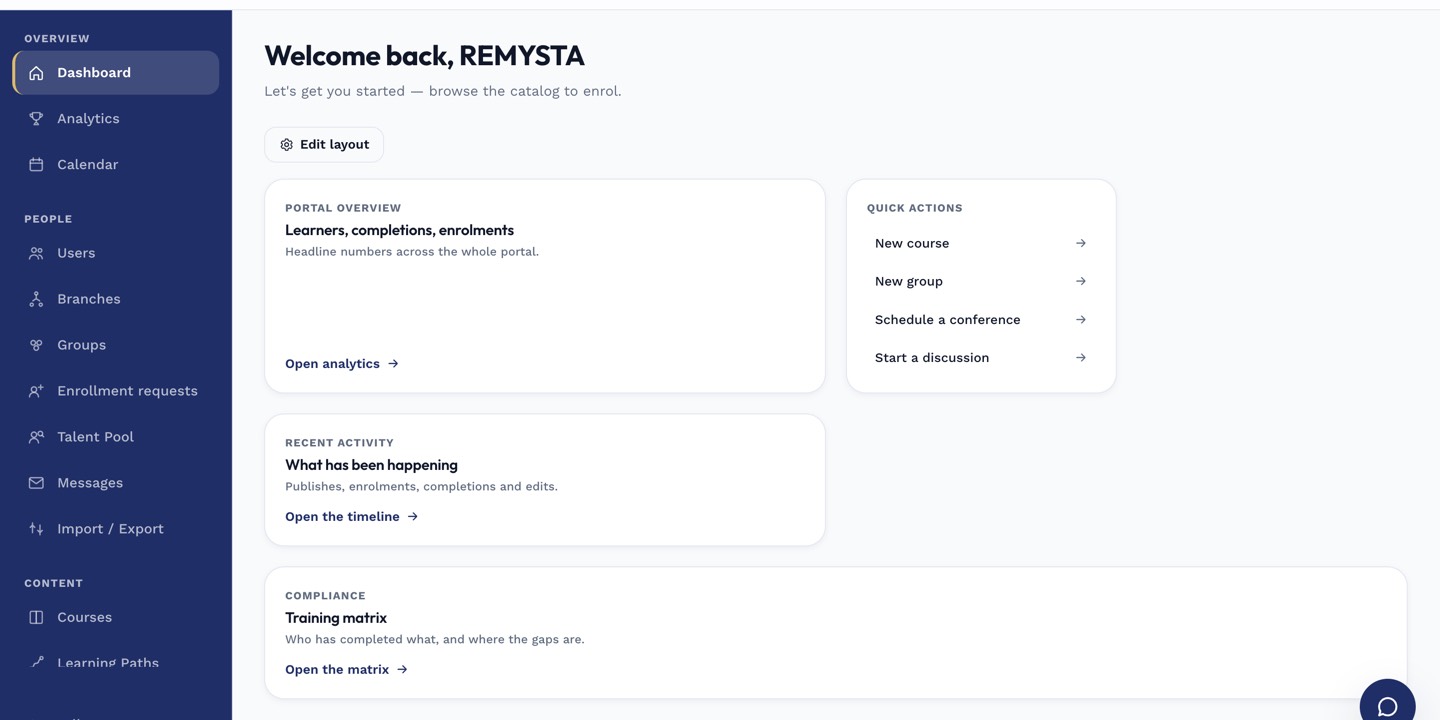
The left rail is the anchor for every admin task; every screen you visit starts with a click here.
Step 3 — Register the peer tool here
Come back to the LTI page and click Register tool. Enter the peer's client_id and their public JWKS URL. Save. Launch a test resource from the peer to confirm the handshake works.
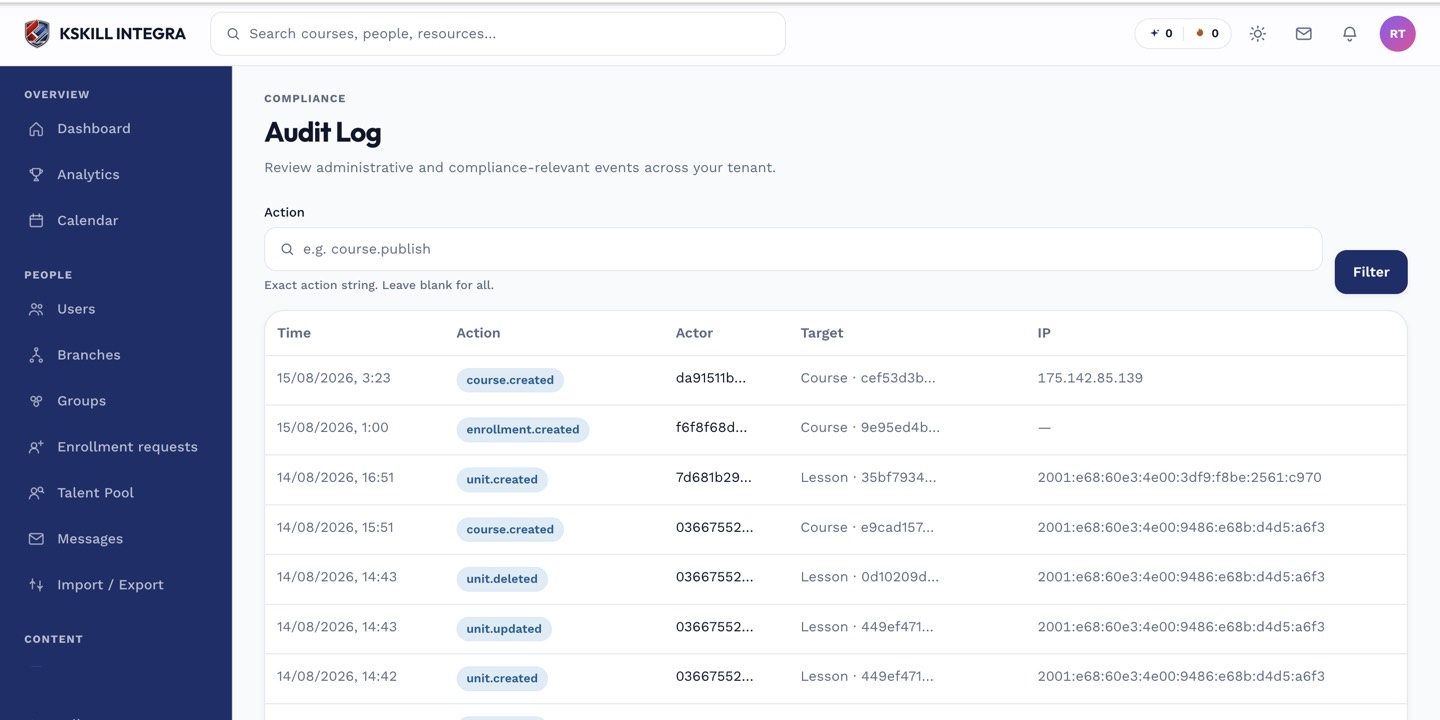
The audit log is your immutable record of who did what.
Notes
- The handshake is OIDC-based — no shared secrets, no bearer tokens travelling in the clear.
- Grade passback via AGS is separate; see the AGS deep dive.