SCIM provisioning
SCIM auto-provisions users from your identity provider into the LMS. This article covers turning it on.
Before you start
You need the Admin role and an SSO IdP that supports SCIM (Okta, Azure AD, OneLogin).
Step 1 — Enable SCIM on the LMS
Open Configuration → Settings → Integrations and pick SCIM. Toggle it on. The page reveals the SCIM base URL and a bearer token; copy both.
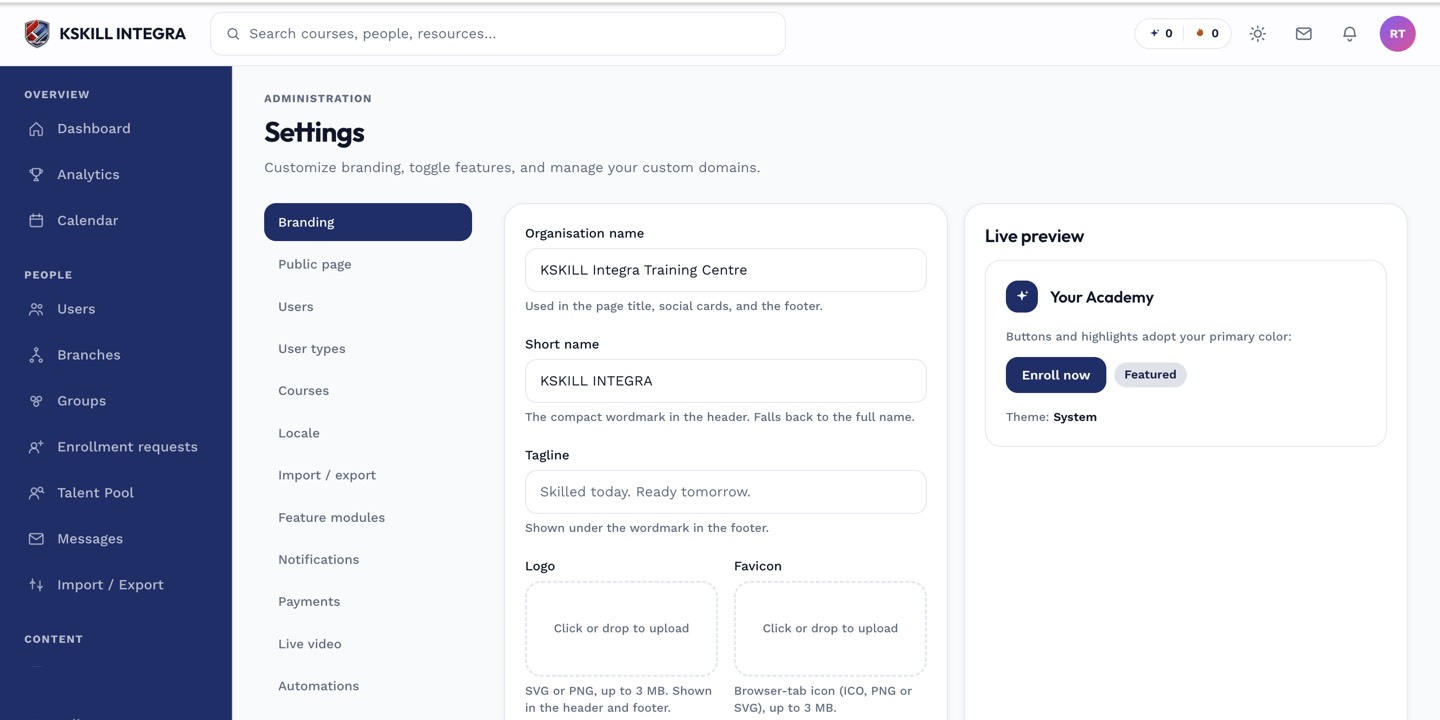
The Settings page is the single home for every tenant-level toggle.
Step 2 — Configure SCIM on the IdP
In your IdP, open the SSO app you already configured. Enable SCIM provisioning. Paste the LMS's SCIM base URL and bearer token. Map user attributes and pick which IdP groups sync as LMS groups.
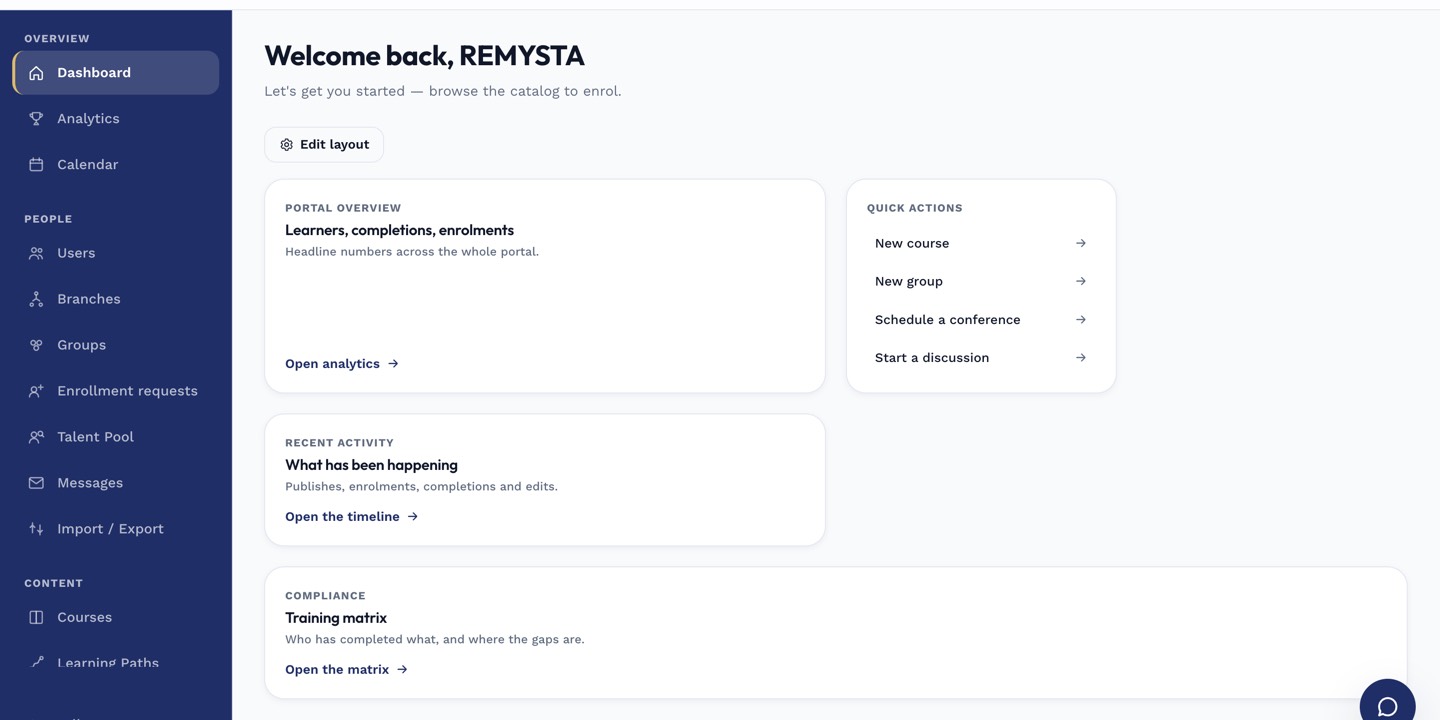
The left rail is the anchor for every admin task; every screen you visit starts with a click here.
Step 3 — Verify the sync
Assign a test user to the IdP app. Within a few minutes they should appear on the LMS Users page, provisioned with their SSO email. Deactivate on the IdP side — they should deactivate on the LMS side within the sync interval.
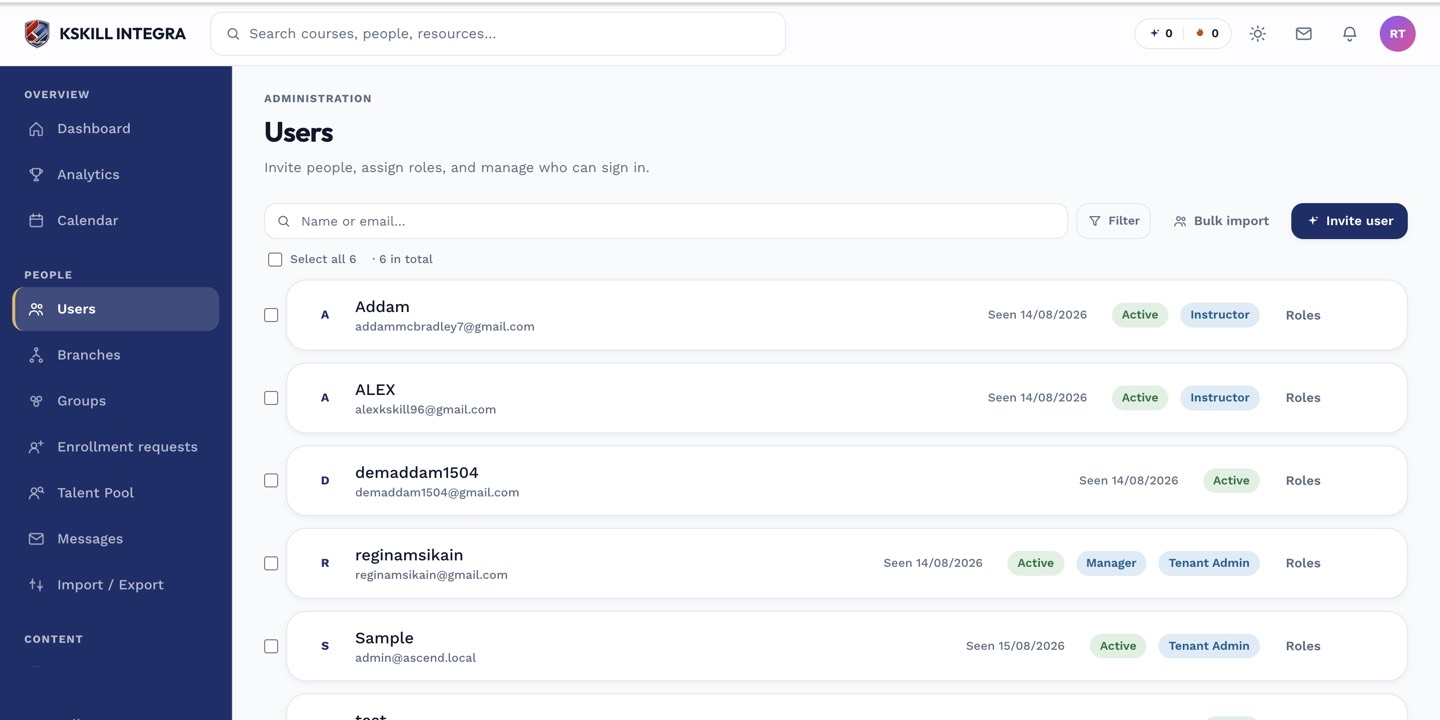
The Users list is the entry point for every person-related admin task.
Notes
- SCIM handles create, update and deactivate. It doesn't delete — deletions in the IdP become deactivations on the LMS.
- Combine SCIM with SSO for a hands-off user lifecycle — no manual invites, no orphaned accounts.