Slide Builder overview
The Slide Builder is a block-based authoring tool for interactive slide decks. This tour points at the panels and block types.
Before you start
You need the Admin or Instructor role. Any course can host a slide unit.
Step 1 — Open Slide Builder
Open a course, add a unit and pick Slide deck. The builder opens with a blank first slide, a block palette on the left and a slide-thumbnail rail on the right.
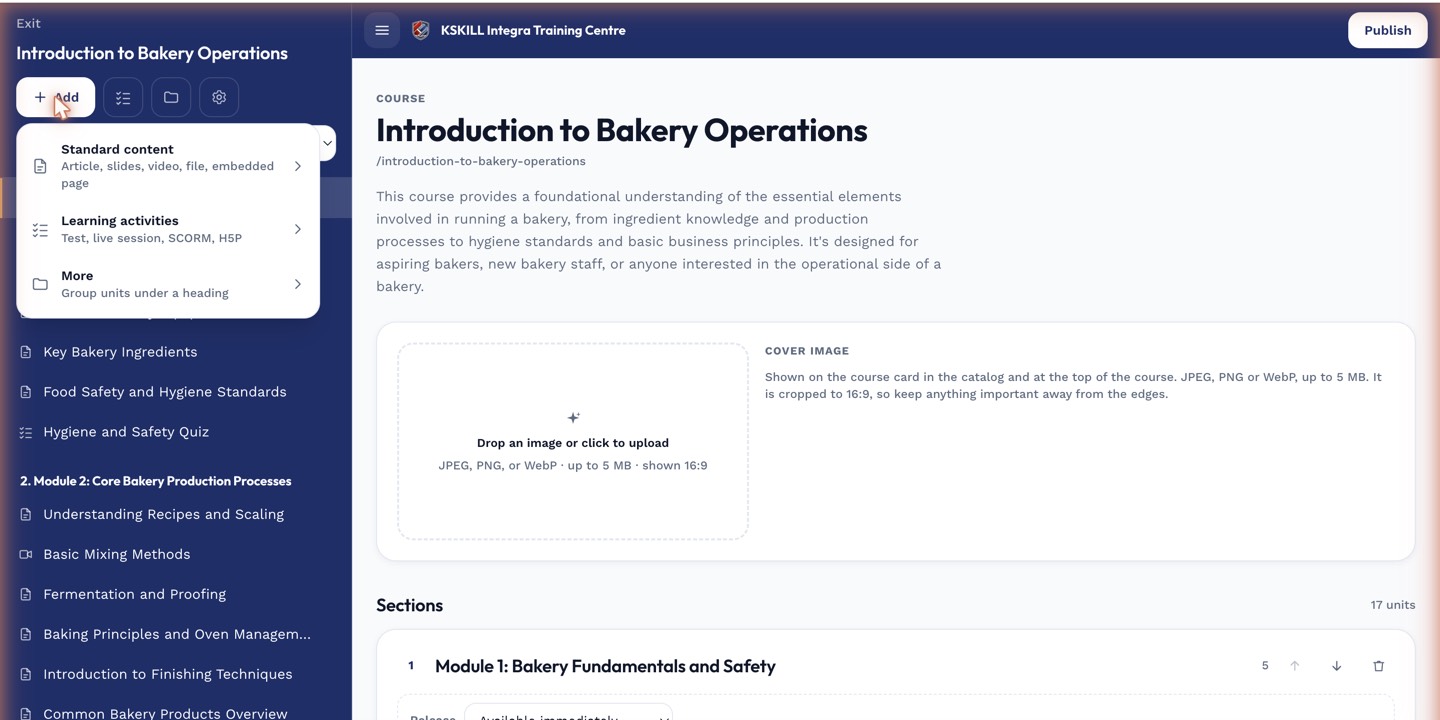
The lesson-type picker is the same one whichever section you add into.
Step 2 — Add blocks to the slide
Drag a block from the palette onto the slide — text, image, video, quiz, hotspot, drag-and-drop. Configure the block's properties in the right rail. Blocks are freely resizable and layerable.
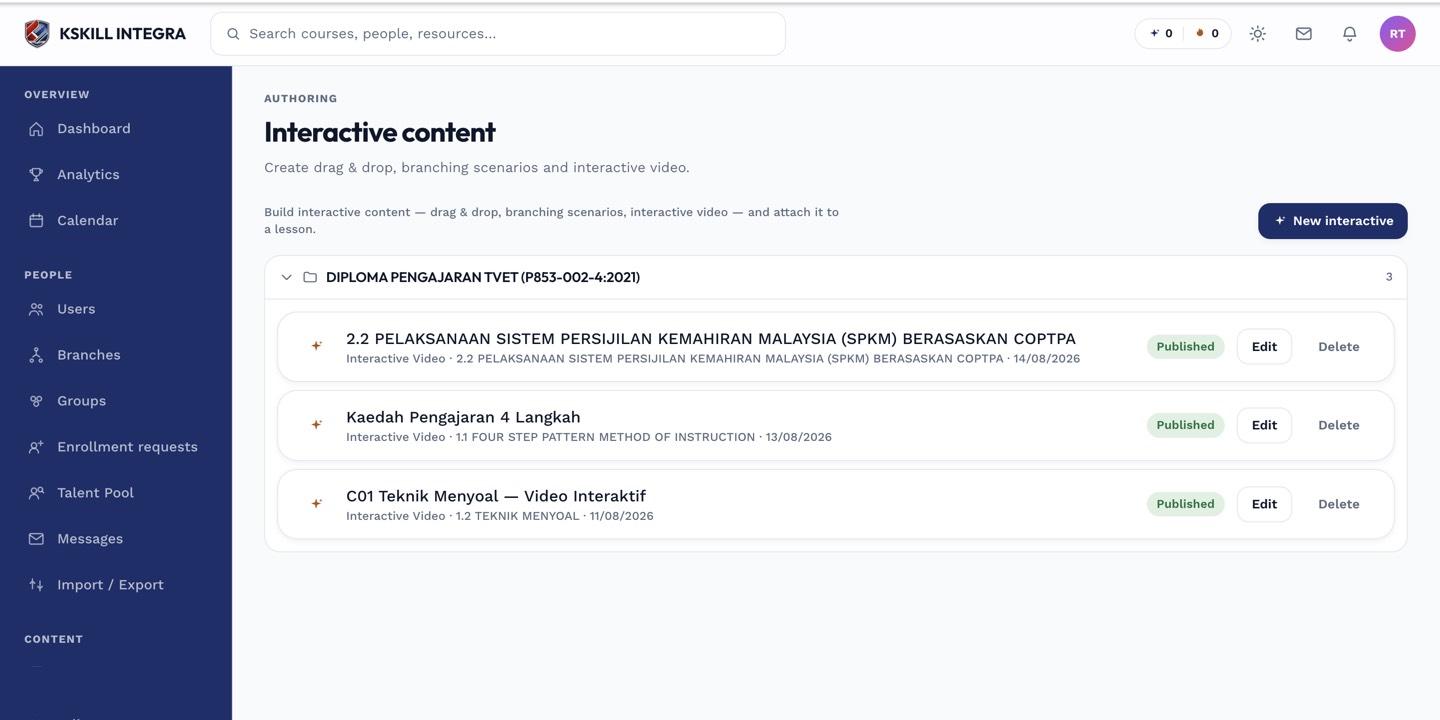
The interactive-content library is where uploaded H5P and SCORM packages are managed.
Step 3 — Preview and publish
Use the Preview button to run the deck as a learner would. Save. The deck is available to learners the moment the enclosing course is published.
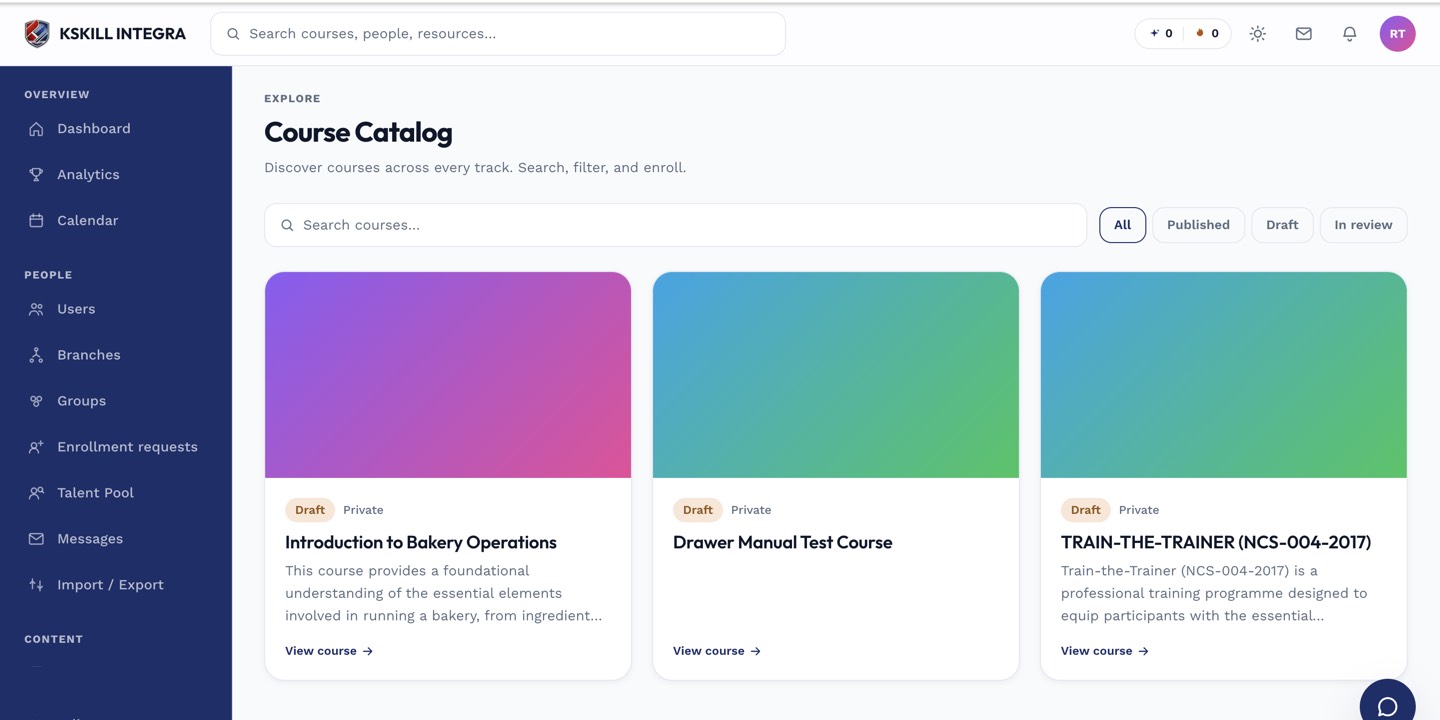
My Courses is the learner's grid of everything they are currently enrolled in.
Notes
- For SCORM-shape exports, use the Export as SCORM article — Slide Builder can produce standards-compliant packages.
- For PDF or PPTX starters, use the Import article.