Upload a cmi5 package
cmi5 is the modern successor to SCORM. This article covers uploading a cmi5 package.
Before you start
You need the Admin or Instructor role and a cmi5 ZIP with a valid cmi5.xml manifest.
Step 1 — Add a cmi5 unit
Open the course editor, click Add unit, and pick cmi5. Drop the ZIP into the upload area.
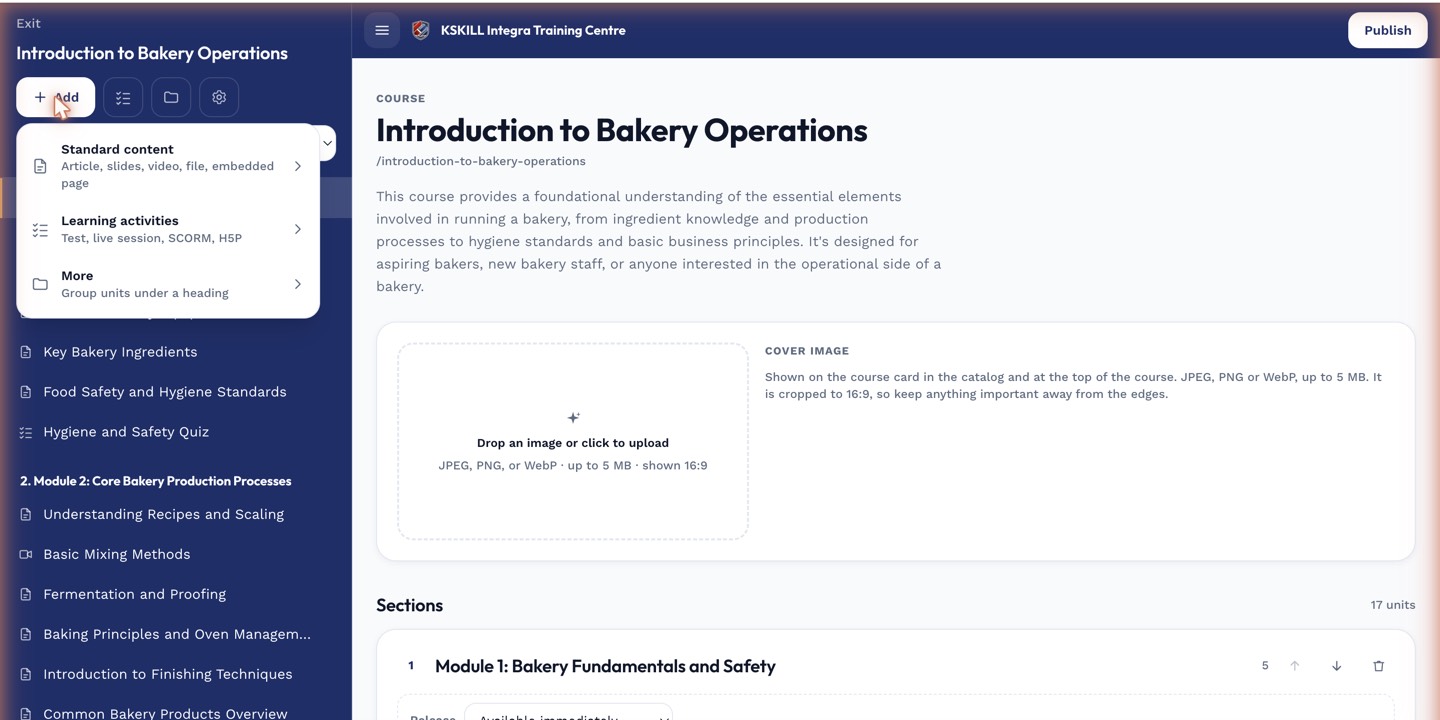
The lesson-type picker is the same one whichever section you add into.
Step 2 — Wait for validation
The platform validates the manifest and extracts assets. cmi5 supports multiple assignable units per package — the validator surfaces each so you can attach them individually if you want.
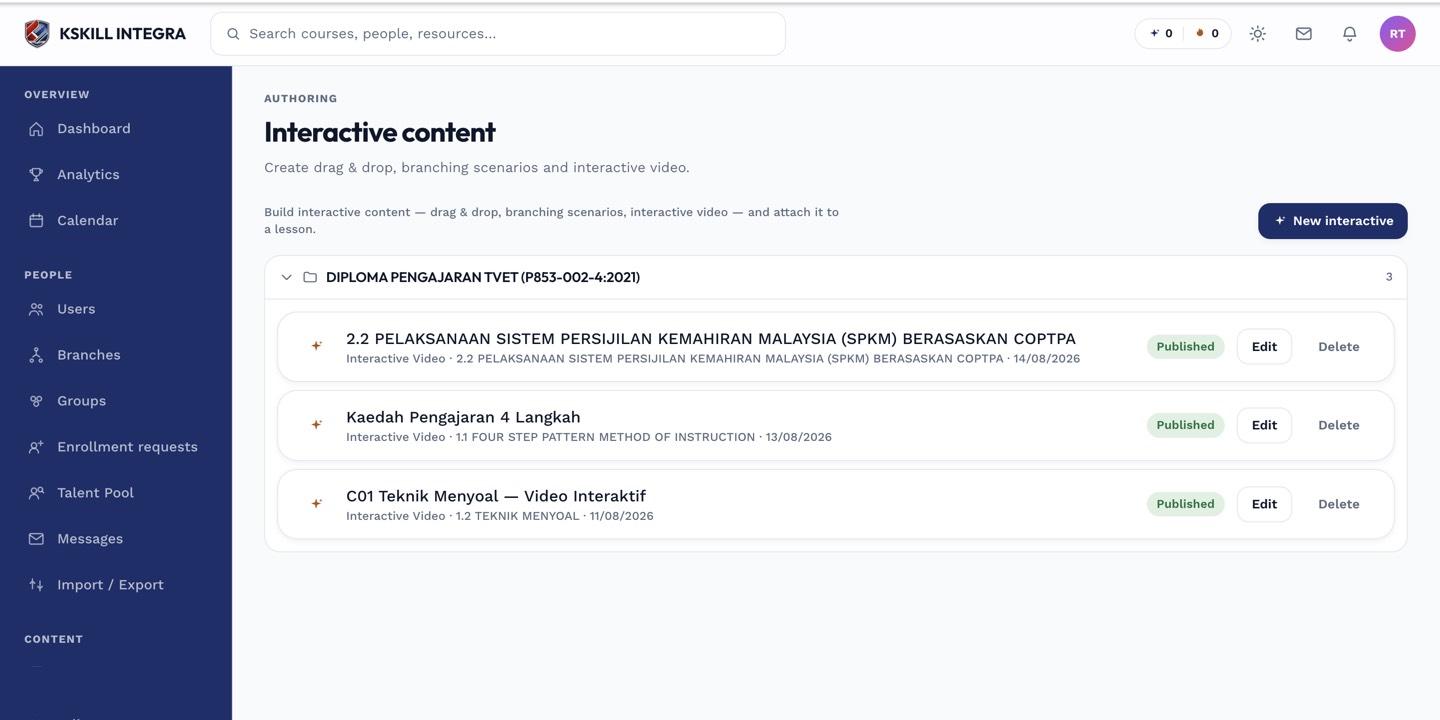
The interactive-content library is where uploaded H5P and SCORM packages are managed.
Step 3 — Preview and save
Click Preview to launch the package. cmi5 reports statements via xAPI to the platform's built-in LRS. Save the unit and it becomes available to learners once the enclosing course is published.
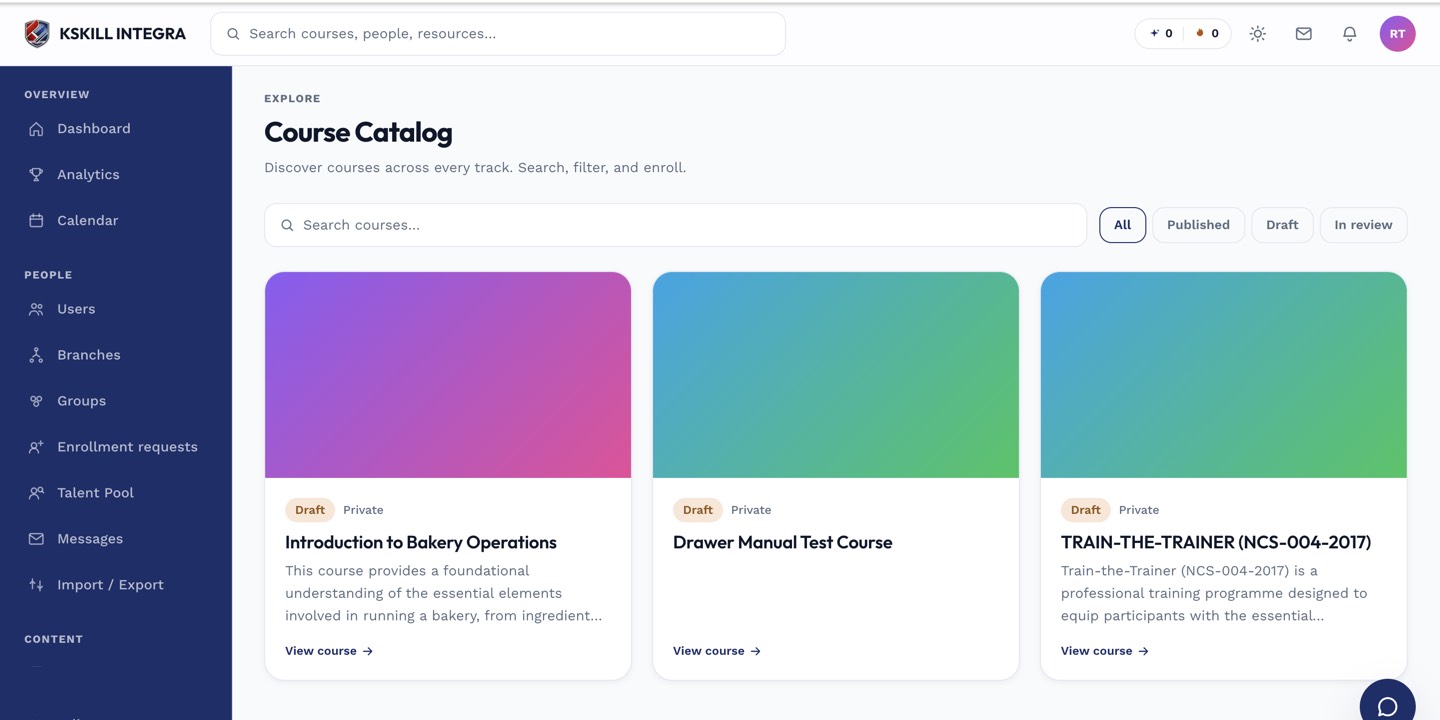
My Courses is the learner's grid of everything they are currently enrolled in.
Notes
- cmi5 is stricter than SCORM about launch parameters — the platform handles the handshake automatically.
- For older content stuck on SCORM 1.2, use the SCORM uploader instead.