Upload a SCORM package
This article covers uploading a SCORM package to a course.
Before you start
You need the Admin or Instructor role and a SCORM package (ZIP) on disk.
Step 1 — Add a SCORM unit
Open the course editor, click Add unit in a section, and pick SCORM. The upload area appears; drop the ZIP.
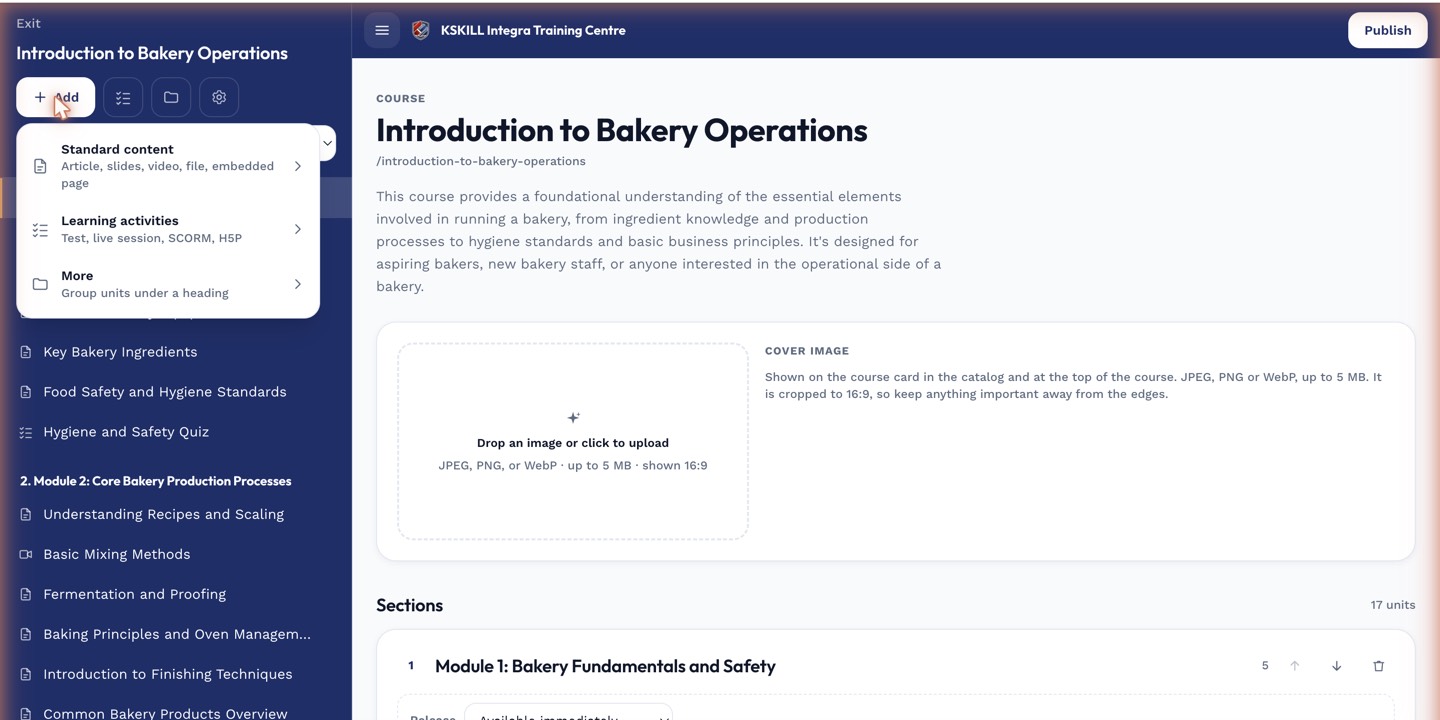
The lesson-type picker is the same one whichever section you add into.
Step 2 — Wait for parsing
The platform parses the manifest, extracts assets, and validates the schema. Big packages take a minute. If parsing fails, an error appears with a specific manifest problem — fix the source and re-upload.
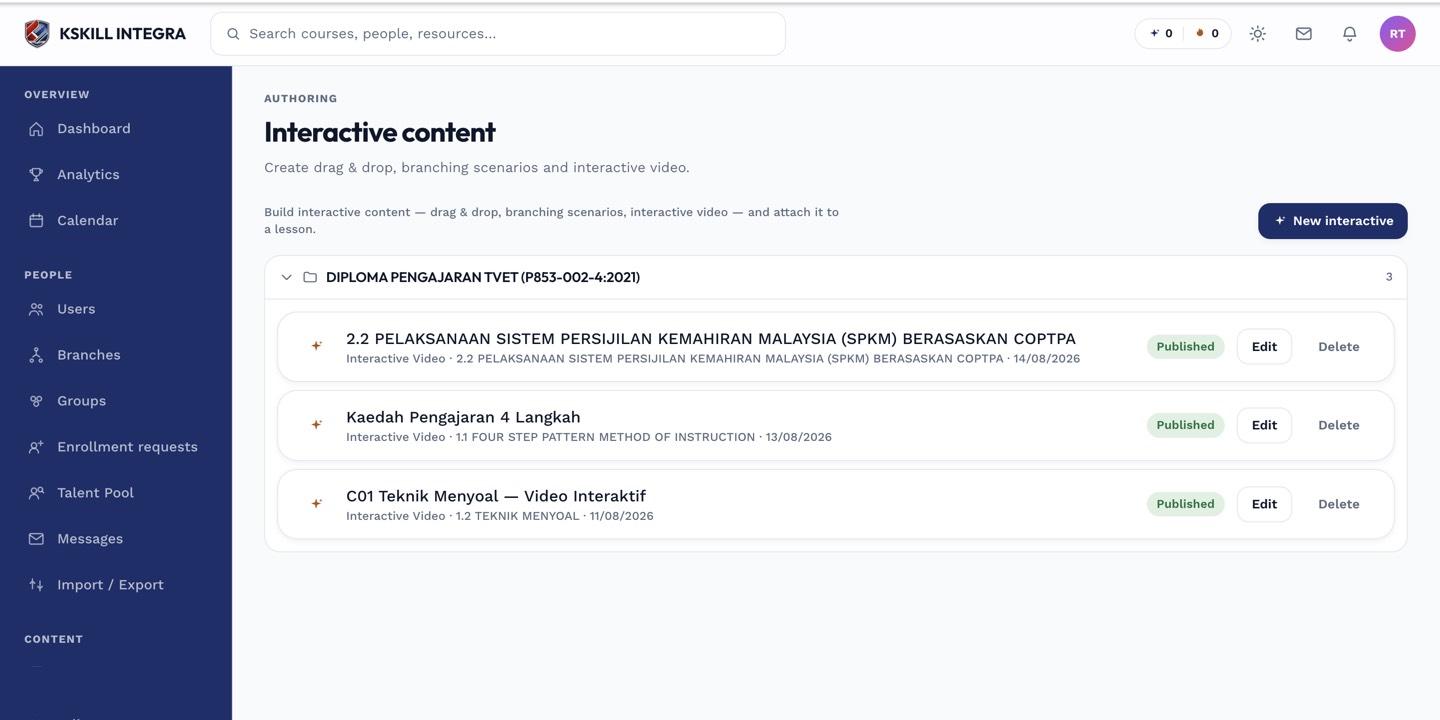
The interactive-content library is where uploaded H5P and SCORM packages are managed.
Step 3 — Preview and save
Once parsing succeeds, click Preview to launch the package. Verify navigation works and completion registers. Save the unit. It is available to learners as soon as the enclosing course is published.
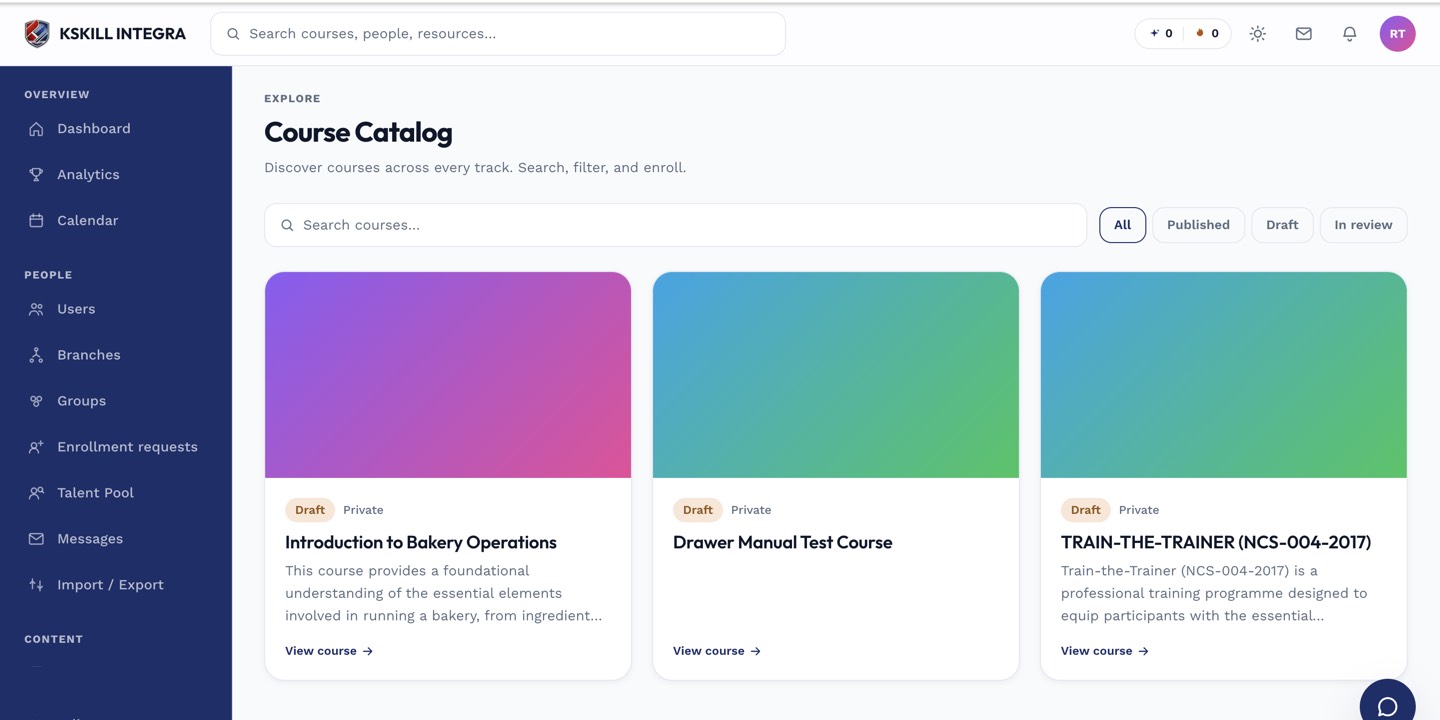
My Courses is the learner's grid of everything they are currently enrolled in.
Notes
- SCORM 1.2 and 2004 are both supported. cmi5 has its own uploader.
- For update-in-place, re-upload the ZIP; existing learner registrations are preserved but progress may reset depending on the package's rules.