Bulk enrolment import
You can enrol thousands of users into courses at once via CSV. This article covers the format and the run.
Before you start
You need the Admin role. Users and courses must already exist.
Step 1 — Download the template
Open Configuration → Settings → CSV templates and download the Bulk enrolments template. Columns are user email and course slug at minimum.
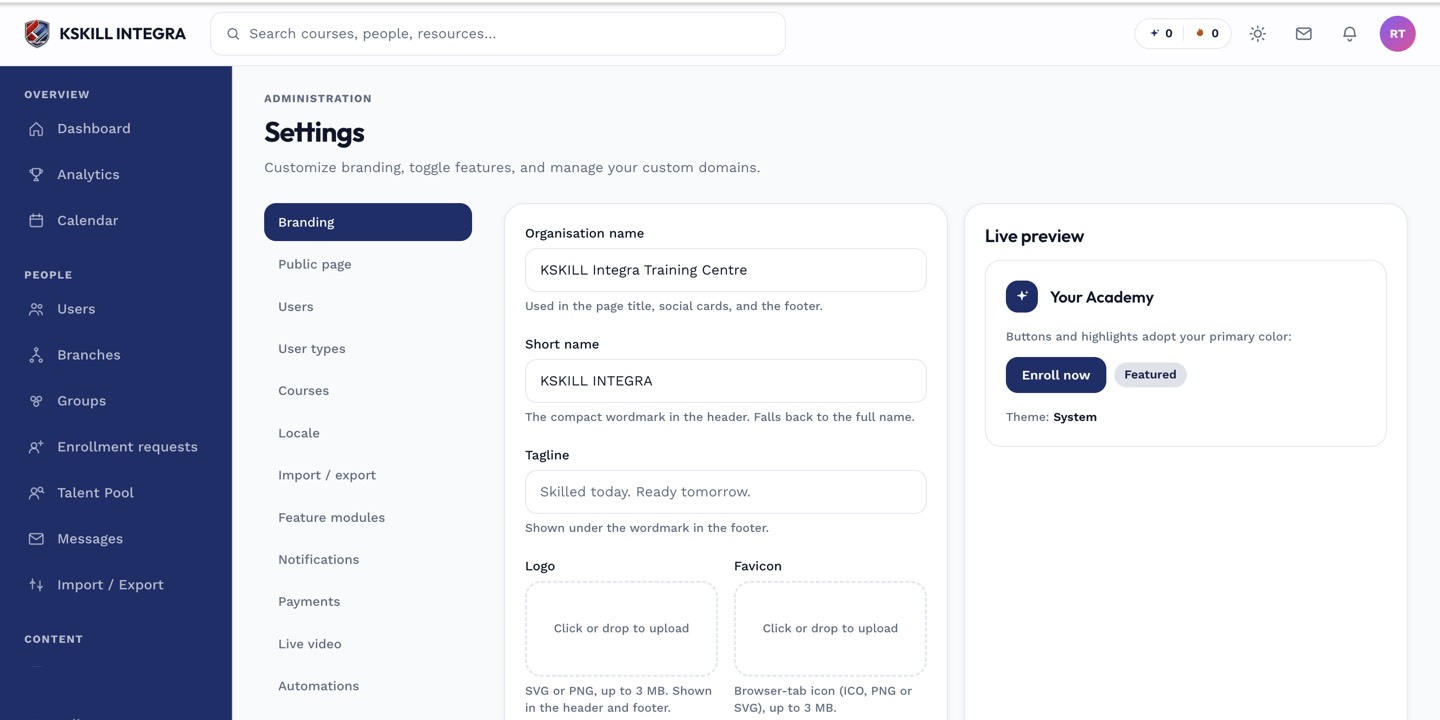
The Settings page is the single home for every tenant-level toggle.
Step 2 — Fill and upload
Populate one row per enrolment. Open Content → Enrolments and click Import bulk. Drop the CSV. The importer enrols every row in the background and produces a summary card at the end.
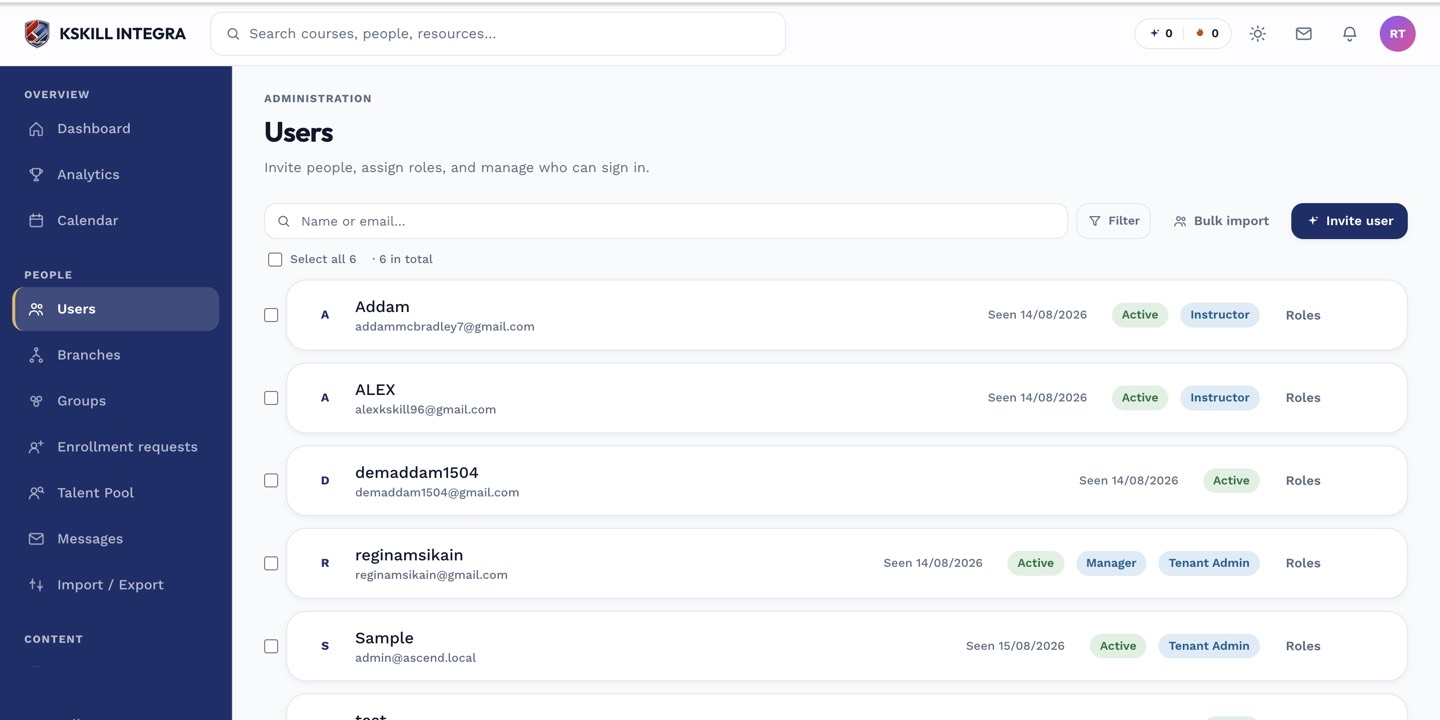
The Users list is the entry point for every person-related admin task.
Step 3 — Handle failures
Failures usually stem from a missing user or a course slug typo. Download the error report, fix the offending rows, and re-import — successful rows are untouched. Idempotent: re-enrolling an already-enrolled user is a silent no-op.
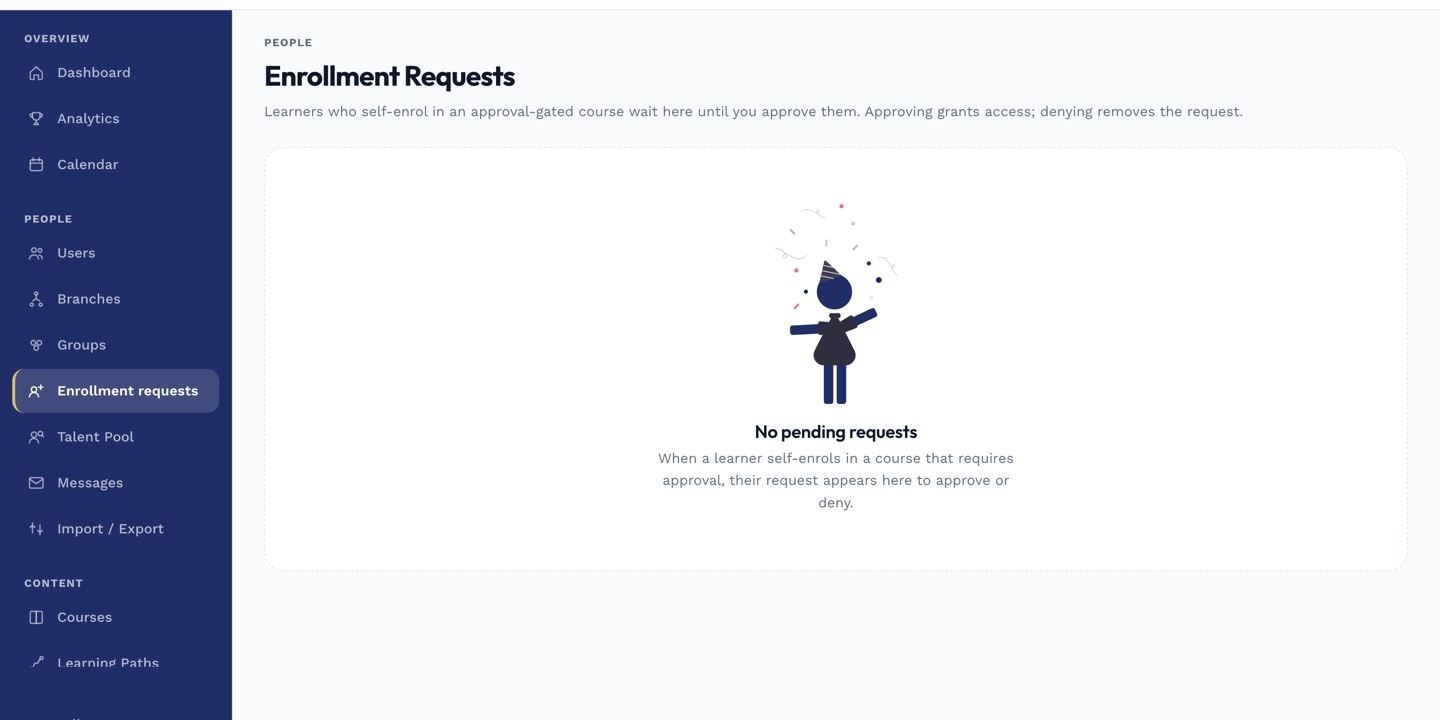
The enrolment-requests page is where restricted-course requests are approved or rejected.
Notes
- Group auto-enrol is usually cleaner — reserve bulk import for one-off migrations.
- Very large imports (over 10,000) should be chunked to avoid long-running jobs.