Configure notifications
Notifications tell learners about new enrolments, upcoming deadlines and grade decisions. This article covers configuring what fires and to whom.
Before you start
You need the Admin role and email delivery configured. In-app notifications work without email.
Step 1 — Open Notification settings
Open Configuration → Notifications. The page lists every event the platform fires — enrolment, completion, certificate awarded, cohort start, and dozens more. Each event has a template and a set of default channels.
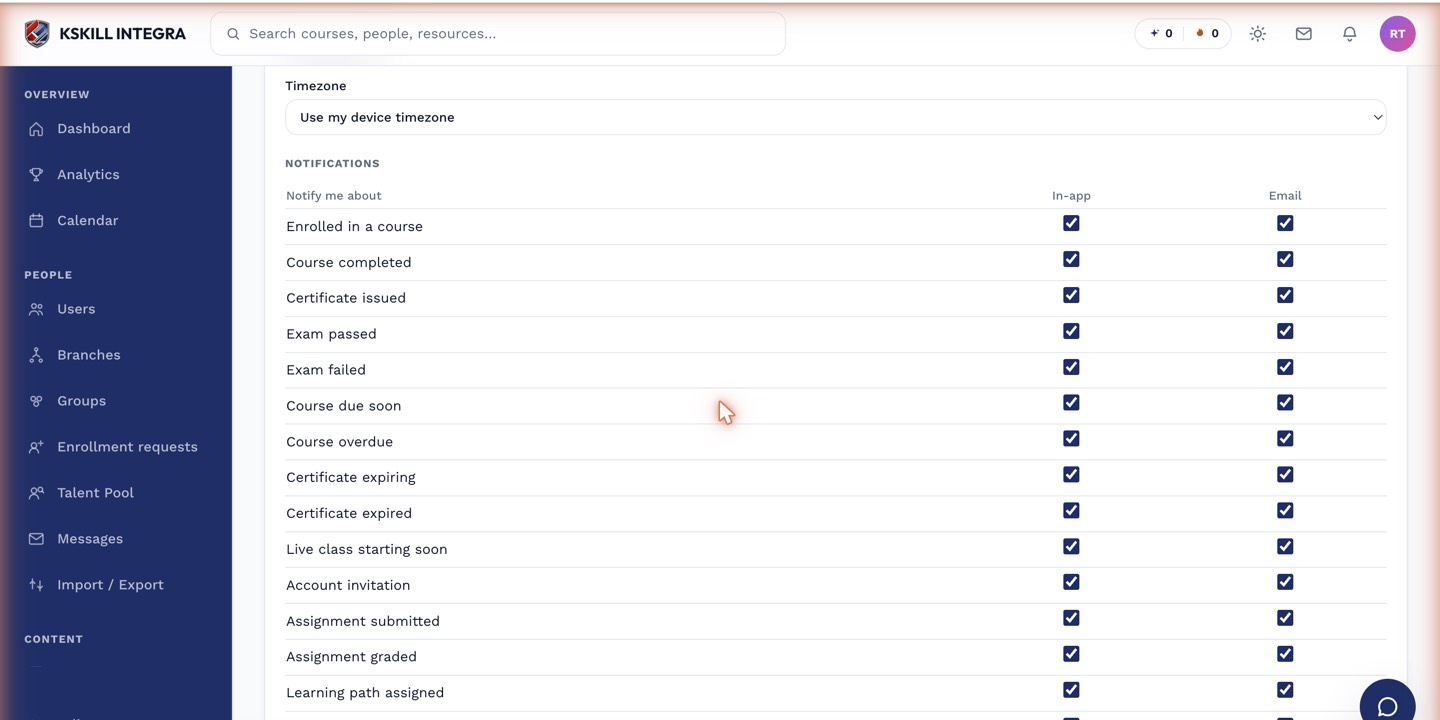
The preferences table is the per-user matrix of every event by every channel.
Step 2 — Edit a template
Click any event to open its template editor. Adjust the subject and body — the editor supports merge tags like {{learnerName}} and {{courseName}}. Preview against a sample record to check the tags resolve, then save.
The preferences table is the per-user matrix of every event by every channel.
Step 3 — Let users tune their preferences
Each user has their own notification preferences on the account settings page. Admins can force certain events to be non-optional (compliance reminders, for example). Everything else respects the user's per-channel toggles.
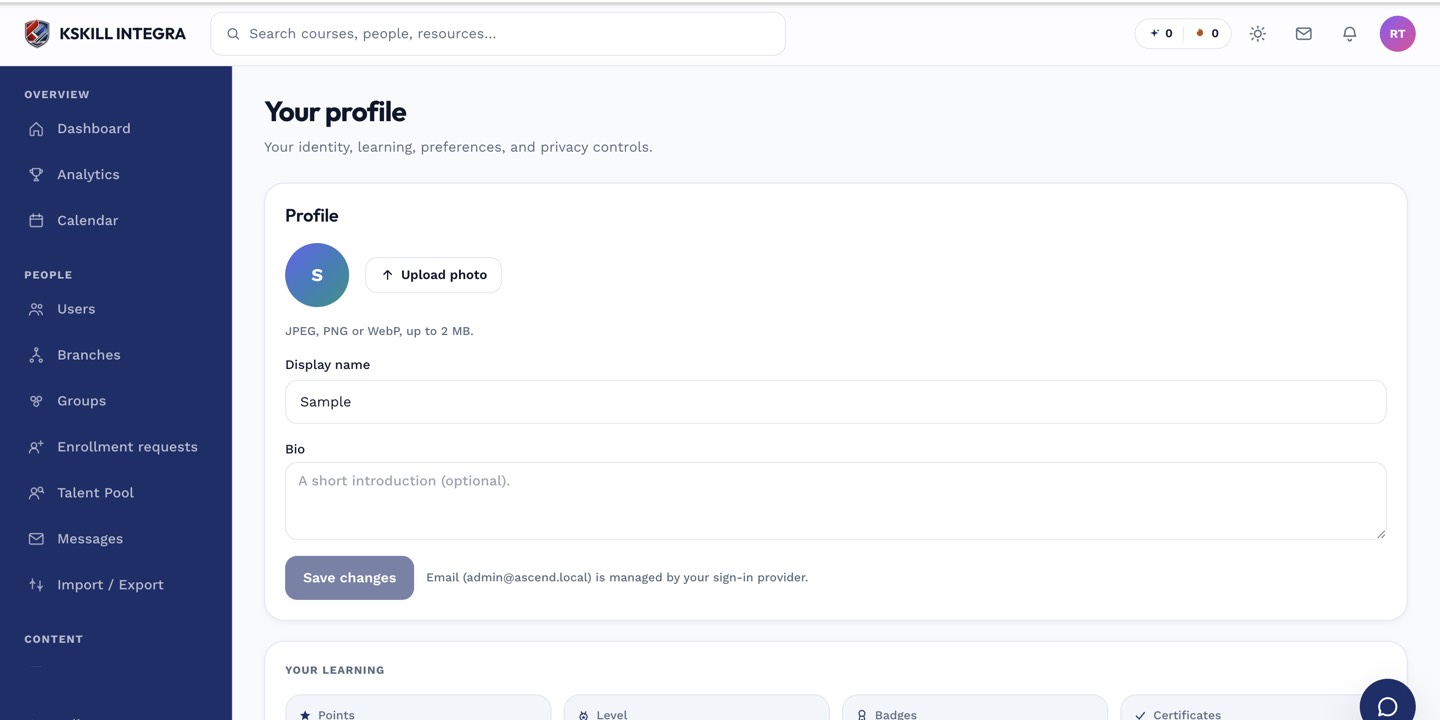
The account settings page is where a learner controls their own personal data.
Notes
- Turn off events you do not use — nothing tanks engagement faster than a noisy inbox.
- Add Slack as a channel to fire critical events into a shared team channel.