Certificate templates
A certificate template is the reusable PDF design. This article covers creating one and attaching it to courses.
Before you start
You need the Admin role.
Step 1 — Open Certificates
Open Content → Certificates. The list shows every template with a small preview. Click New template to open the editor.
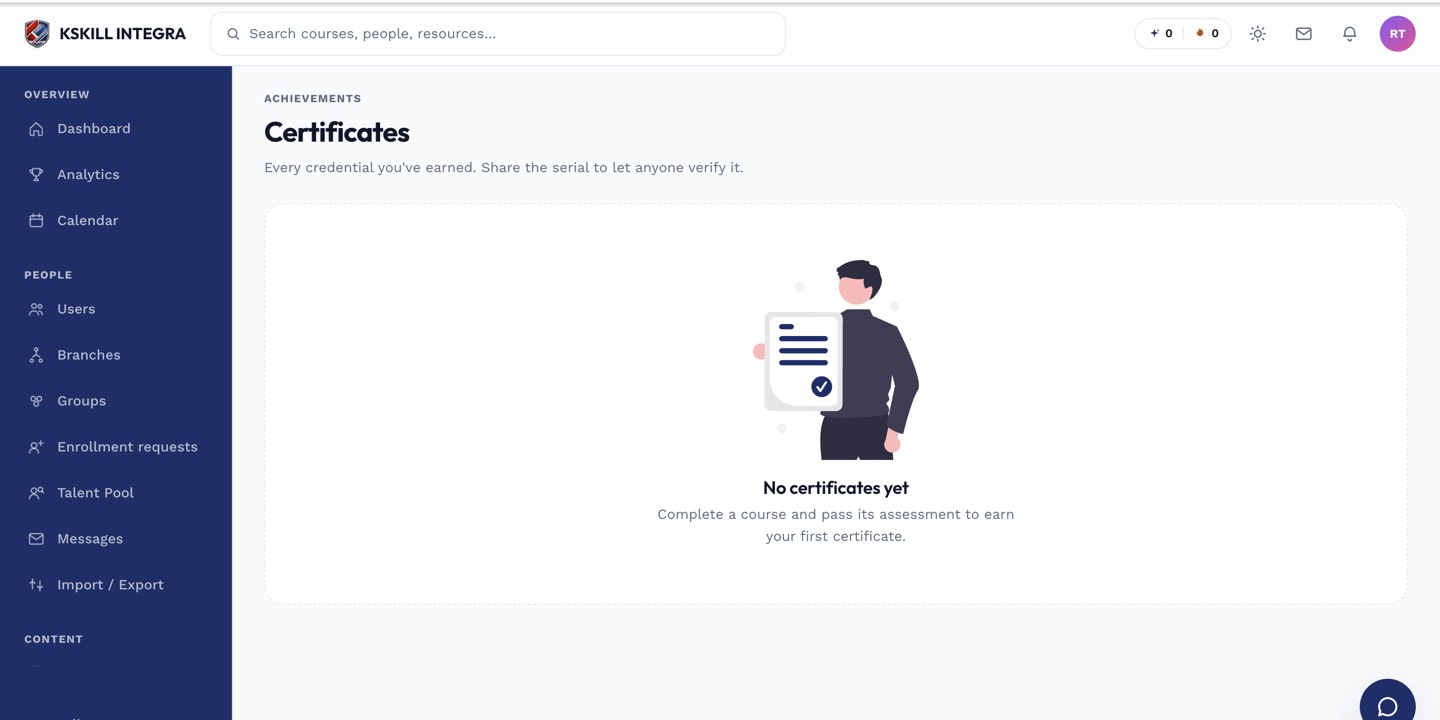
Certificates land here the moment a learner completes the course that issued them.
Step 2 — Design the template
The editor is a WYSIWYG PDF designer. Upload a background image, add text blocks, add merge tags like {{learnerName}} and {{courseName}}. Preview against a sample record to check the tags resolve. Save.
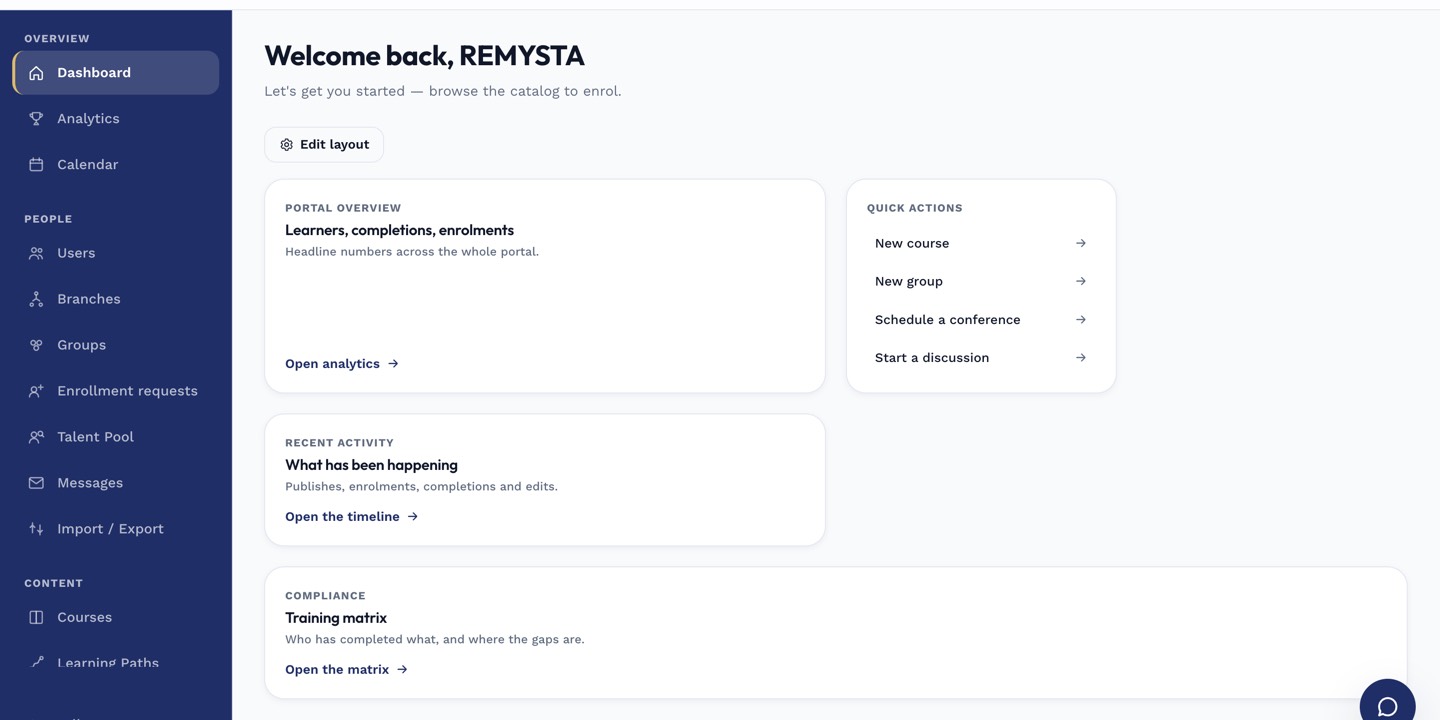
The left rail is the anchor for every admin task; every screen you visit starts with a click here.
Step 3 — Attach to a course
Open a course, switch to the Certificates tab, and pick the template. Every future completion issues a certificate rendered from that template. Existing completions can be re-issued via the Mass re-award button.
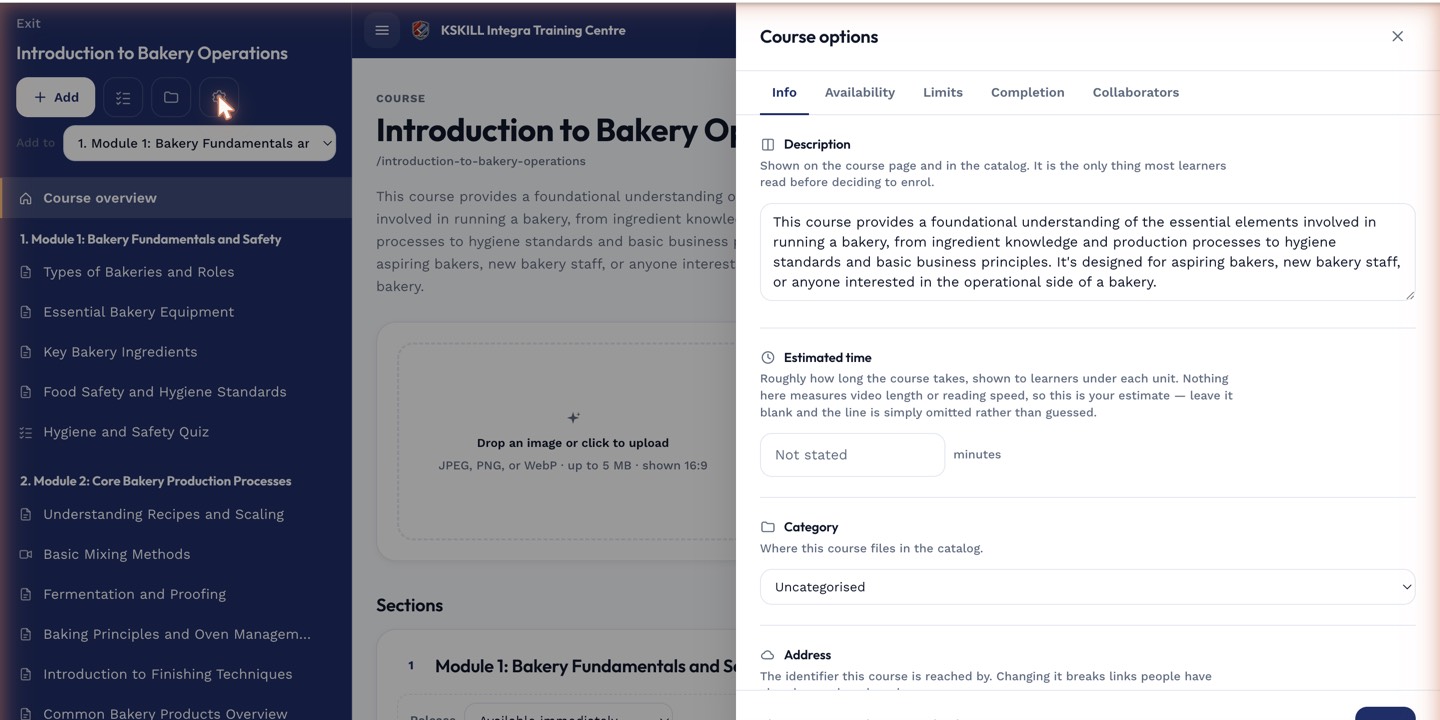
The options drawer is where every per-course rule lives — visibility, price, completion criteria, expiration.
Notes
- Design templates on the largest device you have — small monitors make the WYSIWYG editor cramped.
- Keep the design accessible — high contrast, legible fonts, no colour-only information.