Customize branding
Branding lets you drop your logo, colours and email header into every learner touchpoint. This article covers the tenant-wide brand kit.
Before you start
You need the Admin role. Have your logo (SVG or PNG) and brand colour hex codes ready.
Step 1 — Open Branding
Open Configuration → Settings and pick Branding. The page has three cards — logo, colour palette and email header — that together control how every screen and email looks.
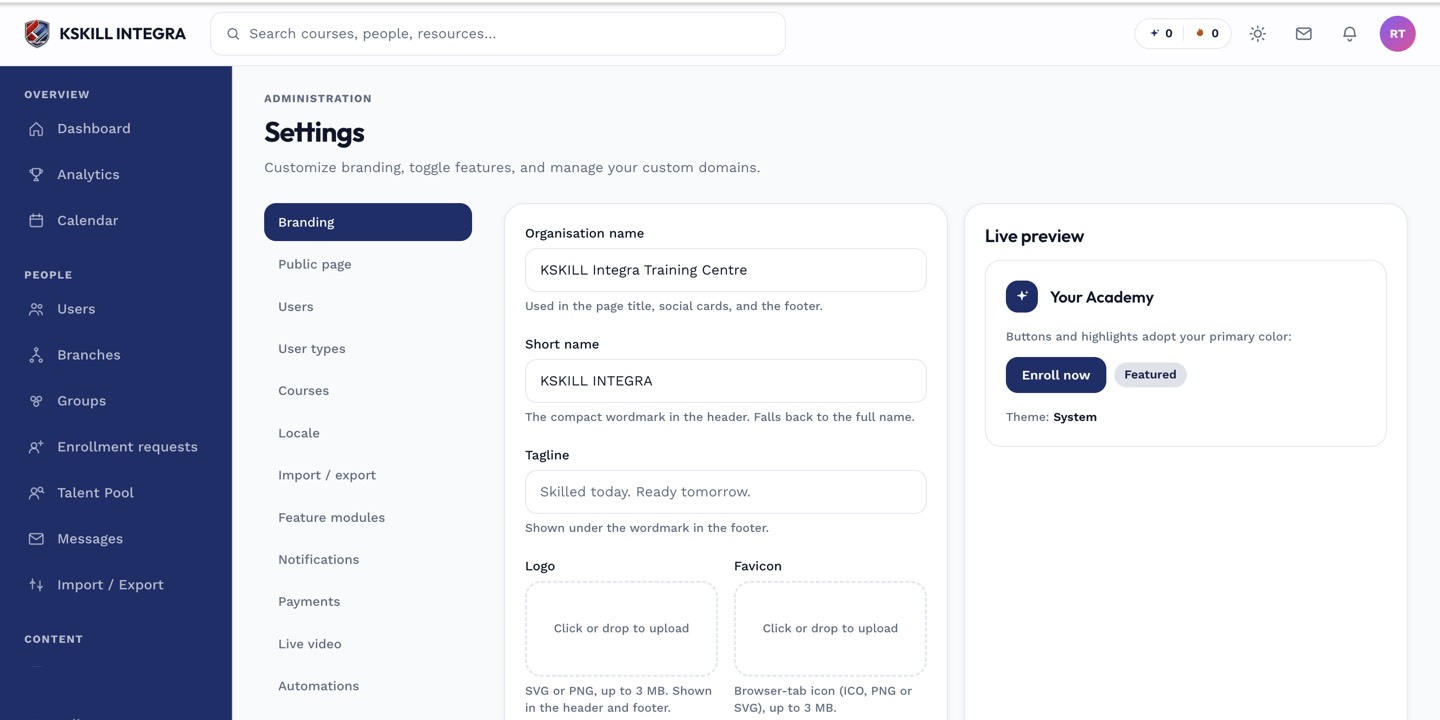
The Settings page is the single home for every tenant-level toggle.
Step 2 — Upload the logo and colours
Drop your logo into the upload area (SVG preferred so it stays crisp). Enter primary and accent hex codes. The preview updates live so you can eyeball contrast before saving. Save and the whole tenant refreshes on next page load.
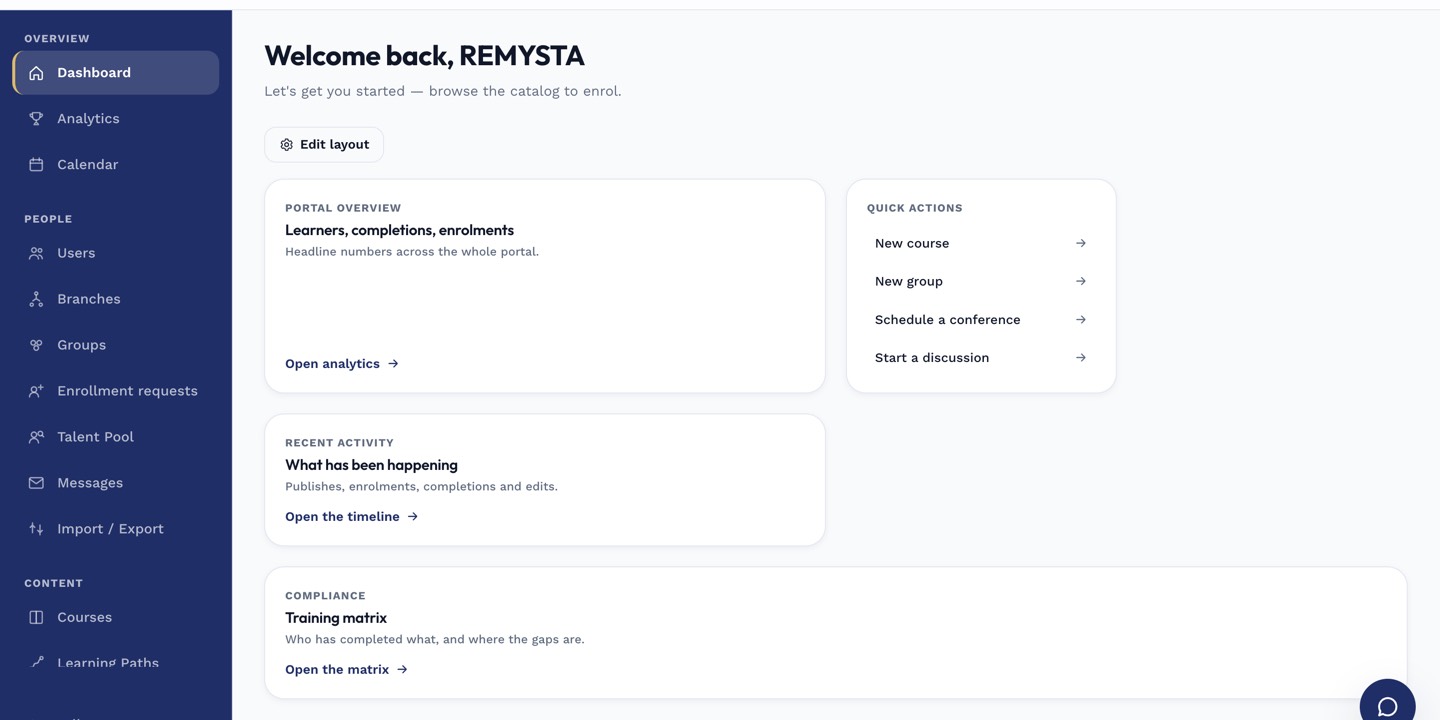
The left rail is the anchor for every admin task; every screen you visit starts with a click here.
Step 3 — Preview across the touchpoints
Open the learner catalog in an incognito window to see the changes without your admin chrome. Send yourself a test enrolment email to check the header. Both should feel like yours, not ours.
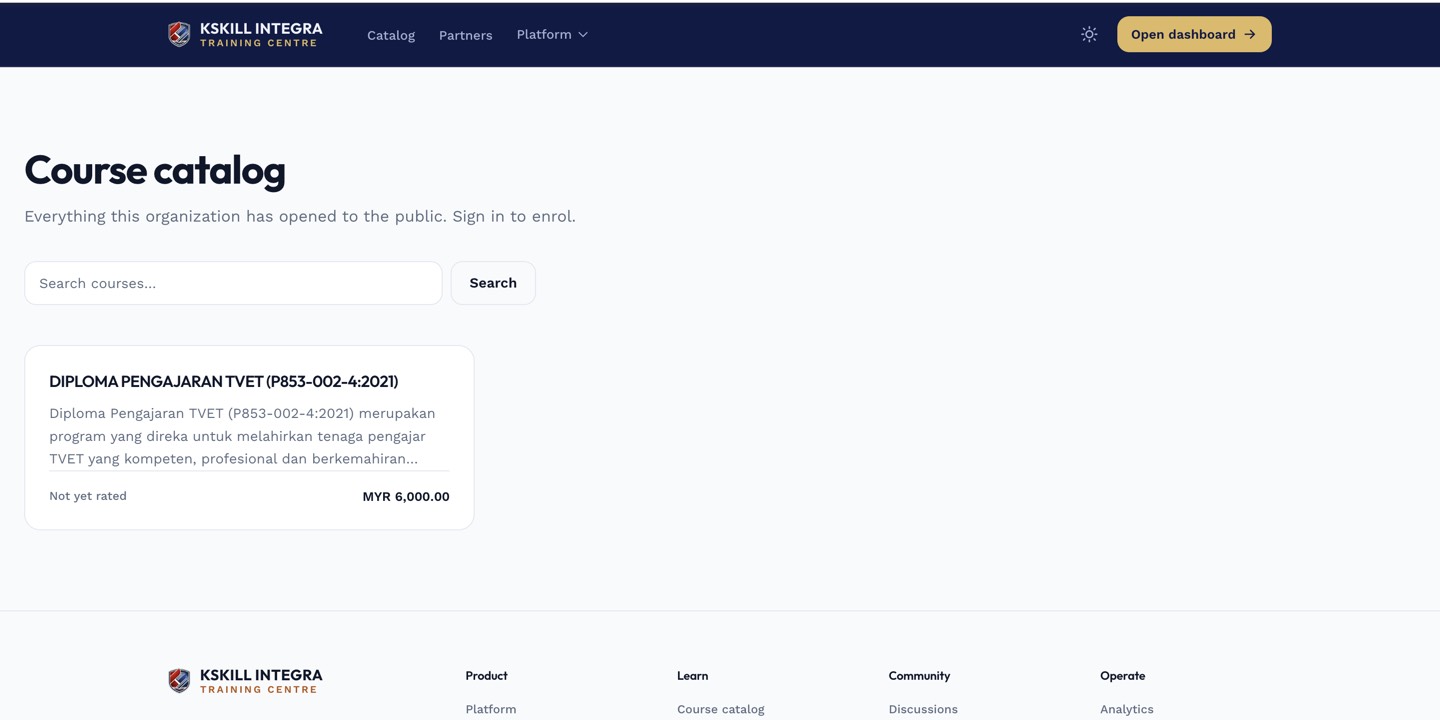
The catalog is the learner-facing shelf of everything a learner is allowed to self-enrol into.
Notes
- Branches can override tenant branding with their own — see the branch branding article.
- Keep the accent colour high-contrast against white or your emails will fail accessibility checks.