Manage tags on courses and files
Tags label courses and files for discovery. This article covers creating and applying them.
Before you start
You need the Admin role to manage the tag list. Instructors can apply existing tags.
Step 1 — Open Tags
Open Configuration → Settings and pick Tags. The list shows every existing tag with its usage count. Tags are tenant-wide.
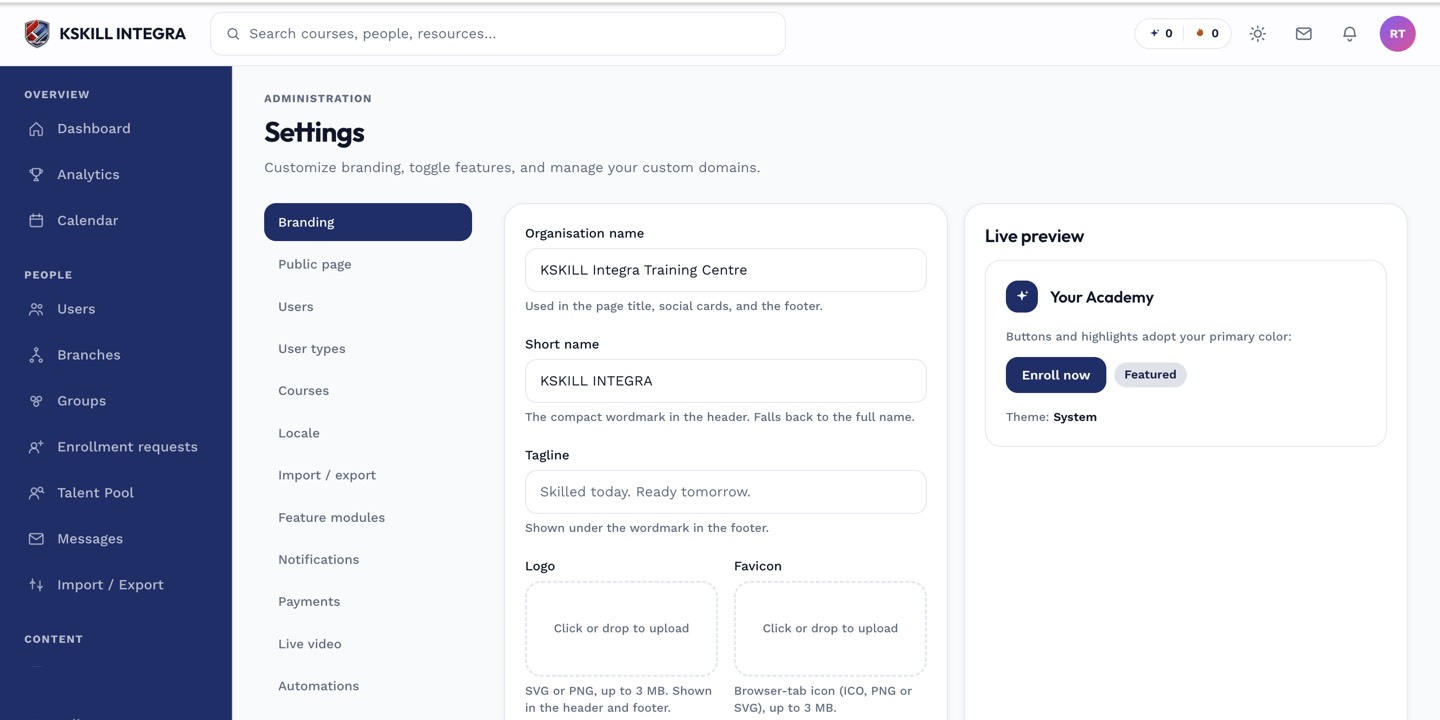
The Settings page is the single home for every tenant-level toggle.
Step 2 — Create and edit tags
Click New tag. Enter a short label and (optionally) a colour. Save. Edit tags in place — the change propagates to every course and file using it. Merge two tags by editing one to match the other's name.
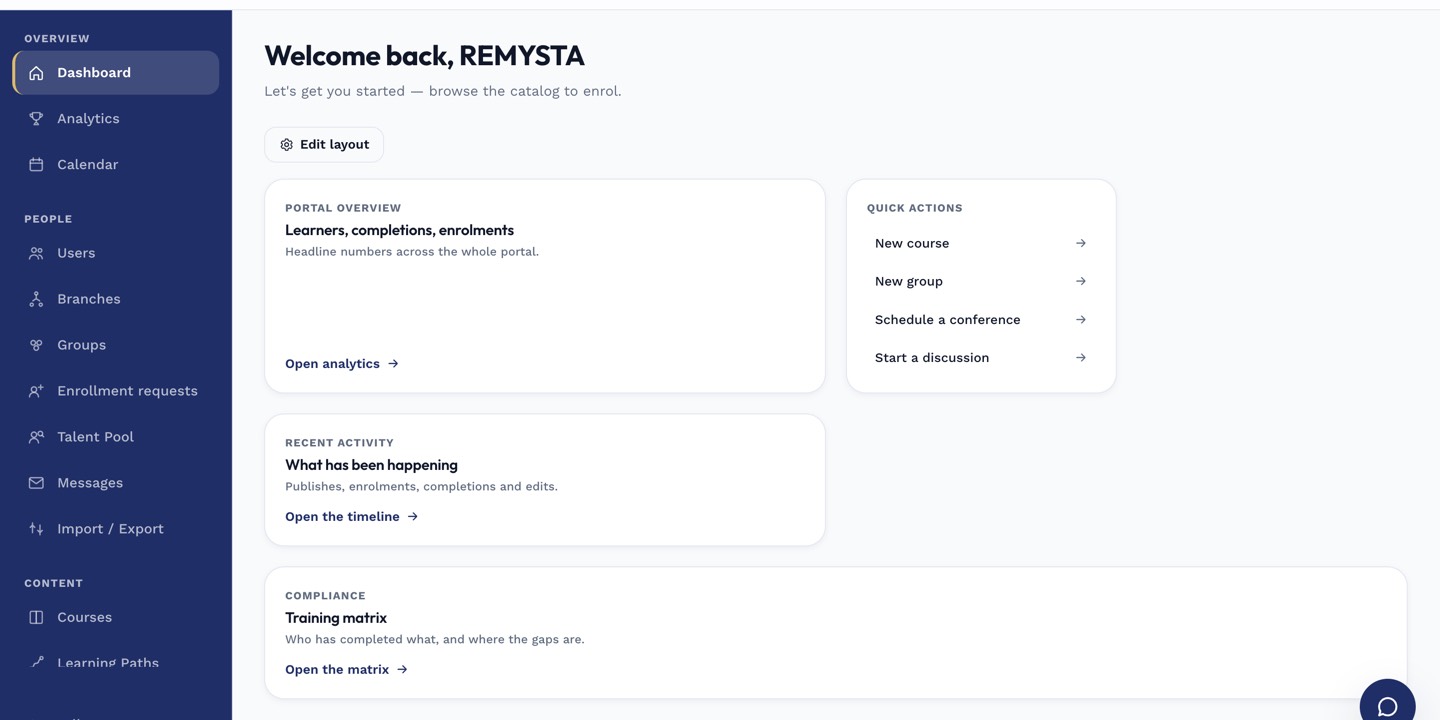
The left rail is the anchor for every admin task; every screen you visit starts with a click here.
Step 3 — Apply tags to courses
Open a course and open the options drawer. The Tags field is a picker — start typing to see matches, click to add. Multiple tags per course is fine. Tags appear as chips on the catalog card and filter the search.
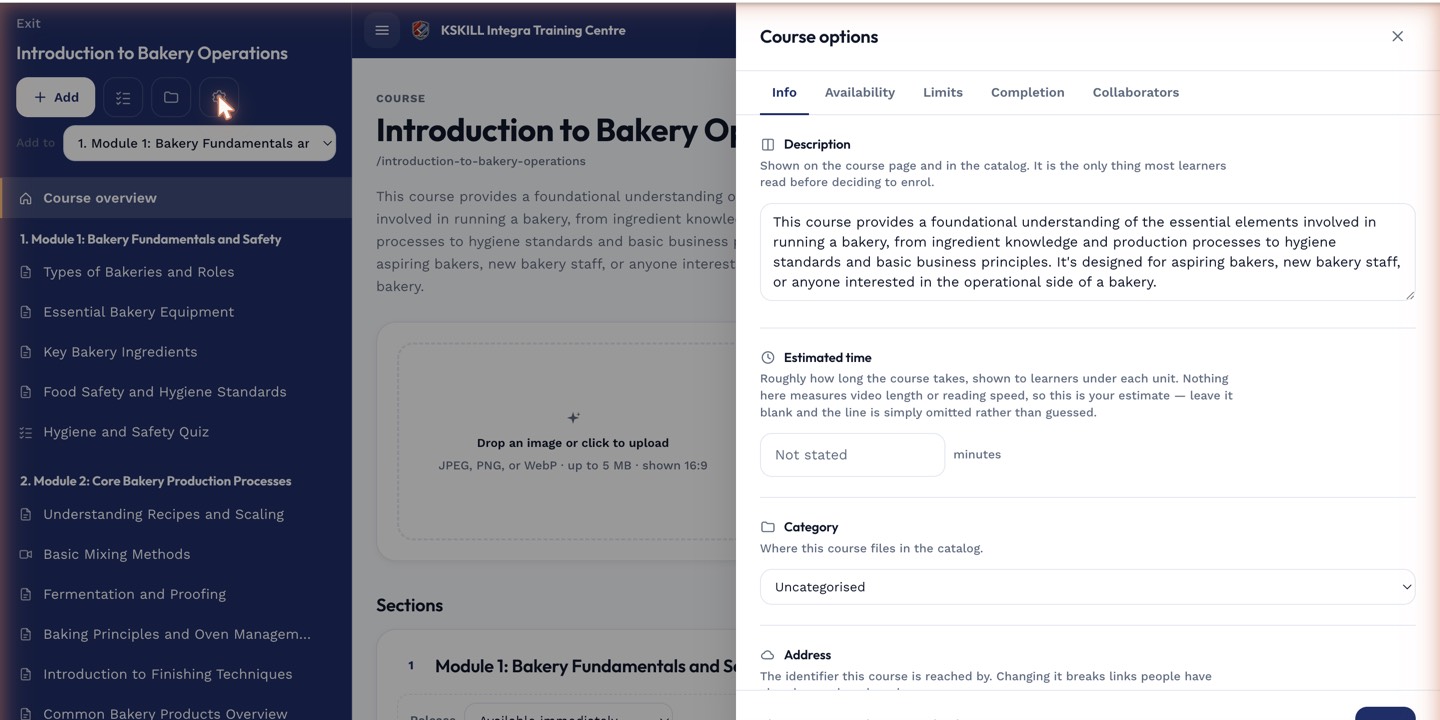
The options drawer is where every per-course rule lives — visibility, price, completion criteria, expiration.
Notes
- For one-to-one classification, use categories instead.
- Delete unused tags to keep the picker scannable.