Report email templates
Report emails carry the CSV or PDF into recipient inboxes. This article covers customising the email template.
Before you start
You need the Admin role.
Step 1 — Open Report templates
Open Configuration → Analytics and switch to Export & schedule. Pick a scheduled report and click Edit email template.
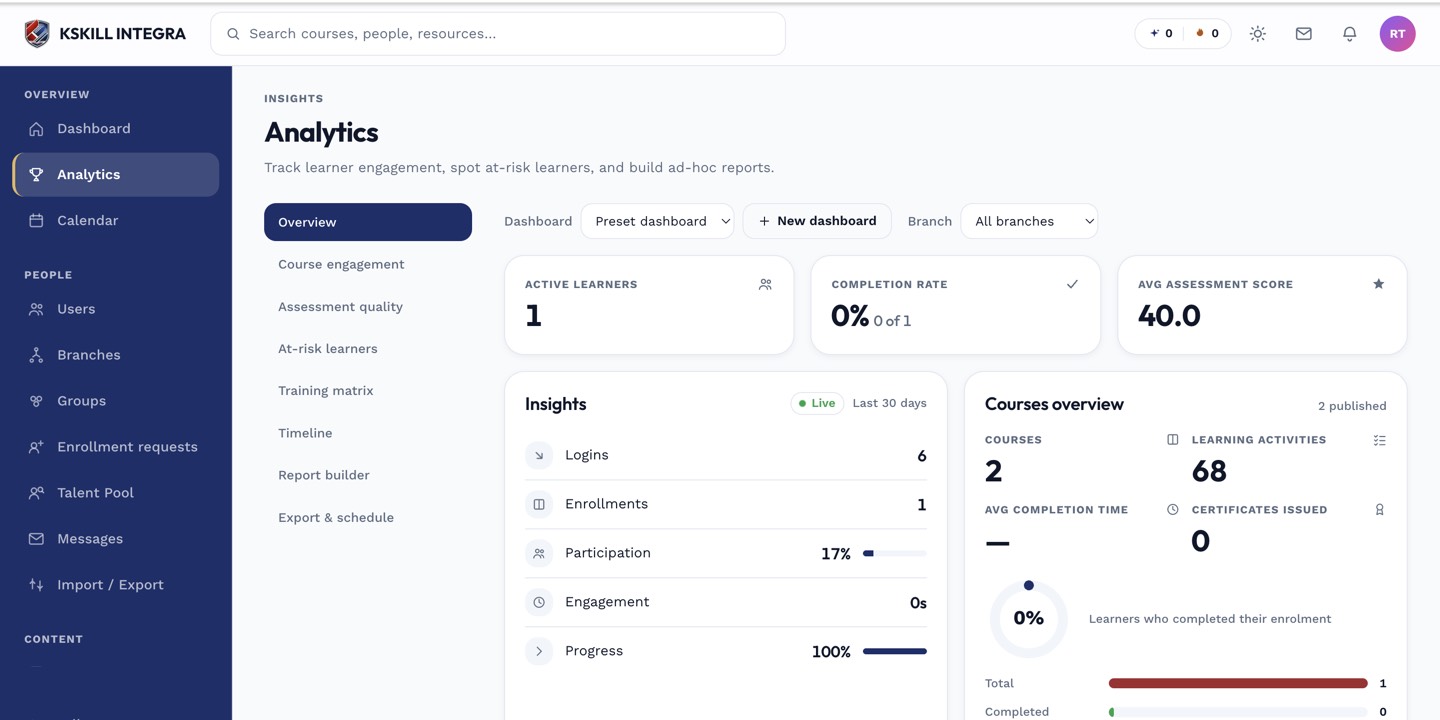
The Overview tab is the one everyone lives in — the deeper tabs answer sharper questions.
Step 2 — Customise the copy
Edit the subject and body. Merge tags like {{reportName}}, {{periodStart}} and {{periodEnd}} resolve at send time. Preview against a sample record to check the tags render. Save.
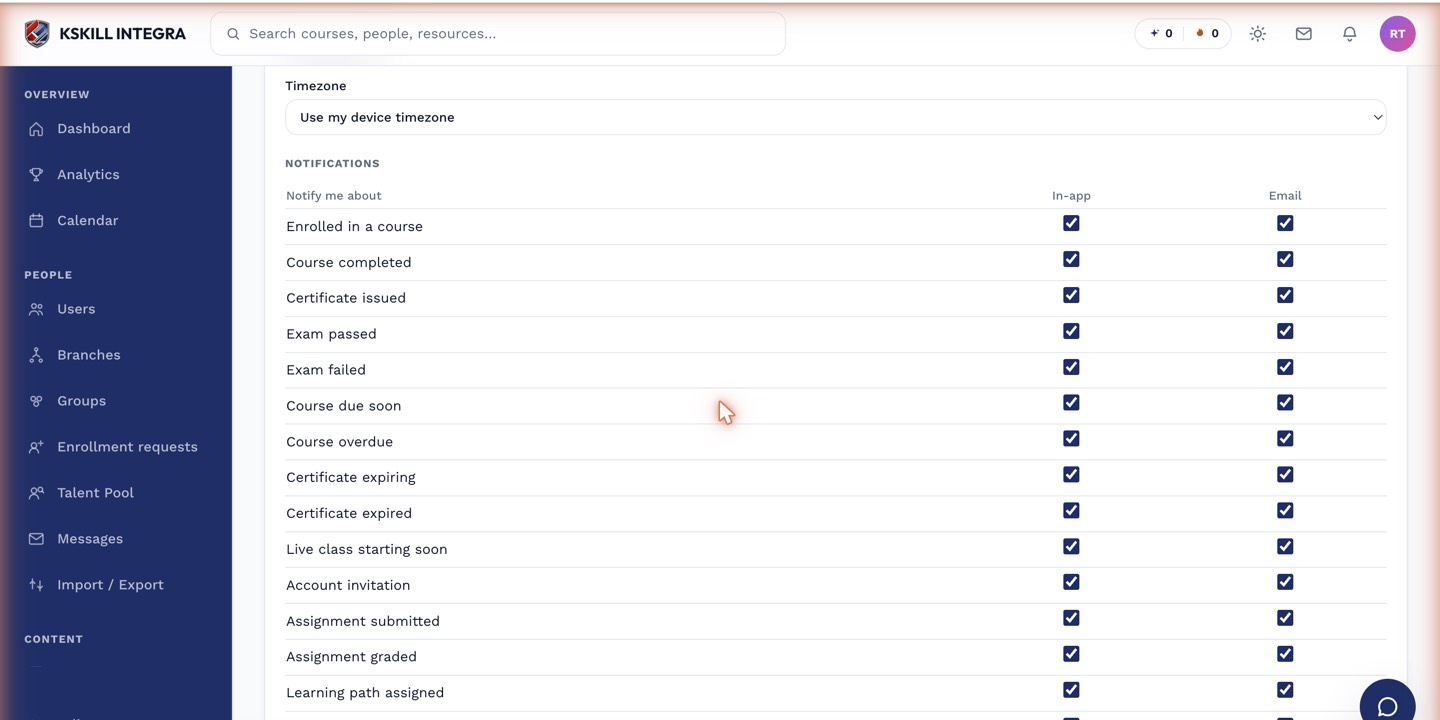
The preferences table is the per-user matrix of every event by every channel.
Step 3 — Verify with a test send
Click Send test to email the template to yourself with the next scheduled report attached. Confirm rendering in your actual email client — some clients strip CSS or resize images unexpectedly. Fix any issues before the real send.
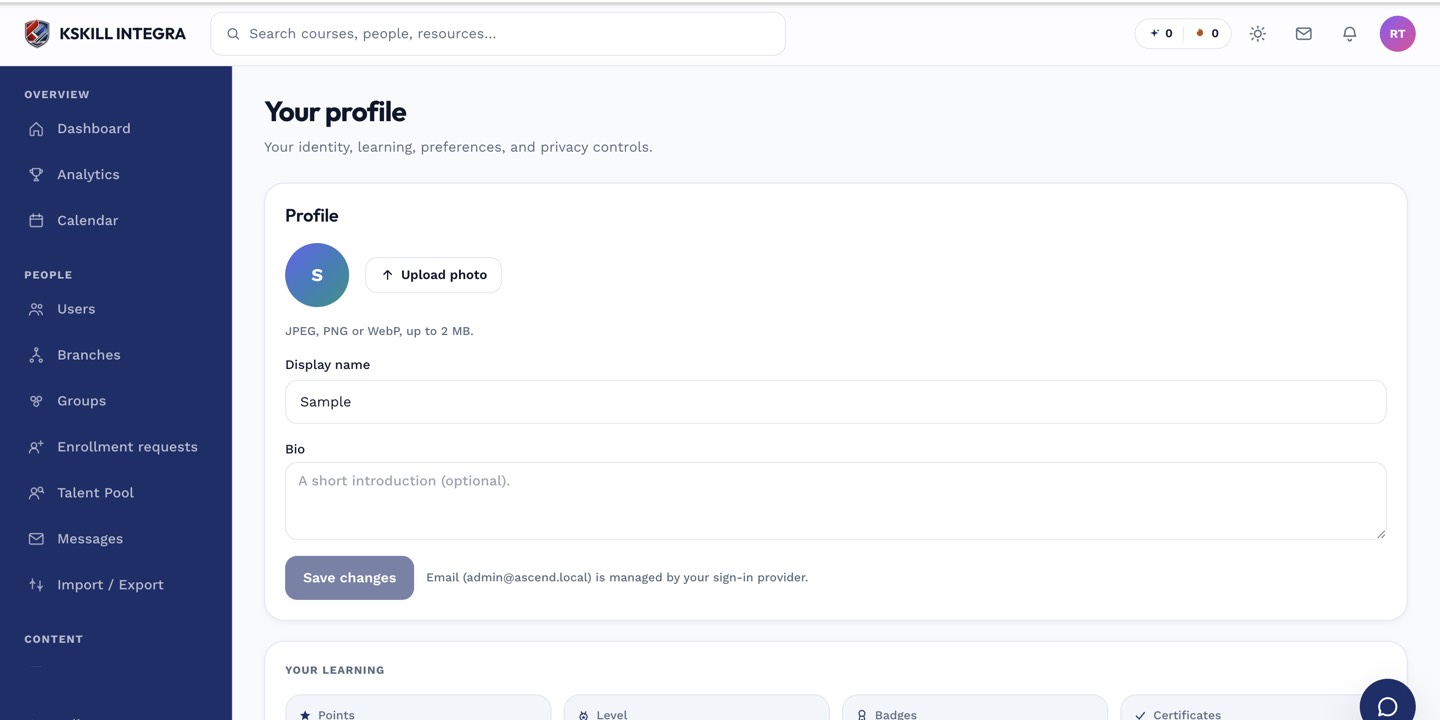
The account settings page is where a learner controls their own personal data.
Notes
- Templates are per-schedule; you can have different templates for different reports.
- For entirely custom sender identity, configure a per-schedule From address in the template.