Set a custom domain
A custom domain lets learners access the LMS at learn.yourbrand.com instead of a generic subdomain. This article covers wiring one up.
Before you start
You need the Admin role and DNS access for the domain you want to use. TLS certificates are issued automatically once DNS is in place.
Step 1 — Request the domain in Settings
Open Configuration → Settings and pick Custom domain. Enter the hostname you want (for example learn.yourbrand.com) and click Request. The platform shows a CNAME target you need to create.
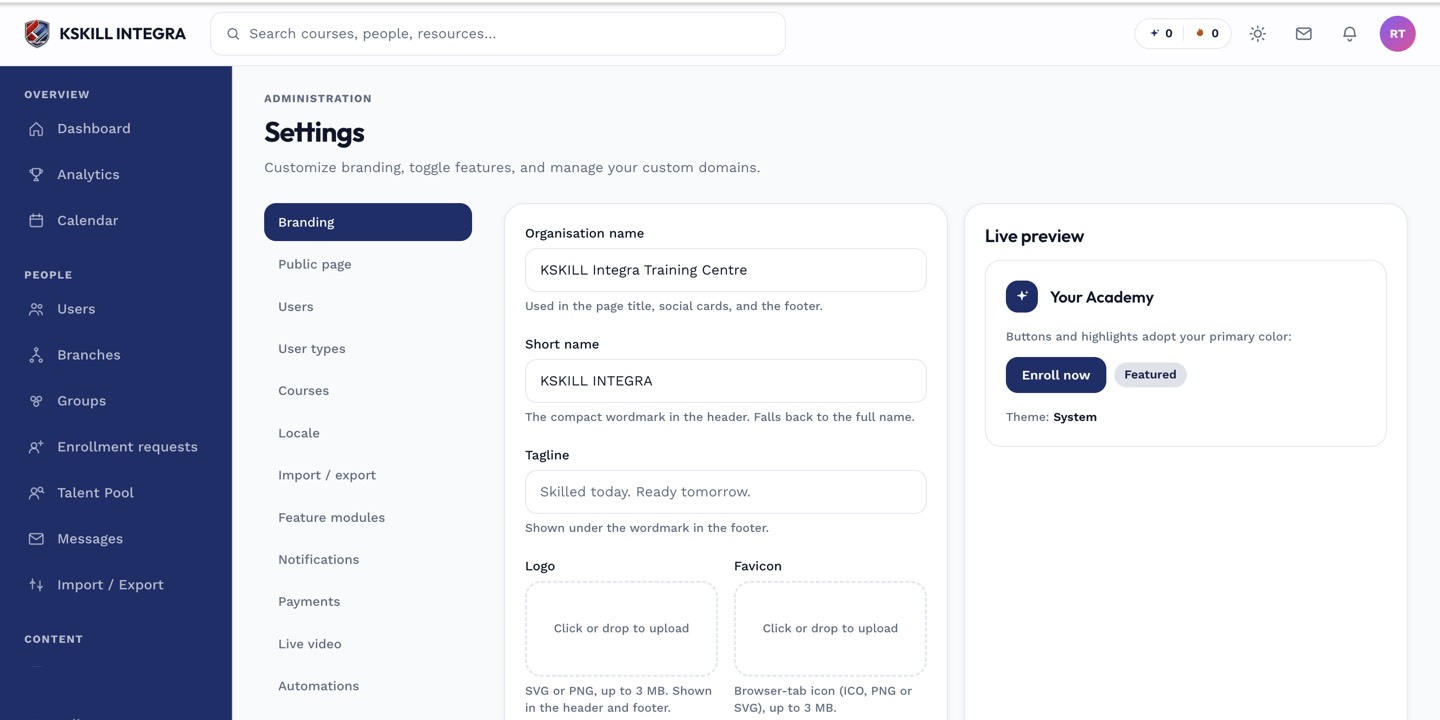
The Settings page is the single home for every tenant-level toggle.
Step 2 — Create the CNAME in your DNS
In your DNS provider (Cloudflare, Route 53, whatever), add a CNAME record pointing your hostname at the target the platform gave you. Propagation usually completes in minutes; give it up to an hour.
The Settings page is the single home for every tenant-level toggle.
Step 3 — Verify and switch over
Come back to the Custom domain page and click Verify. The platform checks DNS and issues a TLS certificate from Let's Encrypt. Once verified, the hostname is live — every existing bookmark still works because the old subdomain keeps redirecting.
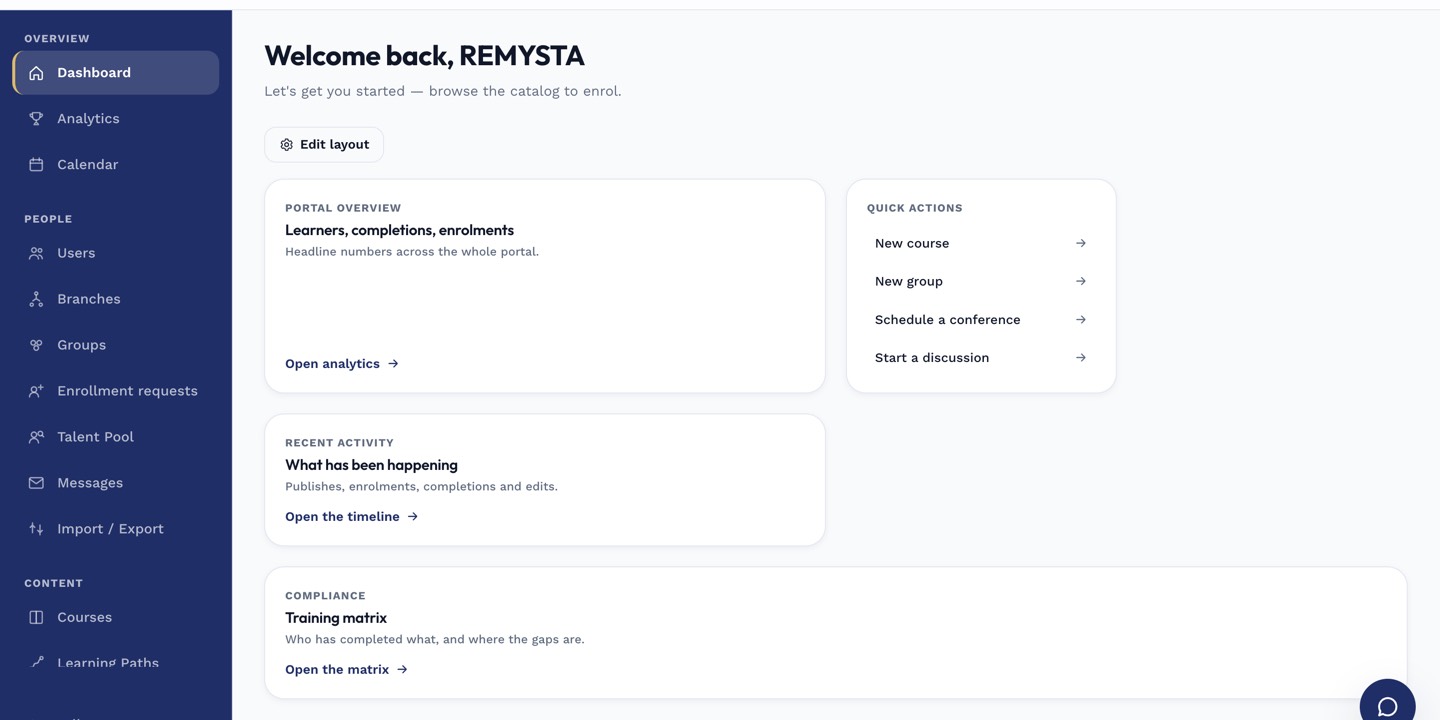
The left rail is the anchor for every admin task; every screen you visit starts with a click here.
Notes
- Use one custom domain per tenant. Branches inherit the parent tenant's domain unless you request their own.
- TLS certificates renew automatically every 60 days — no manual action ever.