Time zone settings
Time zone decides how scheduled events display and when notifications fire. This article covers picking one.
Before you start
You need the Admin role. Time zones are independent of locale — set both deliberately.
Step 1 — Open Time zone
Open Configuration → Settings and pick Time zone. The page shows the current tenant default and the current time in that zone.
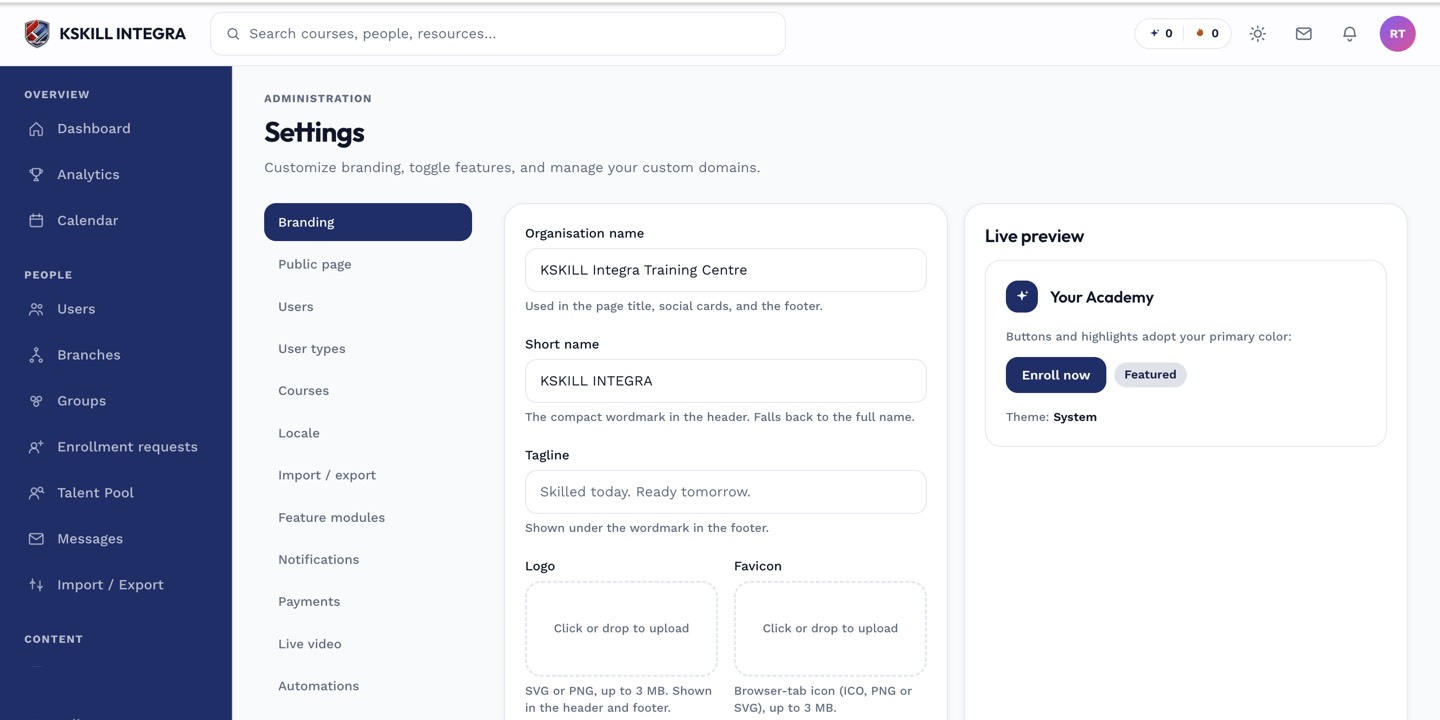
The Settings page is the single home for every tenant-level toggle.
Step 2 — Pick the tenant default
Select from the dropdown. For most tenants, pick the zone your ops team lives in — that keeps scheduled reports and admin cadences intuitive. Save. Everything scheduled from now on defaults to this zone.
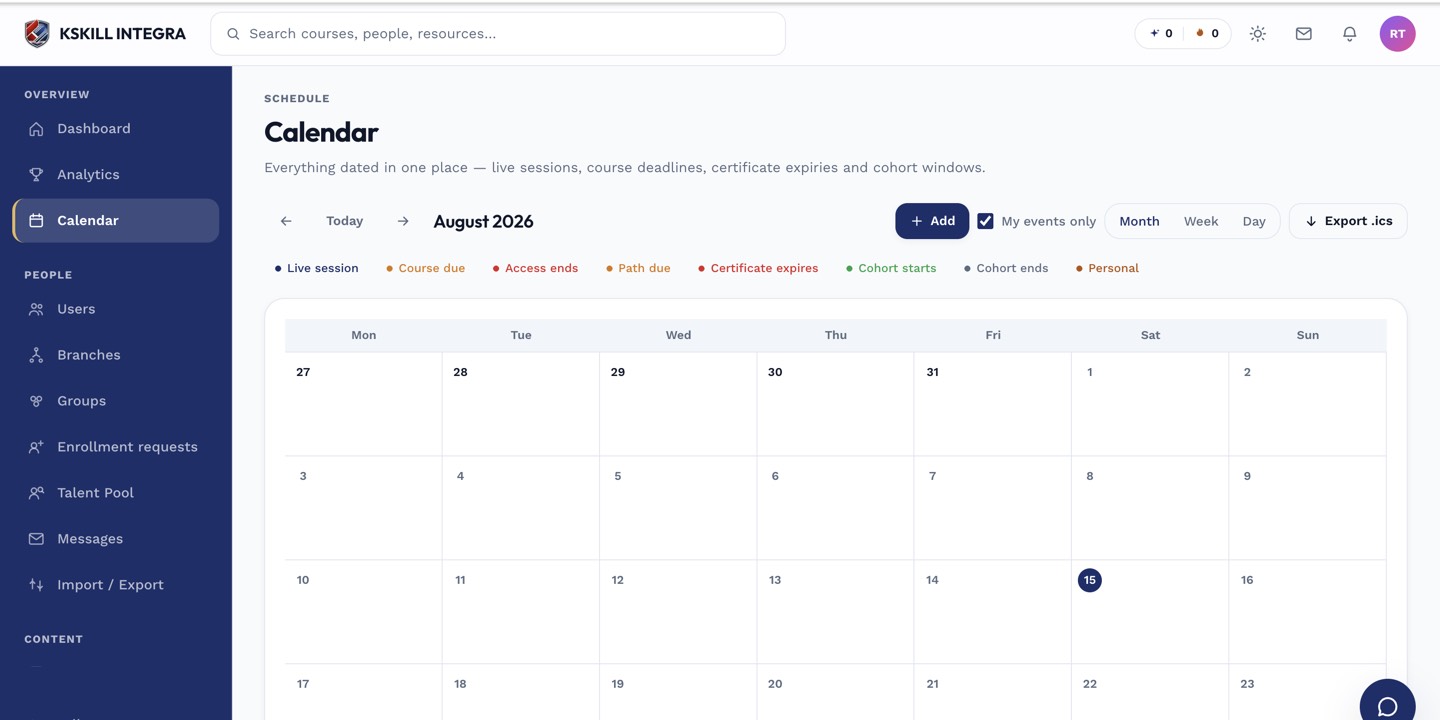
The calendar shows every scheduled live class, deadline and cohort milestone.
Step 3 — Per-user override
Learners can override in account settings. Their calendar displays in their local zone, but instructor-created events stay anchored to the zone they were created in — a 9am KL session is 9am KL for everyone, displayed converted per-user.
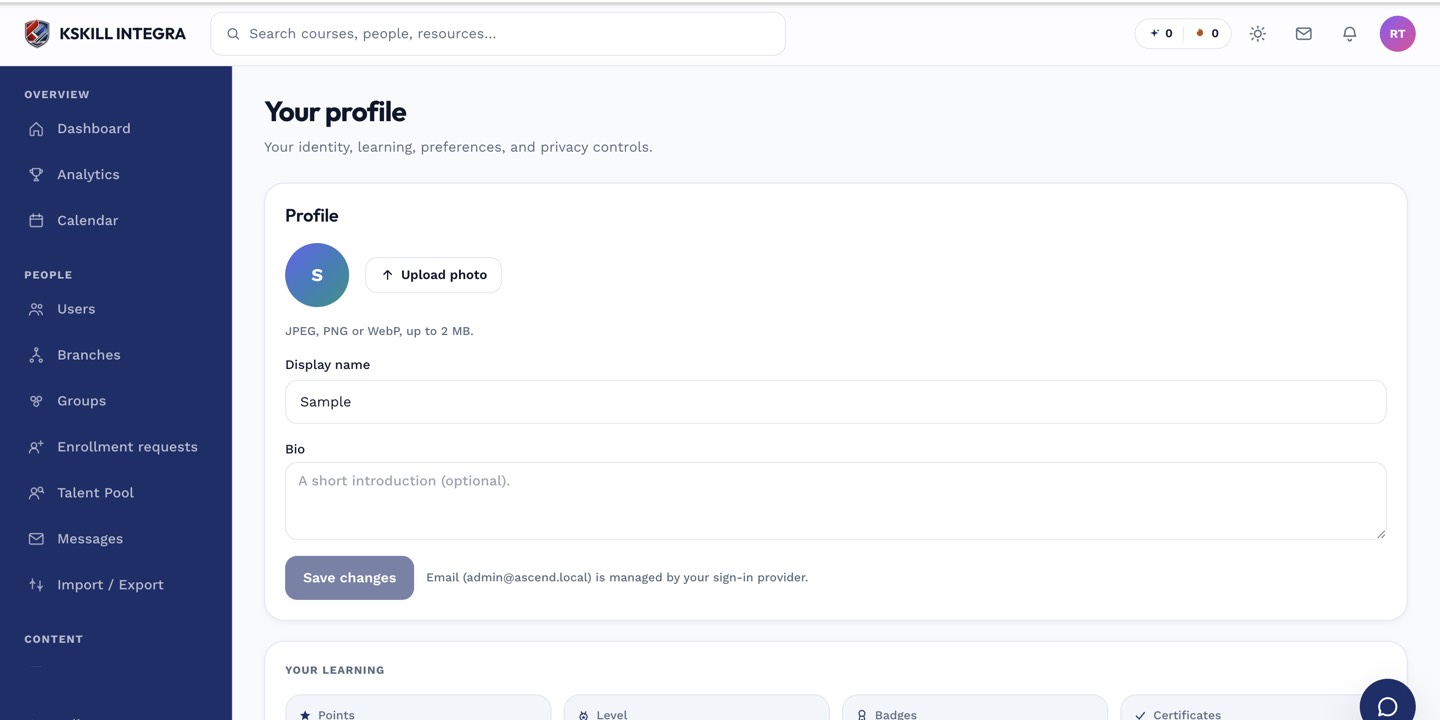
The account settings page is where a learner controls their own personal data.
Notes
- Scheduled report exports respect the tenant time zone for delivery time.
- Live class times display converted per-user; the underlying start moment is universal.