Understanding your roles
Every account carries a role that decides what you can do. This article covers the four built-in roles and how they differ.
Before you start
Any signed-in user can read their own role from the profile menu. Only admins can change a role.
Step 1 — Find your role
Click your profile picture in the top right. The role appears under your name in the dropdown. If it says Learner, you can take courses and see your own results. If it says Instructor, you can also author content and grade submissions.
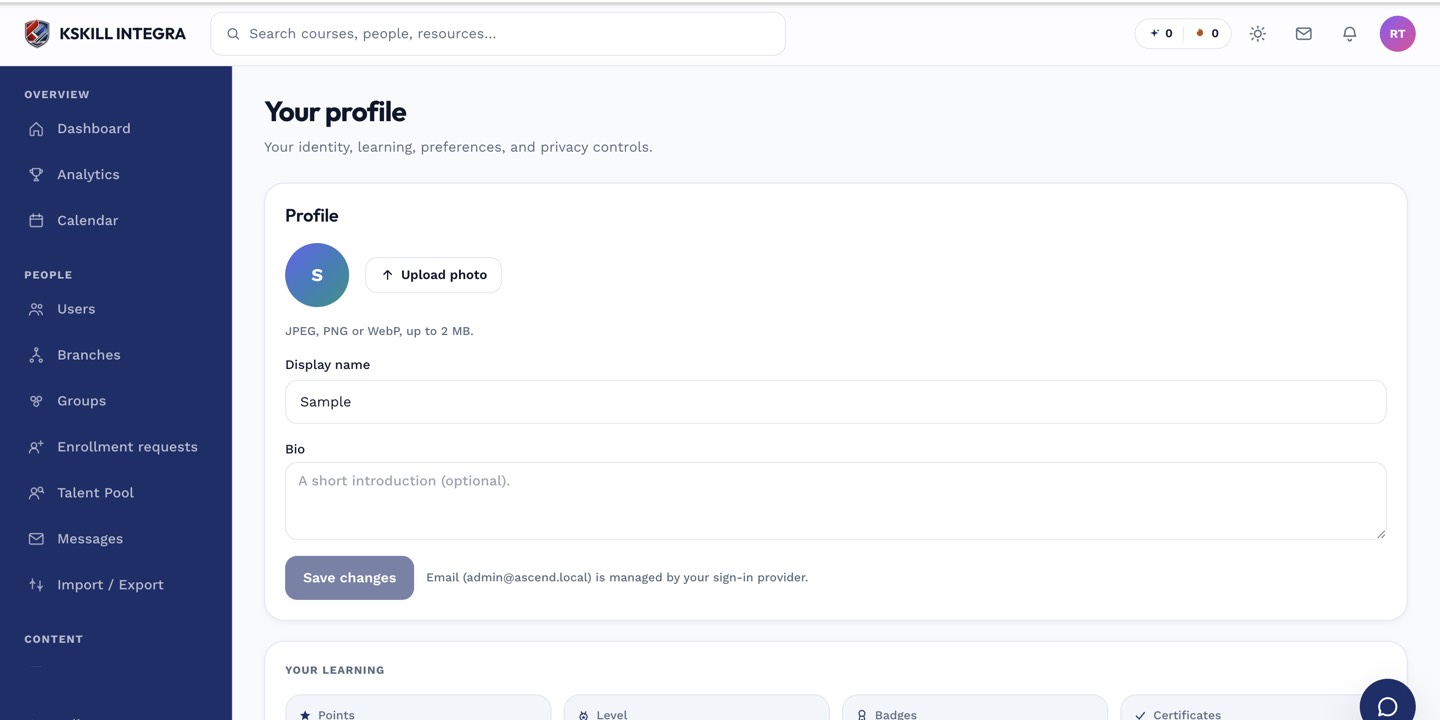
The account settings page is where a learner controls their own personal data.
Step 2 — Compare the roles
Learner takes courses. Instructor authors courses, grades submissions and sees learner reports for their own courses. Admin sees the whole tenant and can invite users, change payments, and configure every module. Branch admin is like admin but scoped to one branch.
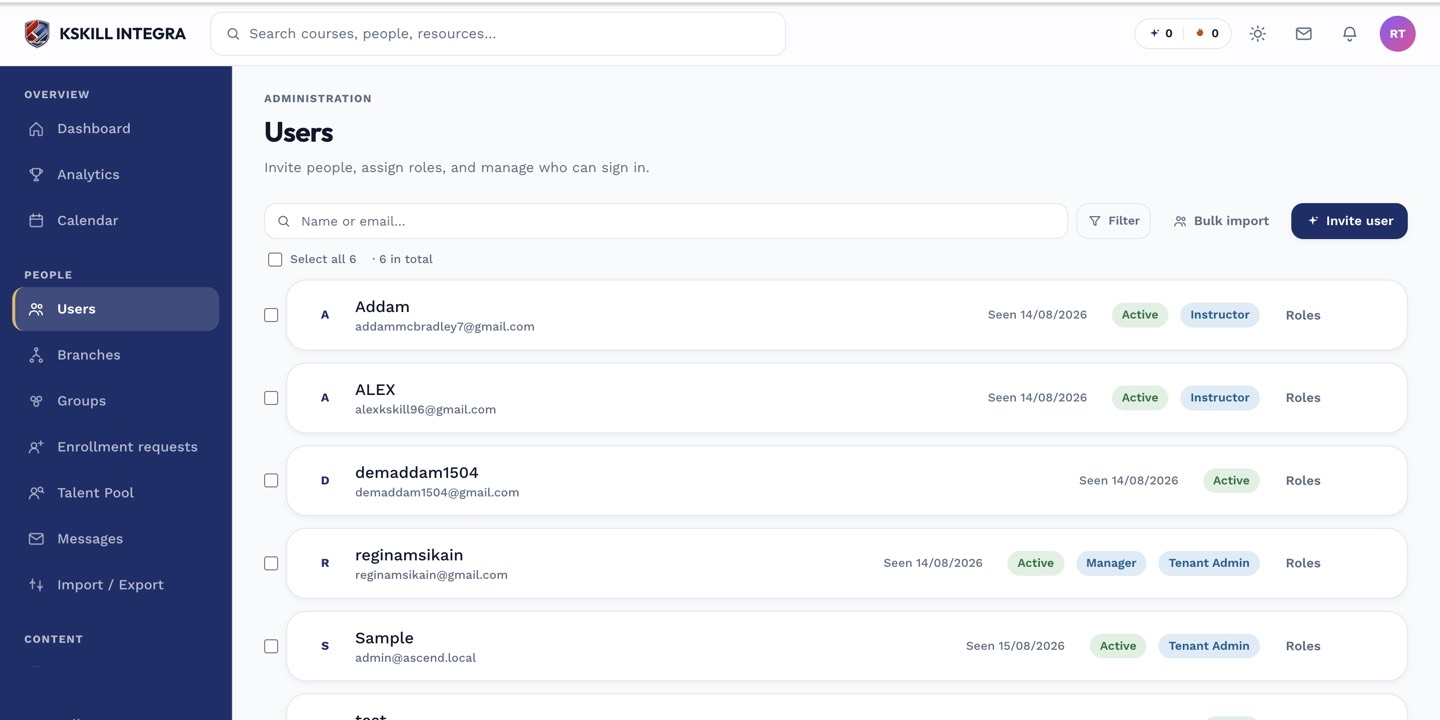
The Users list is the entry point for every person-related admin task.
Step 3 — Change someone's role
If you are an admin, open People → Users, click the user, and use the Role dropdown on their profile. The change takes effect the next time they sign in — sessions in flight keep the old role until they expire.
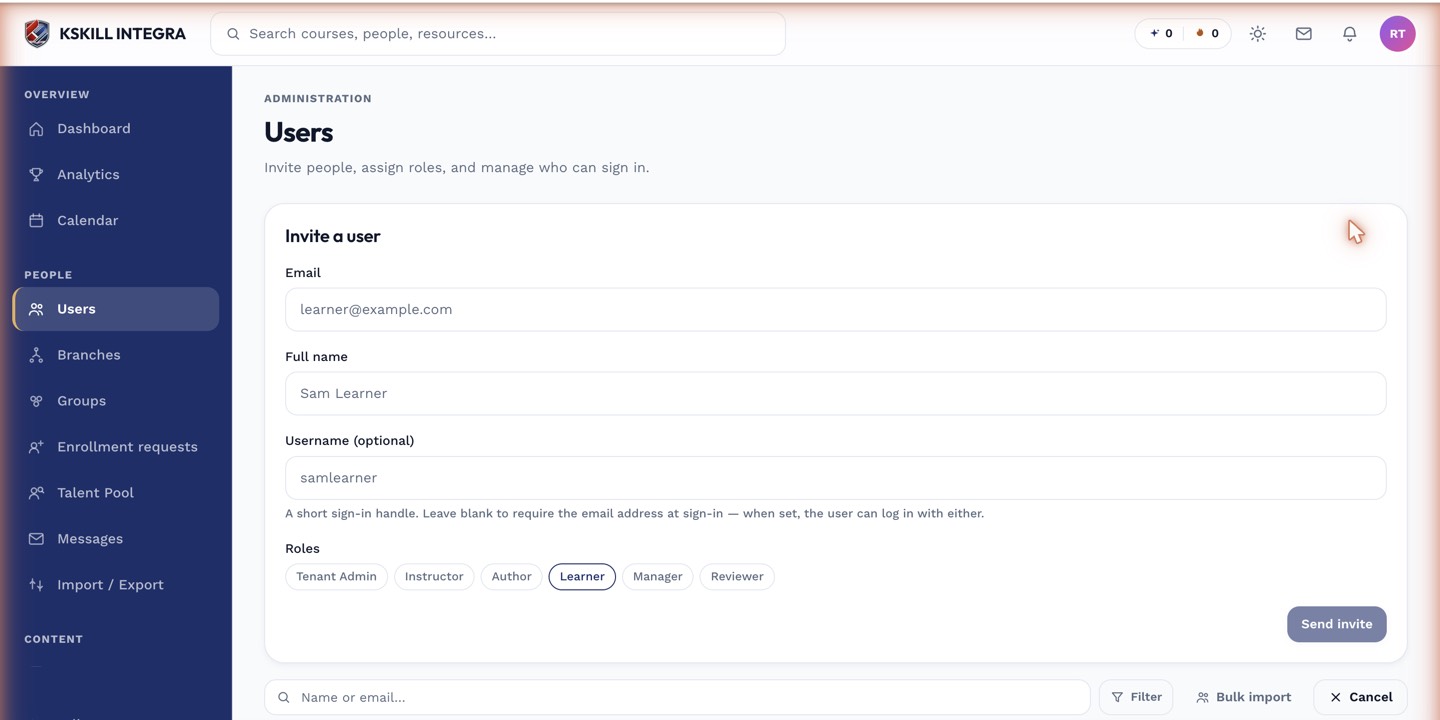
The invite drawer is the same shape whichever role you assign.
Notes
- Roles can be extended with capabilities — see your admin if you need something specific enabled.
- A single account can only hold one role at a time on one tenant. Cross-tenant accounts are independent.