Assign or change a role
This article covers changing a user's role — for example promoting a Learner to Instructor once they start authoring.
Before you start
You need the Admin role. You cannot change your own role — ask another admin.
Step 1 — Open the user profile
Open People → Users and click the user you want to change. The profile page shows their current role in the header alongside their branch and active state.
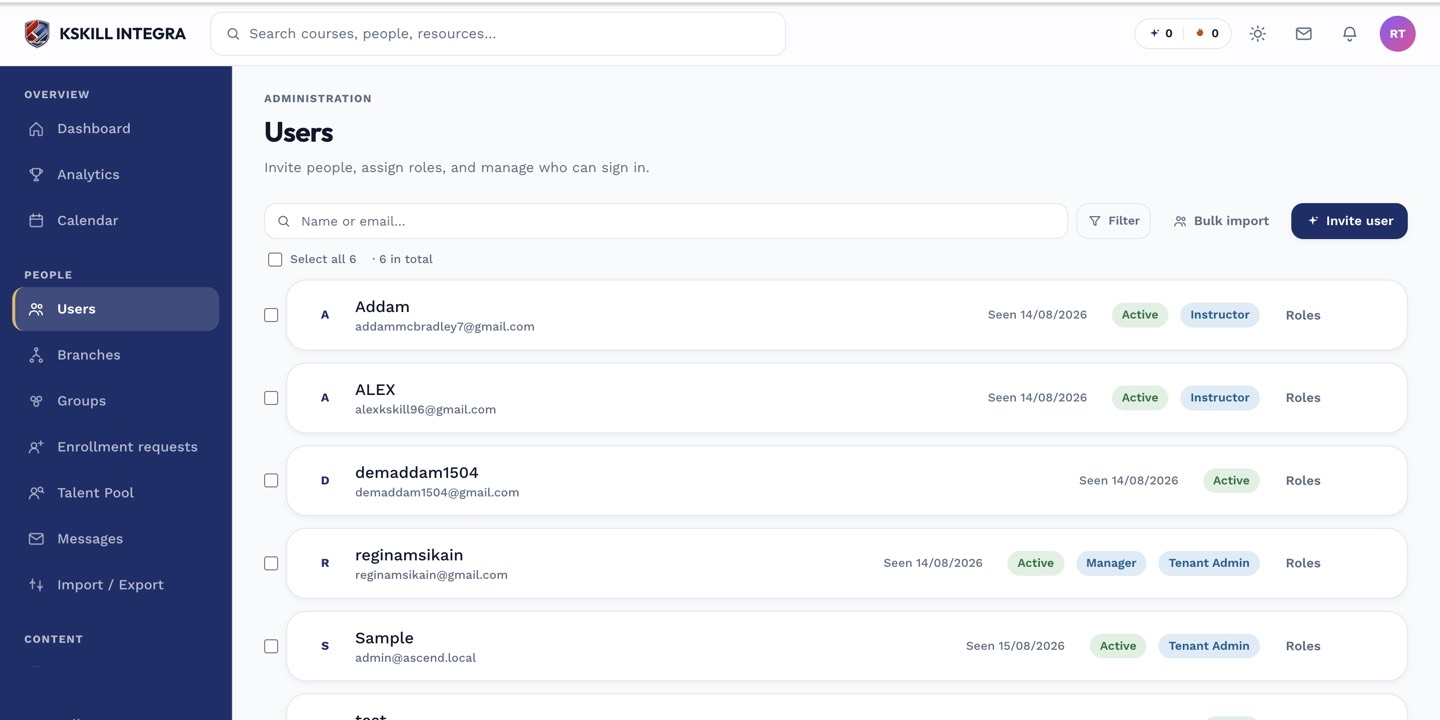
The Users list is the entry point for every person-related admin task.
Step 2 — Pick the new role
Use the Role dropdown to pick the new value — Learner, Instructor, Admin, or Branch admin. The change is saved on select; there is no separate confirm button. The audit log records who made the change and when.
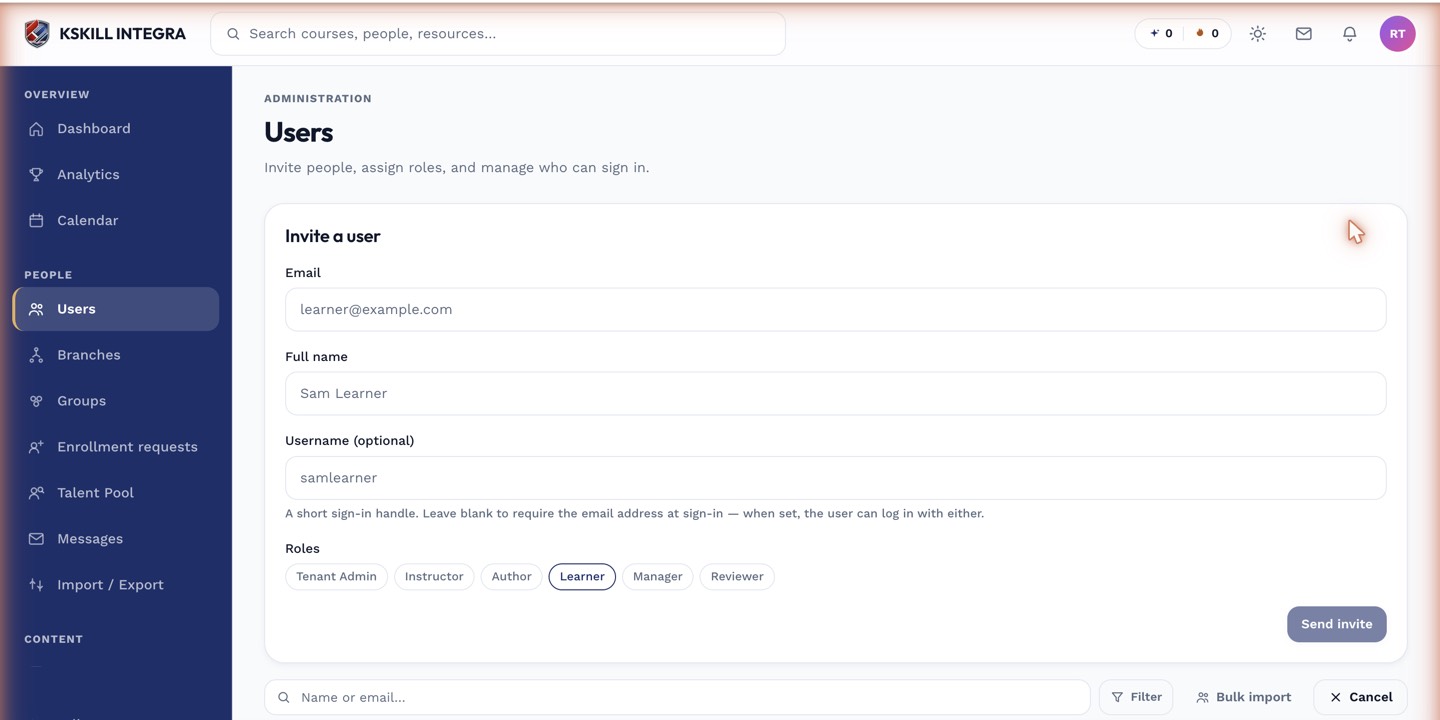
The invite drawer is the same shape whichever role you assign.
Step 3 — What the user sees
The user's sidebar refreshes the next time they load a page. If they were mid-session, elevated menu items appear immediately; demoted items disappear on the next request. If in doubt, ask them to sign out and back in.
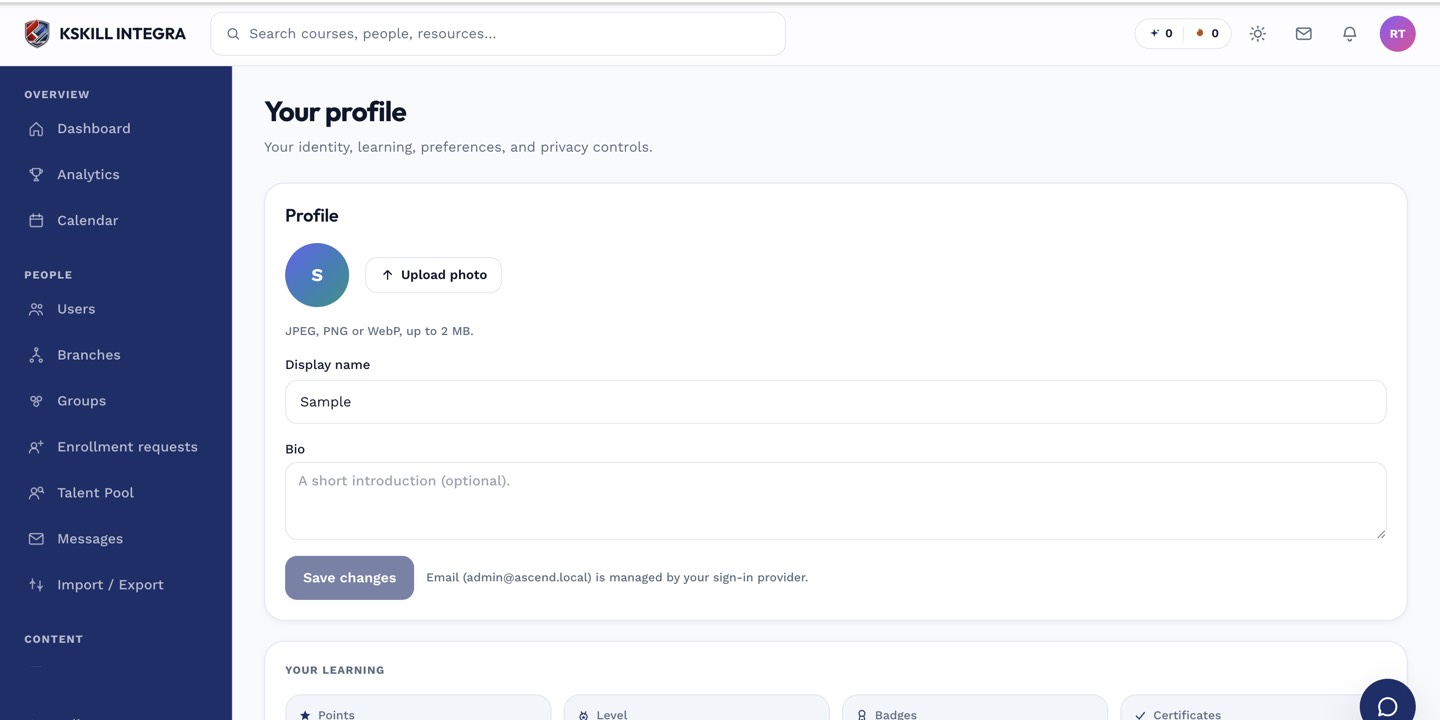
The account settings page is where a learner controls their own personal data.
Notes
- Role changes are auditable — check the audit log if you need to know who promoted whom.
- Capabilities beyond the built-in roles can be added via the tenant's capability settings.