Invite a user
Every learner, instructor and admin starts life as an invitation. This article covers sending one and picking the right role.
Before you start
You need the Admin role and email delivery configured. Without email, the invite goes nowhere.
Step 1 — Open the Users page
Open People → Users. The list shows every user on the tenant with role, branch and last-active timestamp. Click Invite in the top right to open the drawer.
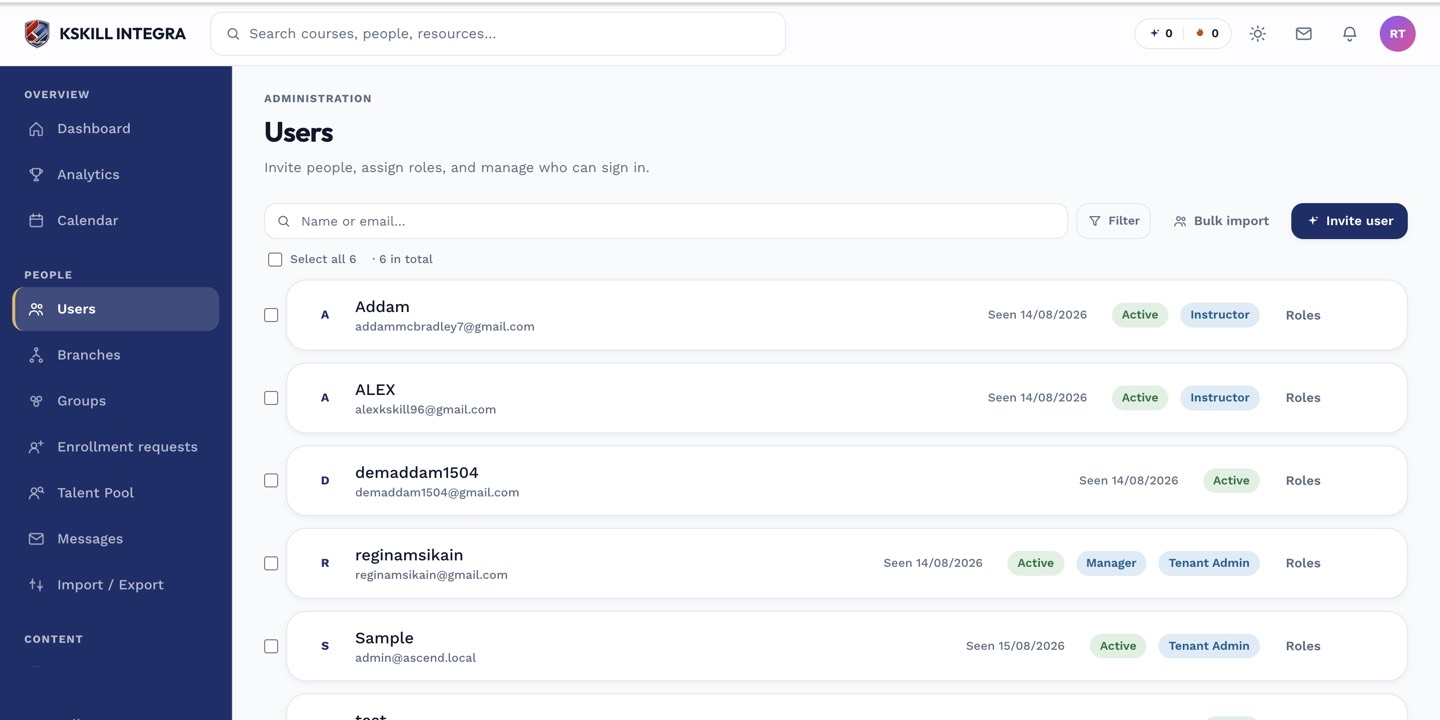
The Users list is the entry point for every person-related admin task.
Step 2 — Fill the invite drawer
Enter an email (which becomes the sign-in name), first and last name, and pick a role — Learner takes courses, Instructor authors and grades, Admin has full access. Optionally pick a Branch to scope what they can see. Click Send invite and Keycloak emails a set-password link.
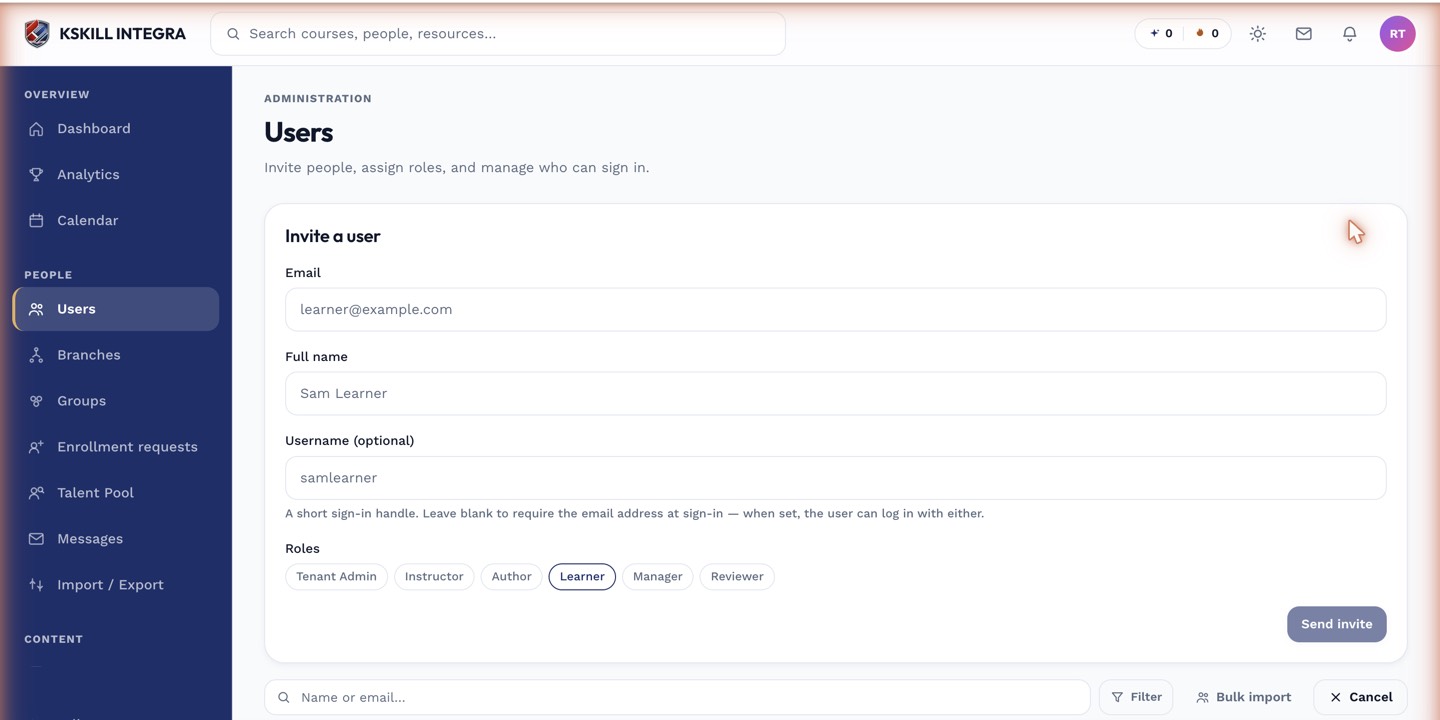
The invite drawer is the same shape whichever role you assign.
Step 3 — Bulk invite via CSV
If you need to onboard hundreds at once, use Import CSV on the same page. The file needs email, firstName, lastName and role columns; every row becomes an invitation. Any custom fields the tenant has defined can travel in extra columns too.
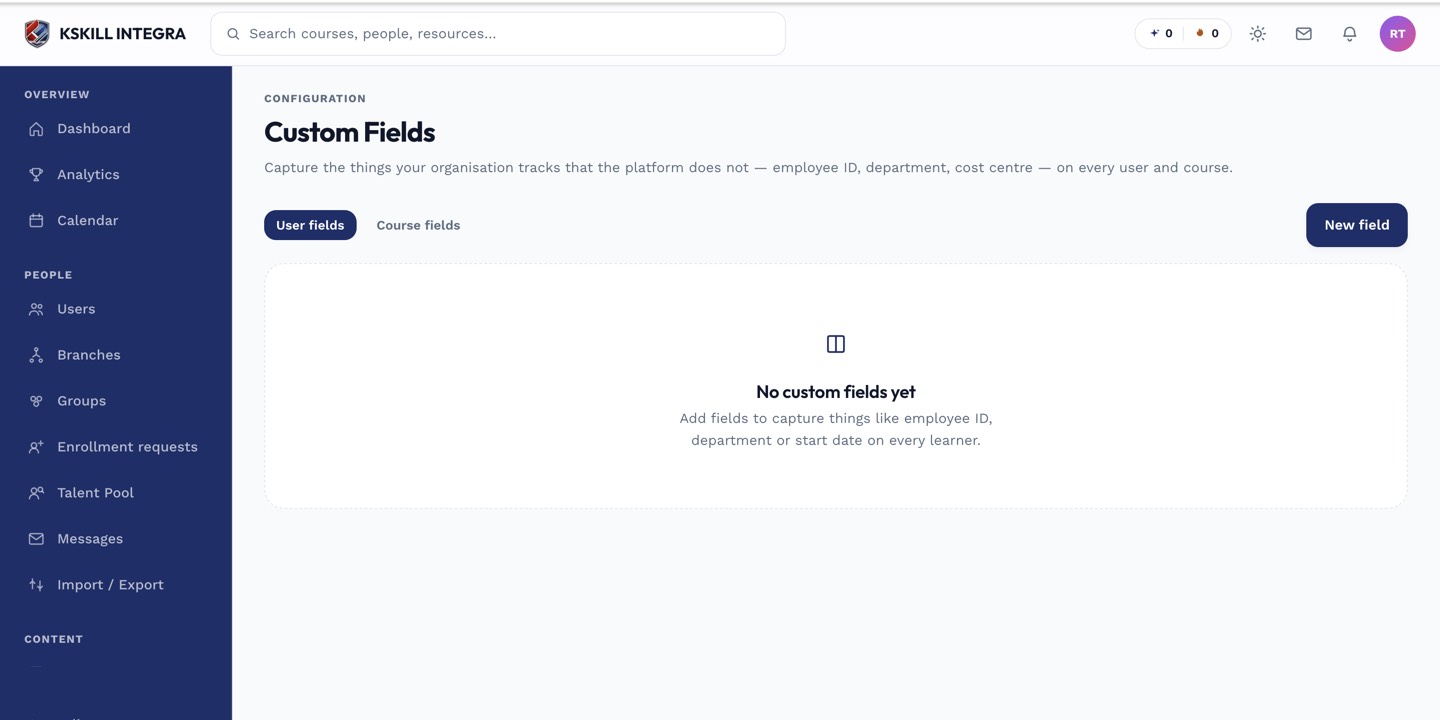
Custom fields extend the built-in profile so you can capture the columns your CSV imports need.
Notes
- The recipient does not need to do anything before their invite arrives — the account is provisioned on send.
- Turn on Self-registration under Settings if you would rather let learners create their own accounts.