Cohort cap and waitlist
A cohort cap limits how many learners can be in the intake. This article covers setting a cap and managing the waitlist.
Before you start
You need the Admin role or Cohort facilitator role.
Step 1 — Set a cap
Open the Cohort detail, switch to the Info tab, and set Cap to the maximum member count. Once the cap is hit, new enrolments land on the waitlist instead of joining.
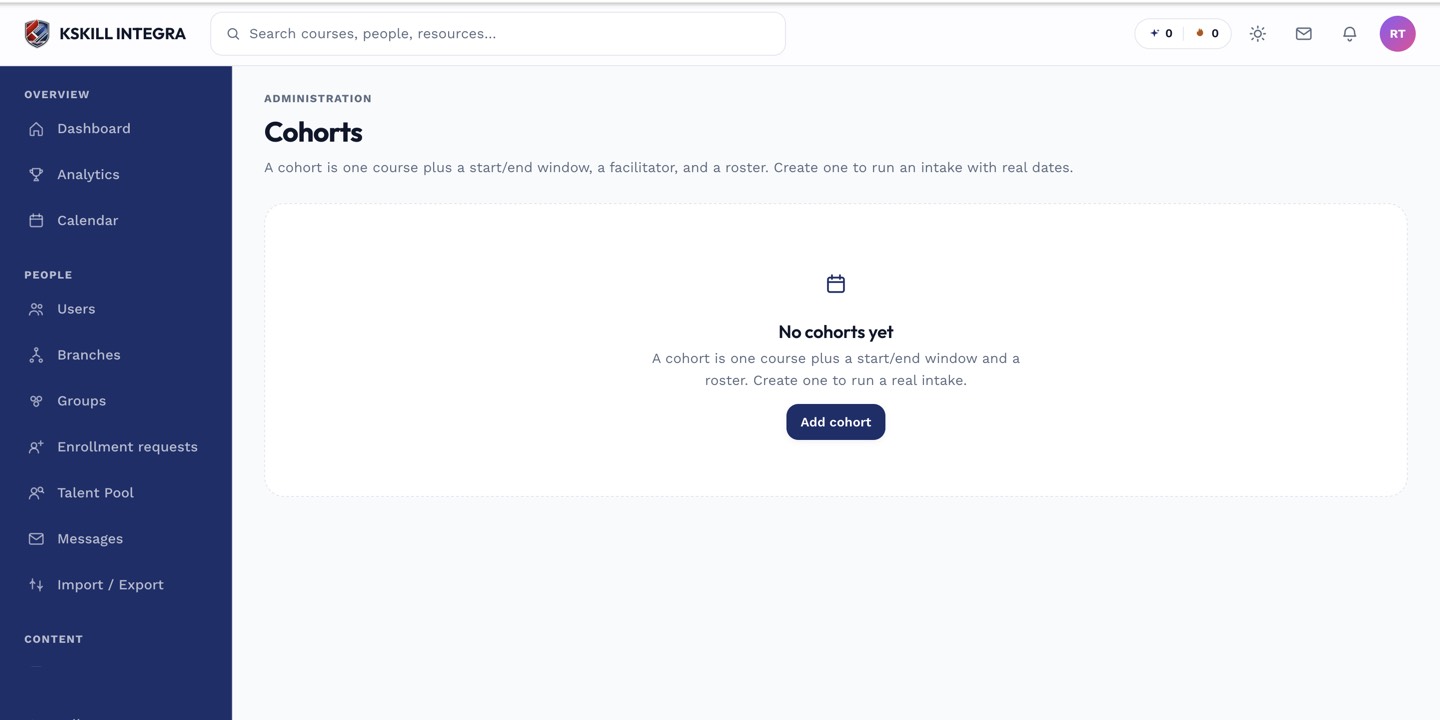
Cohorts are the time-boxed cousin of Groups — same drawer patterns, added dates.
Step 2 — Manage the waitlist
The Members tab has a Waitlist section below the roster. Members are queued in first-come order. When a seat opens (someone leaves or you raise the cap), the top of the waitlist auto-promotes.
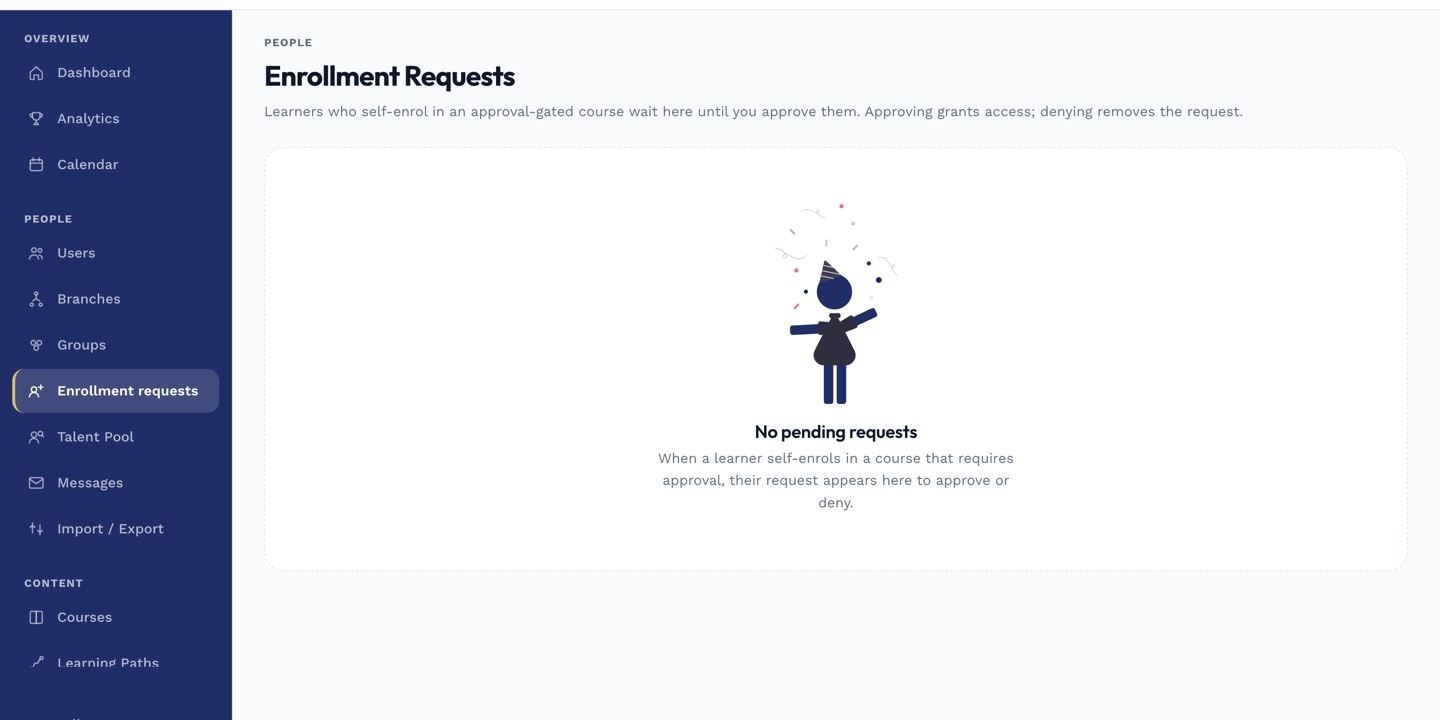
The enrolment-requests page is where restricted-course requests are approved or rejected.
Step 3 — Promote manually if needed
Click Promote on any waitlist row to move that specific learner up regardless of order. Useful when priority isn't strictly first-come. Promoted learners get an immediate notification.
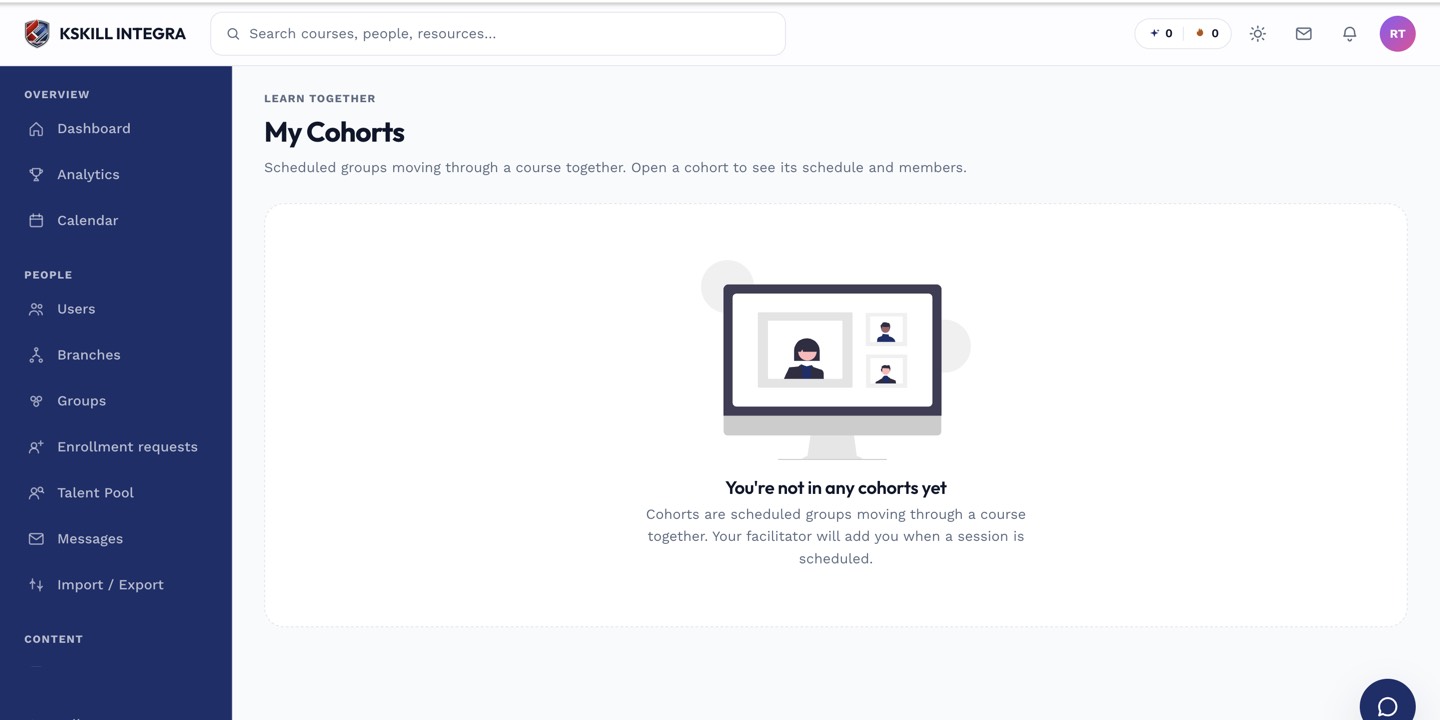
The learner cohorts view shows every scheduled intake the learner belongs to.
Notes
- Uncapped cohorts show no waitlist — enrolments always succeed.
- Communicate the cap upfront so learners understand why they may end up waitlisted.