Configure your account manager card
The account manager card lets learners see who to contact for questions. This article covers configuring it.
Before you start
You need the Admin role.
Step 1 — Open support settings
Open Configuration → Settings and pick Support. The Account manager card lets you set the human whose face and details appear on the learner-facing help panel.
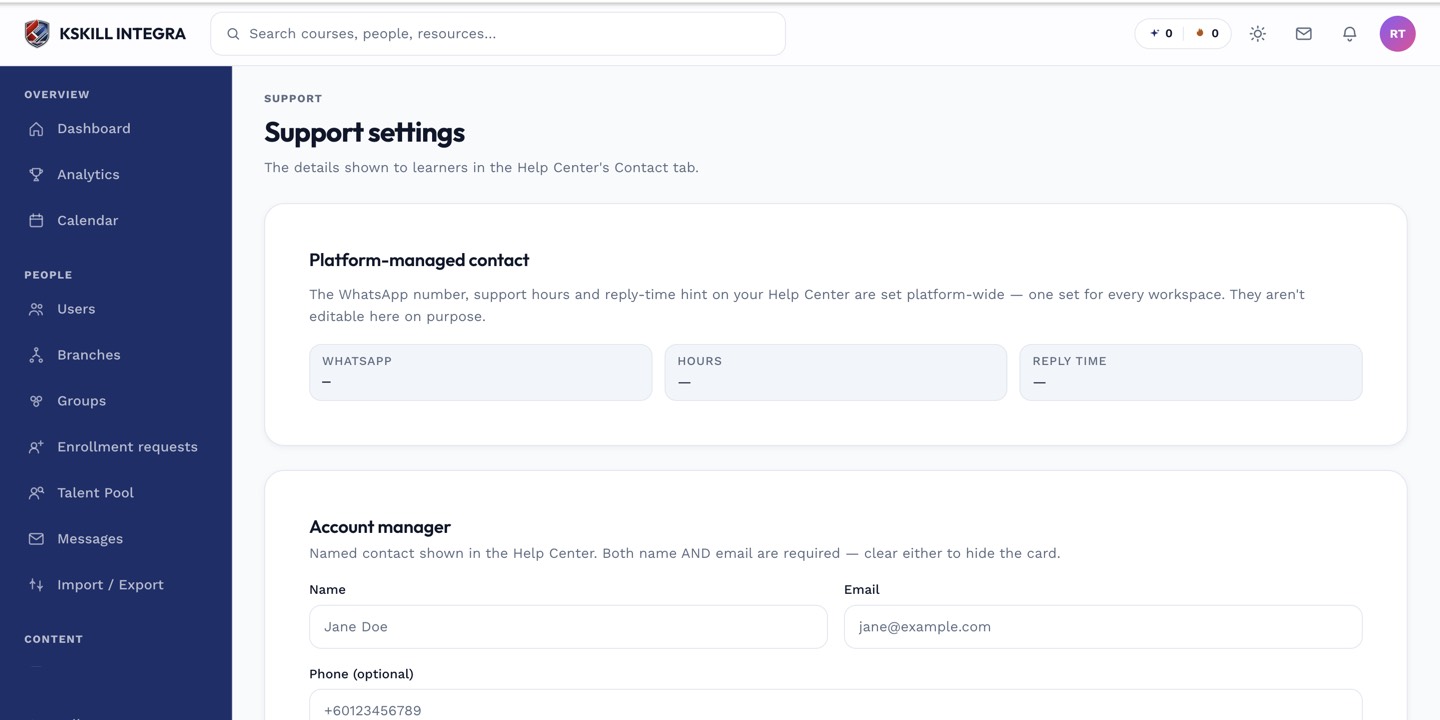
The support settings page controls what learners see when they open the help panel.
Step 2 — Fill in the card
Add a name, role title, photo, email and (optionally) a phone number. Add a short bio if the person is customer-facing. Save. The card appears at the top of every learner's help panel immediately.
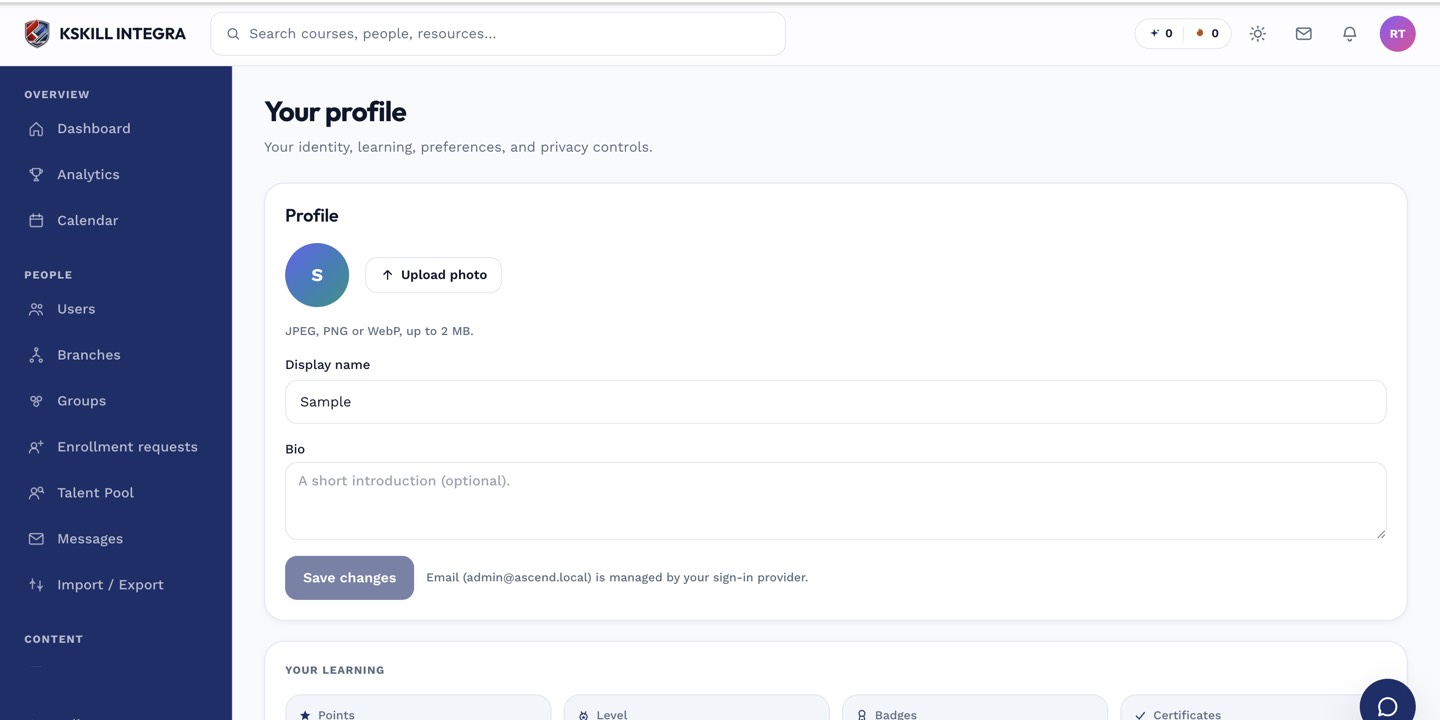
The account settings page is where a learner controls their own personal data.
Step 3 — Turn features on and off
Below the account manager, toggle Live chat if you have chat agents. Toggle Contact form to accept tickets from learners not yet signed in. Both are off by default — turn them on deliberately.
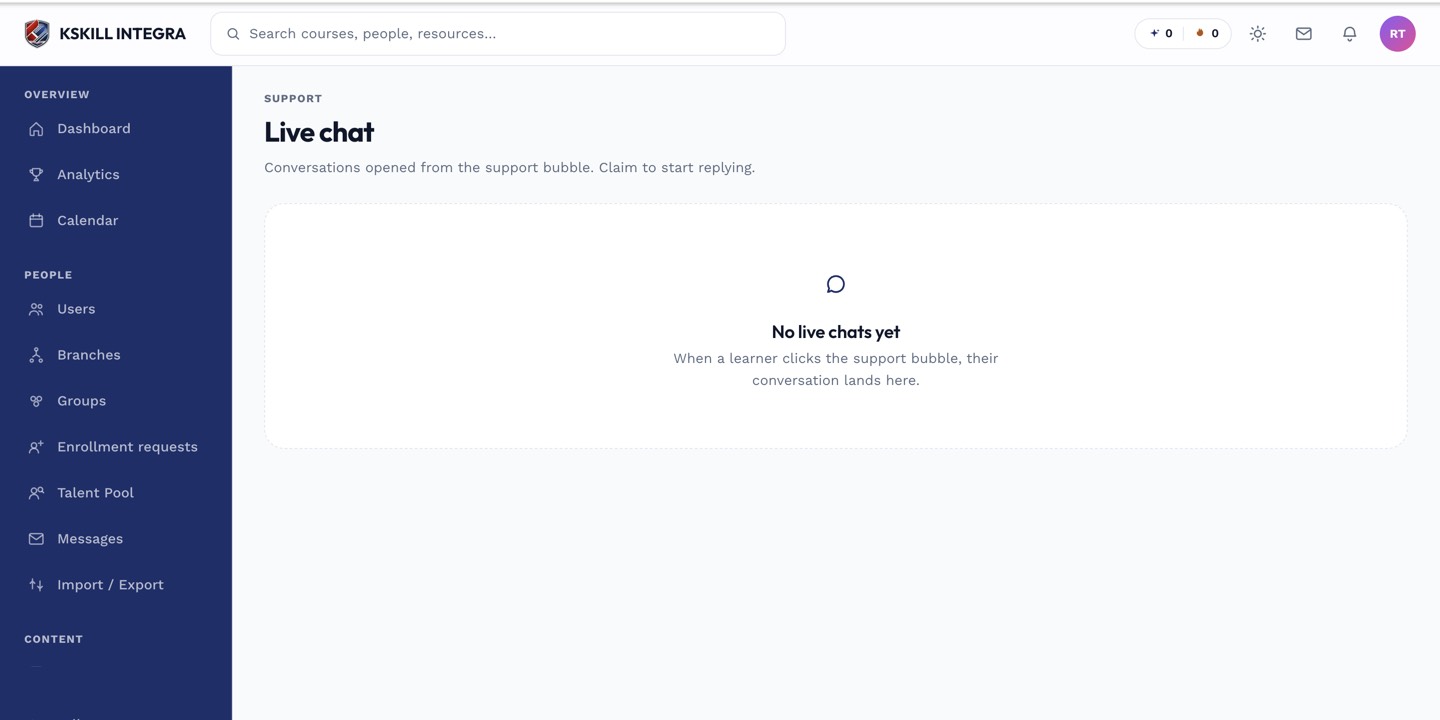
The live-chat agent inbox is where support staff pick up real-time conversations.
Notes
- The account manager card is highly visible; keep the details fresh when people change roles.
- For per-branch support contacts, override the tenant setting from each branch's Support tab.